Answer:
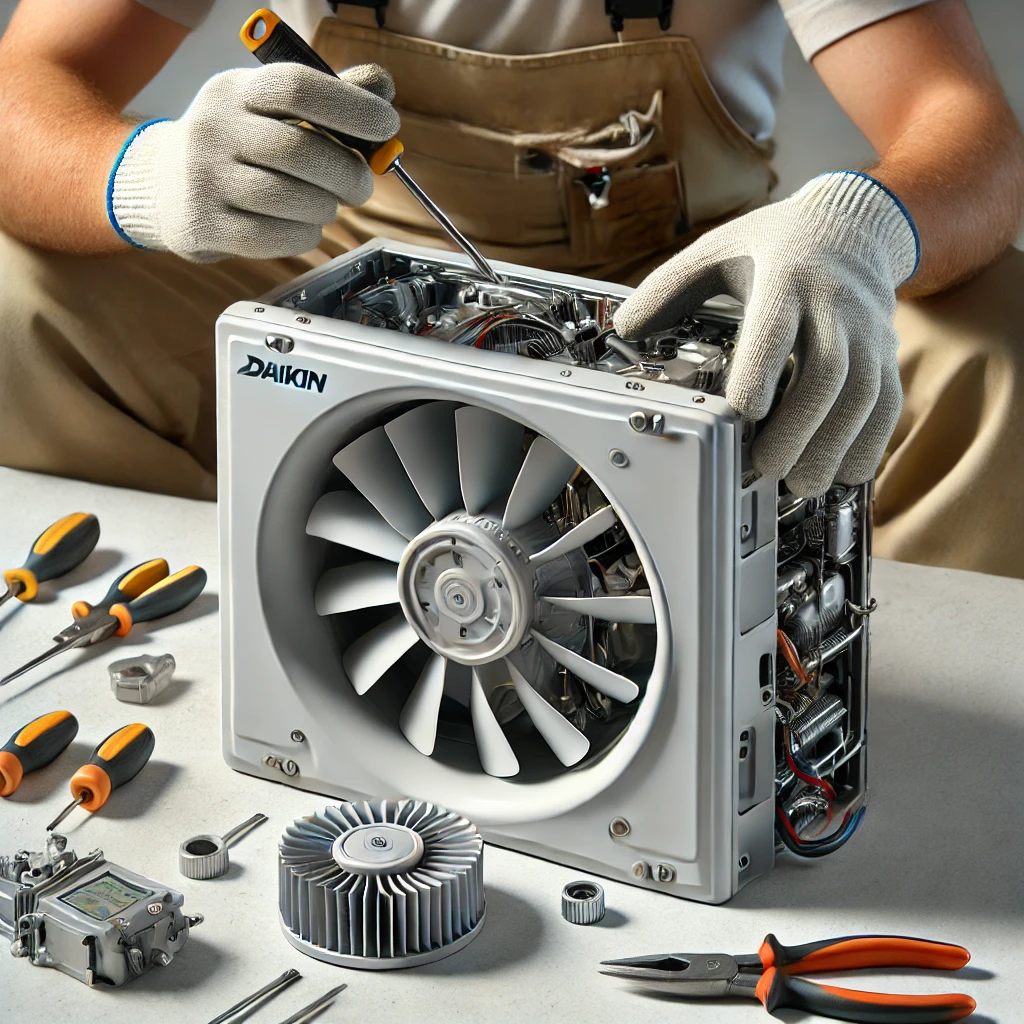
Removing the blower wheel from a Daikin mini-split requires careful attention to ensure the system isn’t damaged in the process. In our experience, the first step is to turn off the unit completely and disconnect it from the power supply for safety. Remove the front cover and filters to gain access to the blower wheel. Next, loosen and remove the screws securing the blower housing and carefully detach the motor wires. Once the housing is free, locate the blower wheel and slide it off the motor shaft, ensuring you don’t bend the fins or cause any misalignment. This is a precise task that requires patience, and we recommend referring to the unit’s service manual for model-specific guidance.
More On How To Remove the Blower Wheel from a Daikin Mini Split:
The blower wheel is an integral part of your Daikin mini-split, responsible for circulating air efficiently through your system. Over time, it may require cleaning or replacement if it becomes clogged with debris or damaged. When removing the blower wheel, it’s important to handle it gently, as any damage could lead to noisy operation or reduced airflow. We’ve often advised customers to label or photograph the wiring connections during disassembly to ensure everything is reconnected correctly.
This task might be more common in regions with high dust levels or homes with pets, as these factors can lead to quicker accumulation of debris on the blower wheel. While it’s possible to do this yourself, we recommend consulting an HVAC professional if you’re unsure, as reinstalling the wheel incorrectly can impact the system’s efficiency or cause further damage.
