Answer:
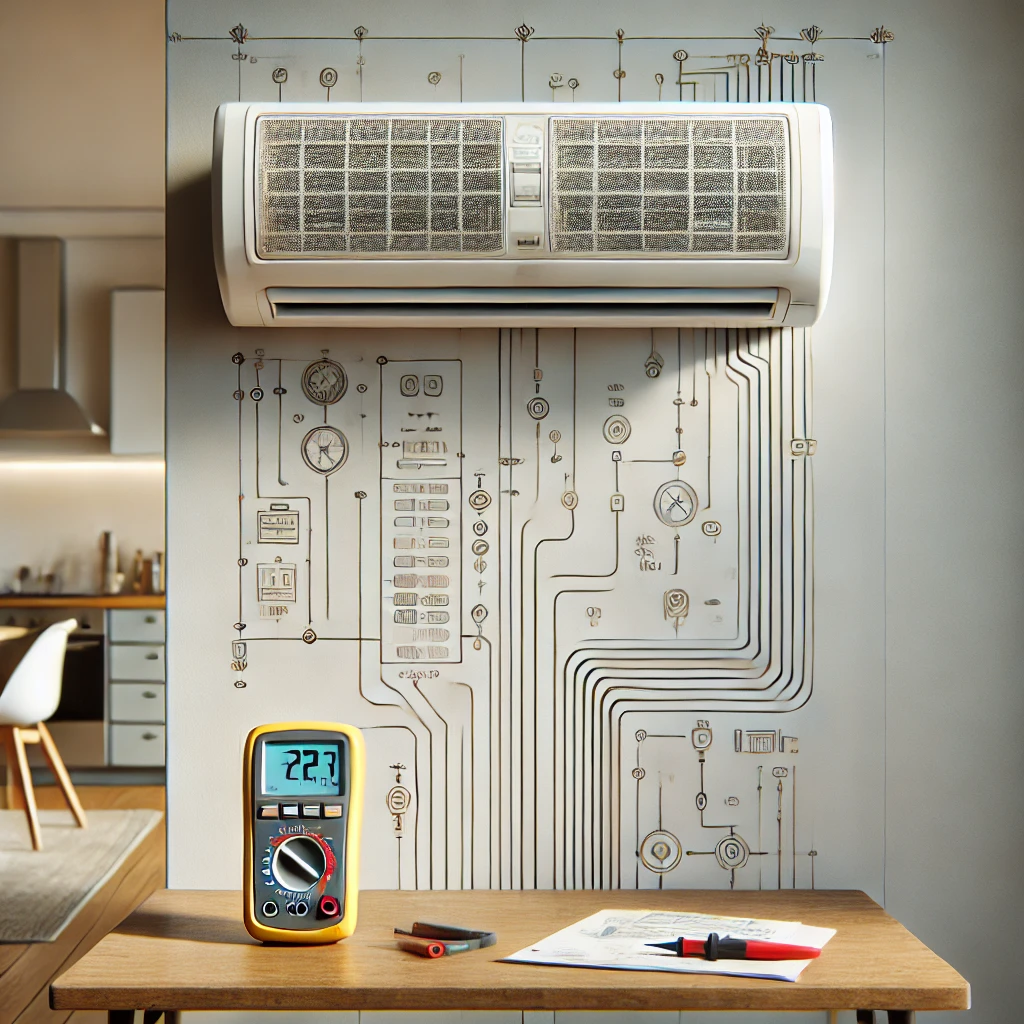
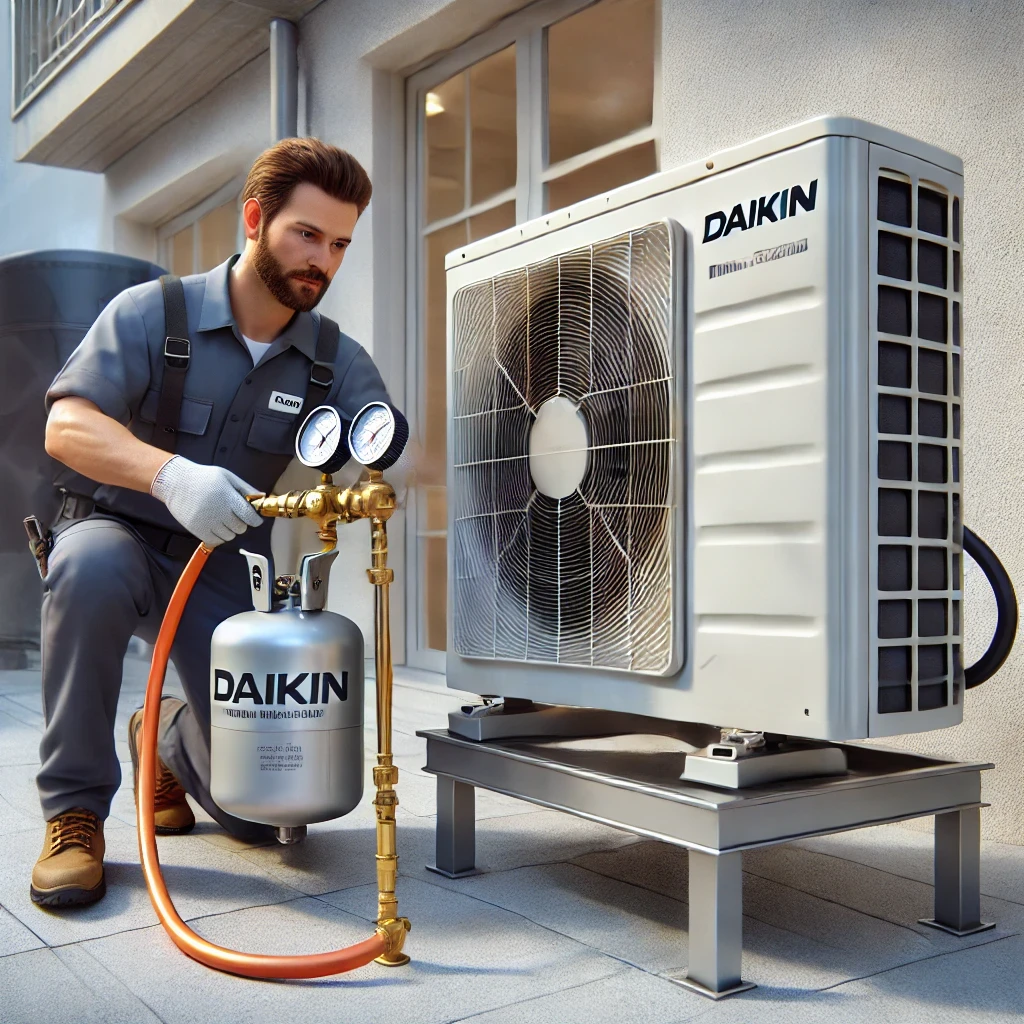
Pumping down the refrigerant in a Daikin mini-split is a critical process that allows you to safely remove the refrigerant and store it within the outdoor unit, often needed during maintenance or relocation. Based on our experience, the first step is to turn the system on in cooling mode and ensure the compressor is running. Next, close the smaller liquid line service valve using an appropriate wrench, which allows the refrigerant to flow into the outdoor unit. After a few minutes, close the larger suction line valve once the refrigerant is fully pumped down. Finally, power off the system to complete the process. It’s crucial to monitor the pressure during this procedure using a gauge set to ensure the system doesn’t over-pressurize or damage components. If you’re unsure, we recommend consulting a professional technician, as improper handling can lead to leaks or inefficiencies.
More On To Pump Down the Refrigerant in a Daikin Mini Split:
Performing a refrigerant pump-down is a task that requires careful attention to detail and the right tools. In our professional opinion, using a manifold gauge set to monitor the pressure is essential to ensure the system is properly evacuated. Additionally, always use the correct size wrenches to avoid damaging the service valves. It’s also important to remember that refrigerants are harmful to the environment if released, so this procedure must be done carefully to avoid leaks.
For Canadian homeowners, this process is often necessary during seasonal relocations or when preparing the system for extended periods of disuse, especially in harsh winter conditions. Always refer to the Daikin user manual for specific guidance, as not all mini-split models follow the exact same procedure. If you’re unsure about any step, hiring a licensed HVAC technician can save time and prevent costly mistakes.