Answer:
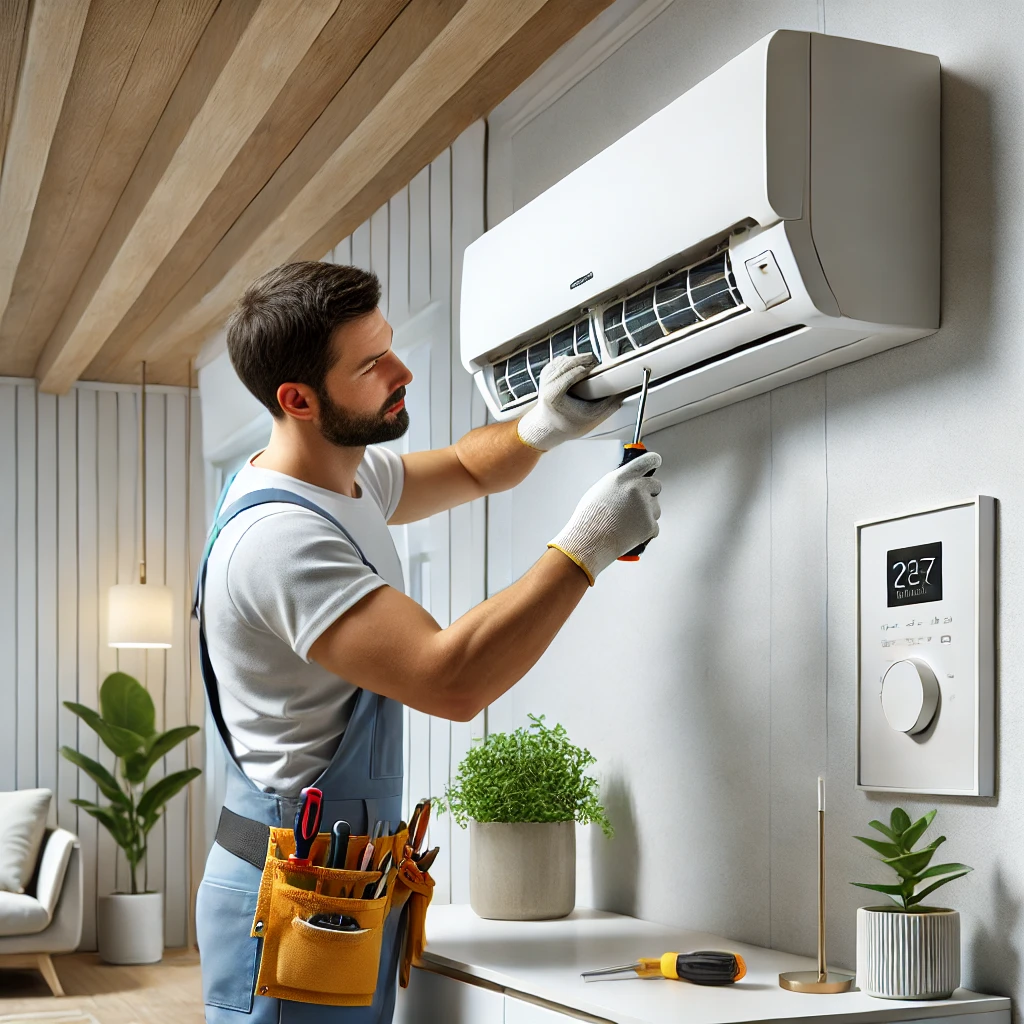
Removing a mini split from the wall requires careful disconnection of the unit’s components, including the refrigerant lines, electrical wiring, and mounting brackets. From our decades of experience, we always emphasize starting with turning off the power and safely recovering the refrigerant using the correct tools. Once the connections are released, the unit can be gently lifted off the mounting bracket to avoid damage to the system or the wall.
More On “How To Take Mini Split Off The Wall”
Taking a mini split off the wall is a technical task that requires preparation and attention to detail. The first and most crucial step is to ensure the power is turned off at the breaker to avoid electrical hazards. Then, the refrigerant must be safely recovered, which is a process that should be handled by a licensed HVAC technician to comply with environmental regulations. Over the years, we’ve seen instances where improper handling led to leaks or system inefficiency, which could have been avoided with professional help.
After recovering the refrigerant, you’ll need to disconnect the electrical wiring and the refrigerant lines. This is where labeling connections comes in handy, as it ensures a smooth reinstallation process. Using the correct tools, carefully unscrew and release the connections. In our experience, taking the time to inspect the lines for wear or damage during this step is invaluable, especially if the unit will be reused in another location.
Finally, the indoor unit can be removed from the wall-mounted bracket. Most mini splits have clips or locks securing the unit, so gently releasing these before lifting ensures the wall or unit isn’t damaged. While it may seem straightforward, removing a mini split requires patience and a clear understanding of the system. For homeowners who aren’t familiar with HVAC systems, we always recommend consulting a professional to ensure the job is done safely and correctly.
