Installing a Senville mini split system is a thorough yet manageable process for homeowners or technicians with the proper tools and attention to detail. This guide provides a comprehensive, step-by-step walkthrough to help you install your system efficiently and correctly.
How To Install A Senville Mini-Split
1. Pre-Installation Planning
Before beginning, it’s important to plan carefully and gather the required tools and materials. Proper preparation ensures a smoother installation and prevents potential issues down the road.
- Understand Your Needs:
Determine the size of the room and the system’s required BTU capacity. Senville mini splits are available in various sizes, so ensure you’ve selected the model that matches your heating and cooling needs. - Tools and Materials Required:
- Drill with appropriate bits
- Hole saw
- Level
- Measuring tape
- Torque wrench
- Screwdrivers
- Stud finder
- Vacuum pump
- Refrigerant gauge set
- Electrical wiring and conduit
- Mounting brackets and screws
- Refrigerant line set
- Drain hose
2. Selecting Installation Locations
Choosing the right locations for the indoor and outdoor units is crucial for optimal performance and ease of maintenance.
- Indoor Unit Placement:
- Install the indoor unit on an exterior wall, ensuring it is positioned at least 6 feet off the ground for proper airflow.
- Maintain 12 inches of clearance on the sides and top of the unit to allow for unrestricted air circulation.
- Outdoor Unit Placement:
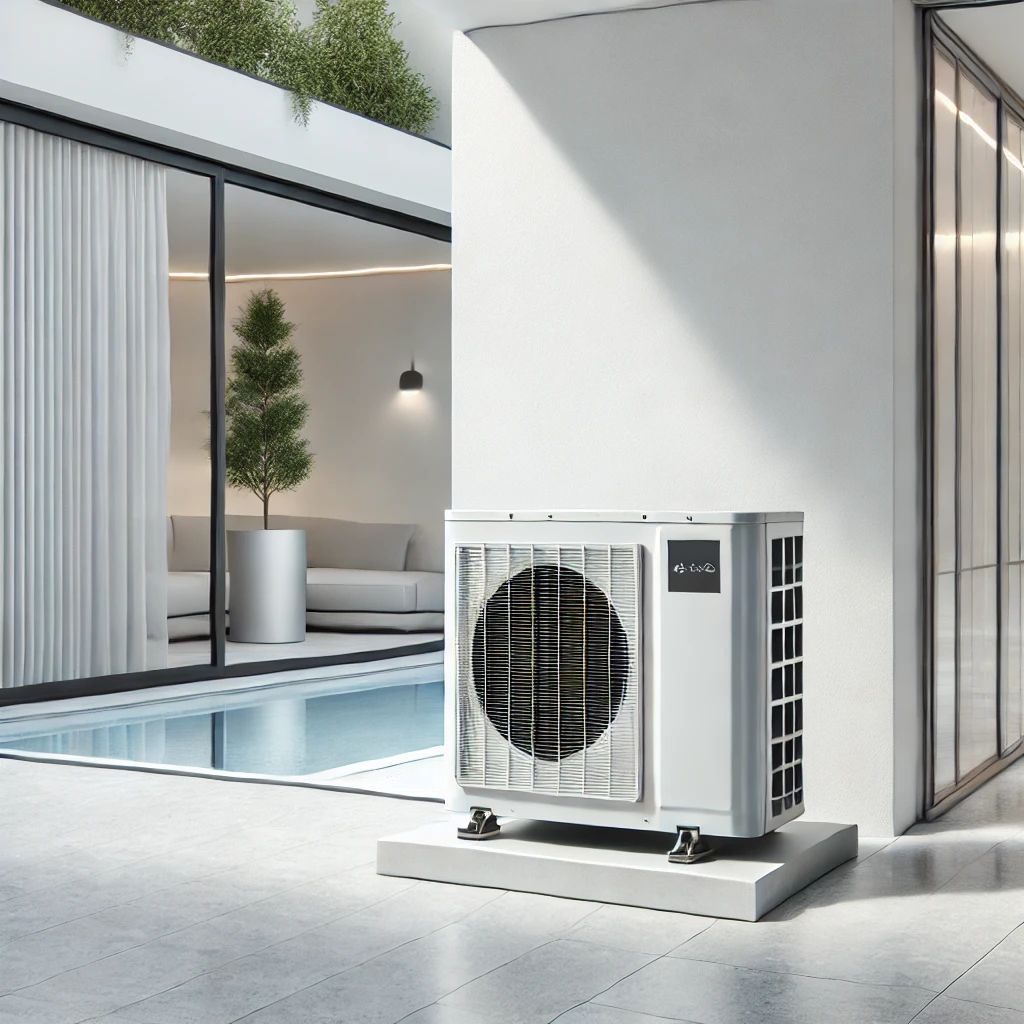
- Place the outdoor condenser on a flat, stable surface like a concrete pad or wall-mounted brackets.
- Ensure there is at least 24 inches of clearance around the outdoor unit to provide sufficient airflow.
- Avoid locations prone to debris or direct sunlight to maintain efficiency.
3. Installing the Indoor Unit
The indoor unit is the heart of your mini split system. Installing it securely and correctly ensures efficient operation and proper airflow.
- Mounting Bracket Installation:
- Use a stud finder to locate wall studs and securely attach the mounting bracket.
- Check the alignment with a level to ensure the unit sits evenly on the wall.
- Creating the Access Hole:
- Mark and drill a 3.5-inch diameter hole for the refrigerant lines, drain hose, and electrical wiring.
- Drill the hole at a slight downward angle toward the outside to facilitate drainage.
- Connecting Lines and Wiring:
- Connect the refrigerant lines to the indoor unit using flare fittings. Tighten with a torque wrench to avoid leaks.
- Attach the drain hose, ensuring a continuous downward slope to prevent water pooling.
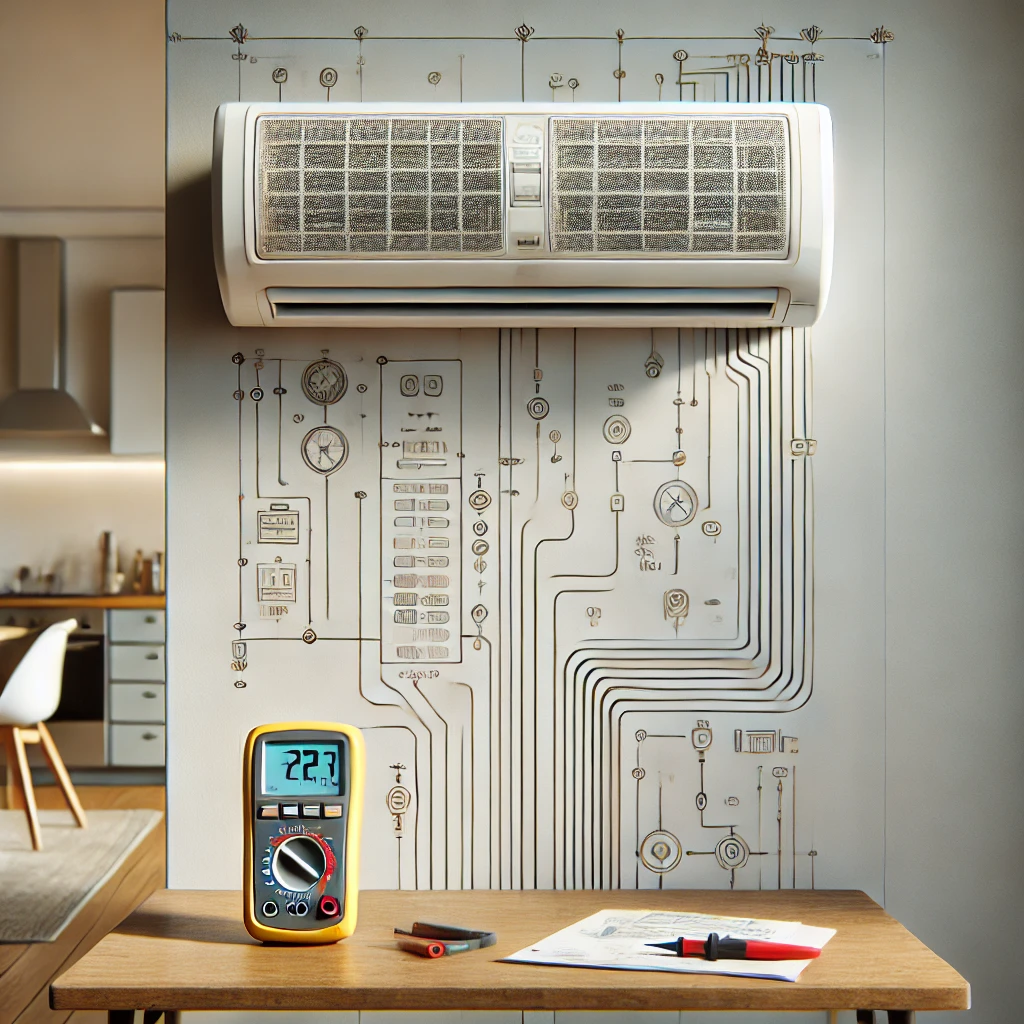
- Follow the wiring diagram in the Senville manual to connect the unit to the power supply.
4. Installing the Outdoor Unit
The outdoor condenser houses the compressor and manages the system’s refrigerant flow. Installing it in the correct location ensures long-term reliability.
- Positioning:
- Place the unit on a stable surface, ensuring it is level to prevent vibration.
- Ensure sufficient airflow by maintaining at least 24 inches of clearance around the unit.
- Connecting Refrigerant Lines:
- Run the refrigerant lines from the indoor unit to the outdoor unit, ensuring they are insulated properly.
- Secure the connections tightly with flare nuts and check for potential leaks.
- Electrical Wiring:
- Follow Senville’s wiring diagram to connect the outdoor unit to the electrical supply.
- Ensure proper grounding to avoid electrical hazards.
5. System Evacuation and Refrigerant Charging
To ensure optimal performance, the system must be properly evacuated and charged with refrigerant.
- Evacuating the System:
- Attach a vacuum pump to the service ports and evacuate the system to remove air and moisture.
- Reach a vacuum level of 500 microns, as specified in the Senville manual.
- Charging the System:
- Open the service valves to release the refrigerant pre-charged in the outdoor unit.
- Monitor the pressure using a refrigerant gauge to ensure the system operates within specified limits.
6. Testing and Final Adjustments
Testing ensures that the system is functioning properly and ready for use. This step helps identify and resolve any installation issues.
- Powering On:
- Switch on the system and set it to both cooling and heating modes to verify operation.
- Check for unusual noises, vibrations, or error codes that may indicate issues.
- Inspecting Connections:
- Confirm all refrigerant lines are secure and leak-free.
- Ensure the drain hose is positioned correctly to prevent water damage.
- Final Adjustments:
- Adjust the airflow direction using the unit’s remote control to optimize comfort in the space.
- Clean up the installation area, ensuring all tools and debris are removed.
Official Documentation and Resources
Refer to the following official Senville resources for additional guidance and technical details:
- Senville Mini Split Installation Manual (PDF)
- Senville Installation Video Tutorials
- Senville Technical Support and FAQ
These resources provide diagrams, troubleshooting tips, and additional installation insights.
