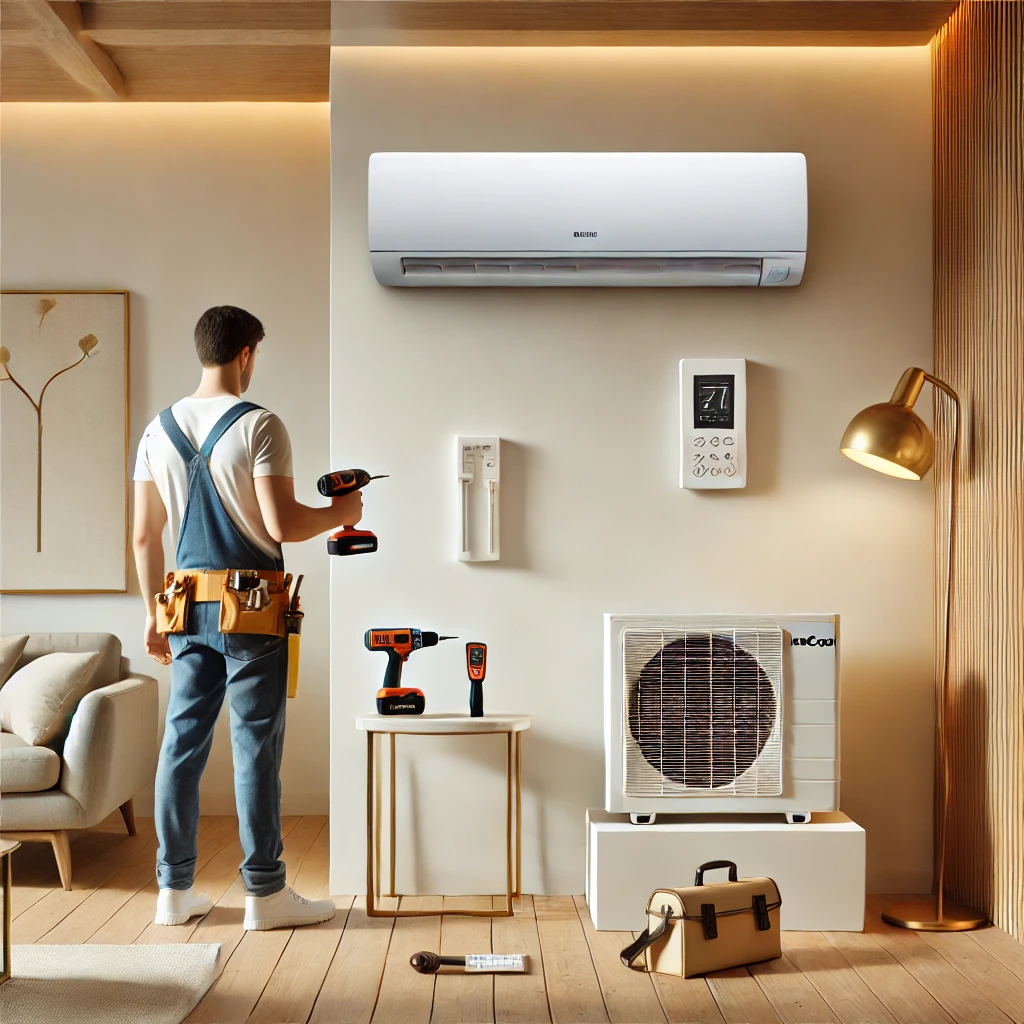
Installing a MRCOOL DIY mini split system is a precise process that can be completed by homeowners who are comfortable with basic tools and following instructions. This guide offers a comprehensive, step-by-step approach to ensure a successful installation. Each section begins with an introduction to help you understand the importance of each phase.
How To Install A MRCOOL Mini Split System Guide
1. Pre-Installation Planning
Proper planning is the foundation of a successful MRCOOL mini split installation. Before diving into the work, it’s essential to gather the necessary tools, select the right equipment, and carefully evaluate your installation space to ensure optimal performance and efficiency.
- Assess Your Space:
- Measure the square footage of the room to determine the appropriate BTU rating for the unit.
- Evaluate the insulation quality and account for heat gain from windows or external walls.
- Identify the areas where the indoor and outdoor units will be installed for the best airflow.
- Select Appropriate Equipment:
- Choose a MRCOOL DIY mini split model that meets your cooling and heating needs.
- Ensure you have all required tools, including a drill, level, hole saw, and vacuum pump (if applicable).
2. Selecting Installation Locations
Choosing the right locations for the indoor and outdoor units is crucial for optimal airflow and maintenance access. A thoughtful selection of these spots will also ensure the mini split blends seamlessly into your living space.
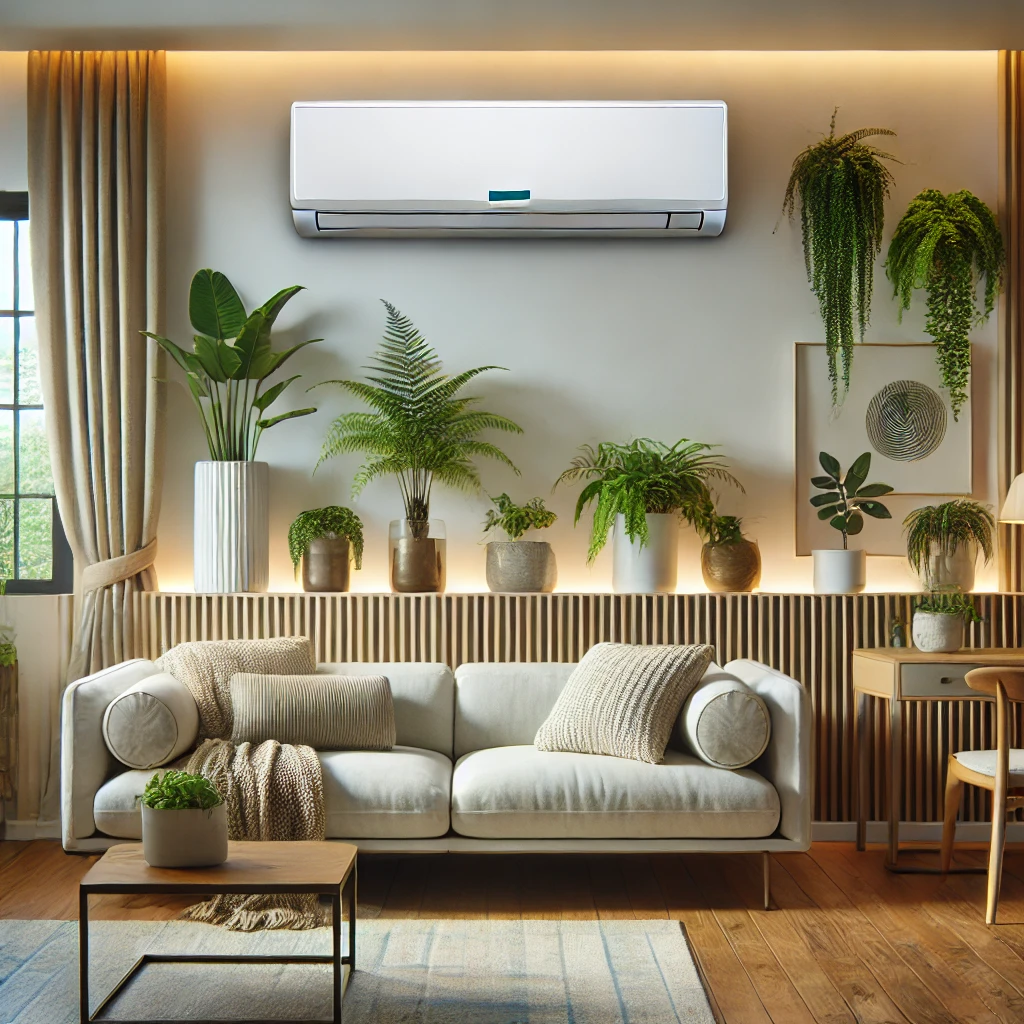
- Indoor Unit Placement:
- Mount the unit on an exterior wall, preferably at a height that allows for efficient air distribution.
- Maintain adequate clearance around the unit to avoid airflow obstructions and facilitate maintenance.
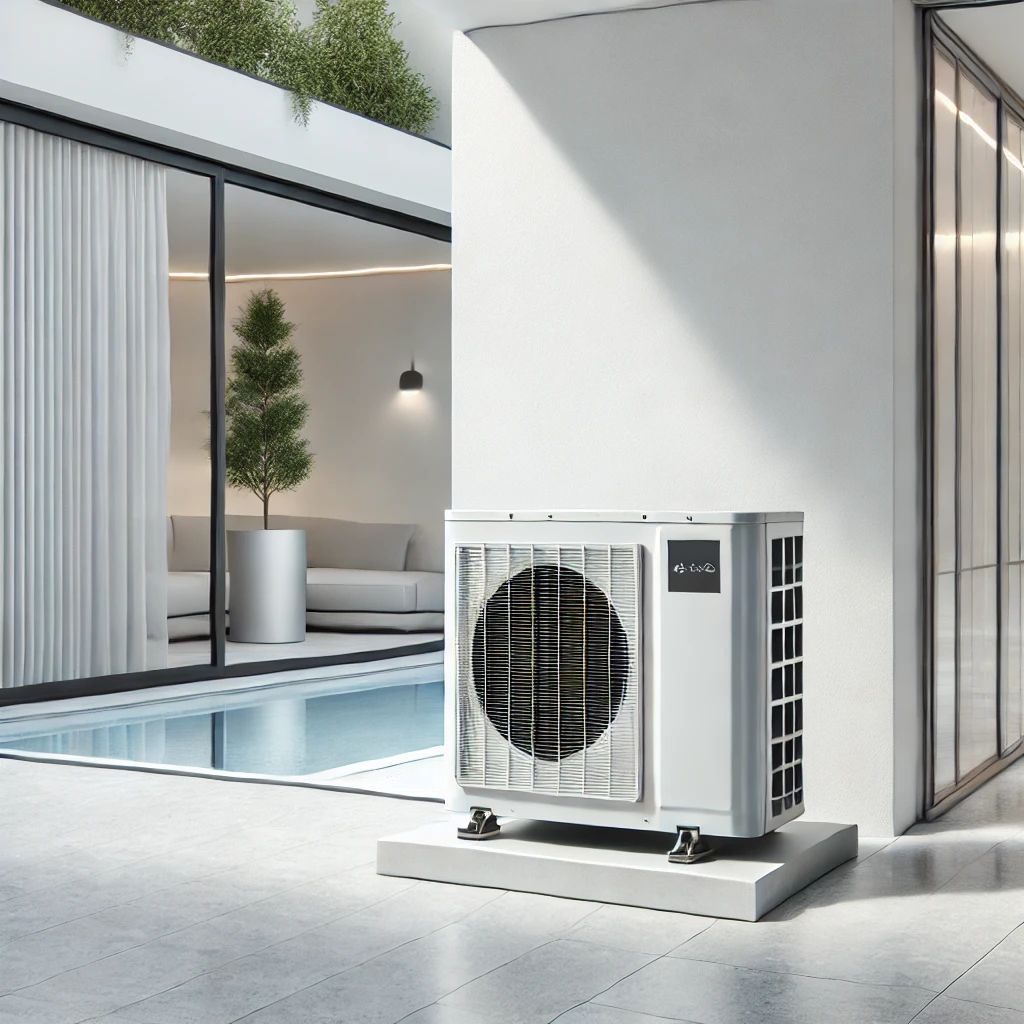
- Outdoor Unit Placement:
- Place the unit on a stable, level surface such as a concrete pad.
- Choose a location with at least 12 inches of clearance on all sides to prevent overheating and ensure proper airflow.
3. Installing the Indoor Unit
The indoor unit serves as the primary interface for your heating and cooling needs. Installing it properly ensures that it operates efficiently and distributes air effectively throughout the room.
- Mounting Bracket Installation:
- Use a level to position the bracket and secure it to wall studs.
- Ensure the bracket is stable and can support the weight of the indoor unit.
- Creating the Access Hole:
- Drill a hole for the refrigerant lines, drain hose, and electrical wiring. Ensure the hole slopes slightly downward to facilitate drainage.
- Connecting Refrigerant Lines and Drain Hose:
- Carefully uncoil the pre-charged refrigerant line set to avoid kinks.
- Attach the drain hose with a consistent downward slope for proper water flow.
4. Installing the Outdoor Unit
The outdoor unit is the heart of the MRCOOL mini split system, housing the compressor and managing refrigerant circulation. Correct placement and secure connections are key to the system’s efficiency and longevity.
- Positioning:
- Place the outdoor unit on a flat, stable surface to minimize vibrations.
- Ensure the unit is in a location that protects it from extreme weather.
- Connecting Refrigerant Lines:
- Use MRCOOL’s Quick Connect® fittings to attach the pre-charged lines.
- Minimize bends and secure the connections tightly to avoid leaks.
- Electrical Connections:
- Follow the wiring diagram provided in the installation manual.
- Ensure proper grounding to avoid electrical hazards.
5. System Evacuation and Charging
To achieve optimal performance, the system must be evacuated of any air or moisture. This step ensures the refrigerant circulates efficiently.
- Evacuating the System:
- Connect a vacuum pump to the service ports and remove all air and moisture.
- Verify that the vacuum level meets the specifications in the installation manual.
- Charging the System:
- Open the service valves to release the pre-charged refrigerant.
- Use a gauge set to monitor the pressure and ensure compliance with the manual’s guidelines.
6. Testing and Final Adjustments
The final stage involves testing the system to confirm it operates correctly. This step ensures all components are installed and functioning as intended.
- System Testing:
- Power on the system and test both cooling and heating modes.
- Check for unusual noises, vibrations, or error codes.
- Final Inspection:
- Ensure all connections are secure and free of leaks.
- Confirm that the units are stable and properly mounted.
Official Documentation and Resources
For detailed instructions, refer to the official MRCOOL installation manuals:
These documents provide additional insights and illustrations to further support your installation process.
