Answer:
Installing a Mitsubishi mini split system requires careful planning and attention to detail, but in our experience, it’s a manageable task with the right tools and guidance. Start by choosing the ideal location for both the indoor and outdoor units, ensuring proper airflow and accessibility. From what we’ve seen, mounting the indoor unit securely on an exterior wall and running the refrigerant lines, drain hose, and electrical wiring through a small hole is the next step. Finally, connect the outdoor unit, vacuum the refrigerant lines, and test the system to ensure it’s functioning correctly.
Detailed Guide On How to Install a Mitsubishi Mini Split:
In our view, preparation is key to a successful installation. Before beginning, you’ll need to verify that your chosen locations meet the manufacturer’s clearance requirements for optimal performance. Additionally, we think it’s important to have the right tools on hand, including a drill, vacuum pump, and torque wrench.
When installing the indoor unit, we’ve found that using a mounting bracket ensures stability. Be sure to check that the unit is level to prevent drainage issues. From our perspective, routing the refrigerant lines, drain hose, and electrical cables carefully and securely through the wall is a crucial step for both aesthetics and functionality.
For the outdoor unit, selecting a stable surface, such as a concrete pad or wall brackets, is essential. We recommend placing the unit in a shaded area if possible, as this can improve efficiency. Connecting the refrigerant lines and ensuring they are properly sealed is a step that we think should be done meticulously to avoid leaks.
Finally, testing the system is a step we can’t emphasize enough. Use a vacuum pump to remove air from the refrigerant lines, then open the service valves to release refrigerant into the system. Check for leaks and ensure the unit is cooling or heating as expected. In our experience, following the manufacturer’s instructions closely and consulting a professional when needed ensures a smooth and successful installation.
1. Pre-Installation Planning
- Assess Your Space: Determine the areas that require heating or cooling to decide on the number and placement of indoor units. Consider factors such as room size, insulation quality, and window placement.
- Select Appropriate Equipment: Choose a Mitsubishi mini split model that matches your heating and cooling needs. Refer to the official Mitsubishi Electric product catalog for specifications.
- Gather Necessary Tools and Materials: Ensure you have the following:
- Drill with appropriate bits
- Hole saw
- Level
- Measuring tape
- Wrenches
- Screwdrivers
- Stud finder
- Vacuum pump
- Refrigerant gauge set
- Electrical wiring and conduit
- Mounting brackets and hardware
- Refrigerant line set
- Drain hose
- Insulation materials
2. Selecting Installation Locations
- Indoor Unit Placement:
- Mount the indoor unit on an exterior wall to facilitate easier connection to the outdoor unit.
- Ensure there are no obstructions around the unit to allow for optimal airflow.
- Position the unit at a height that allows for efficient air distribution.
- Outdoor Unit Placement:
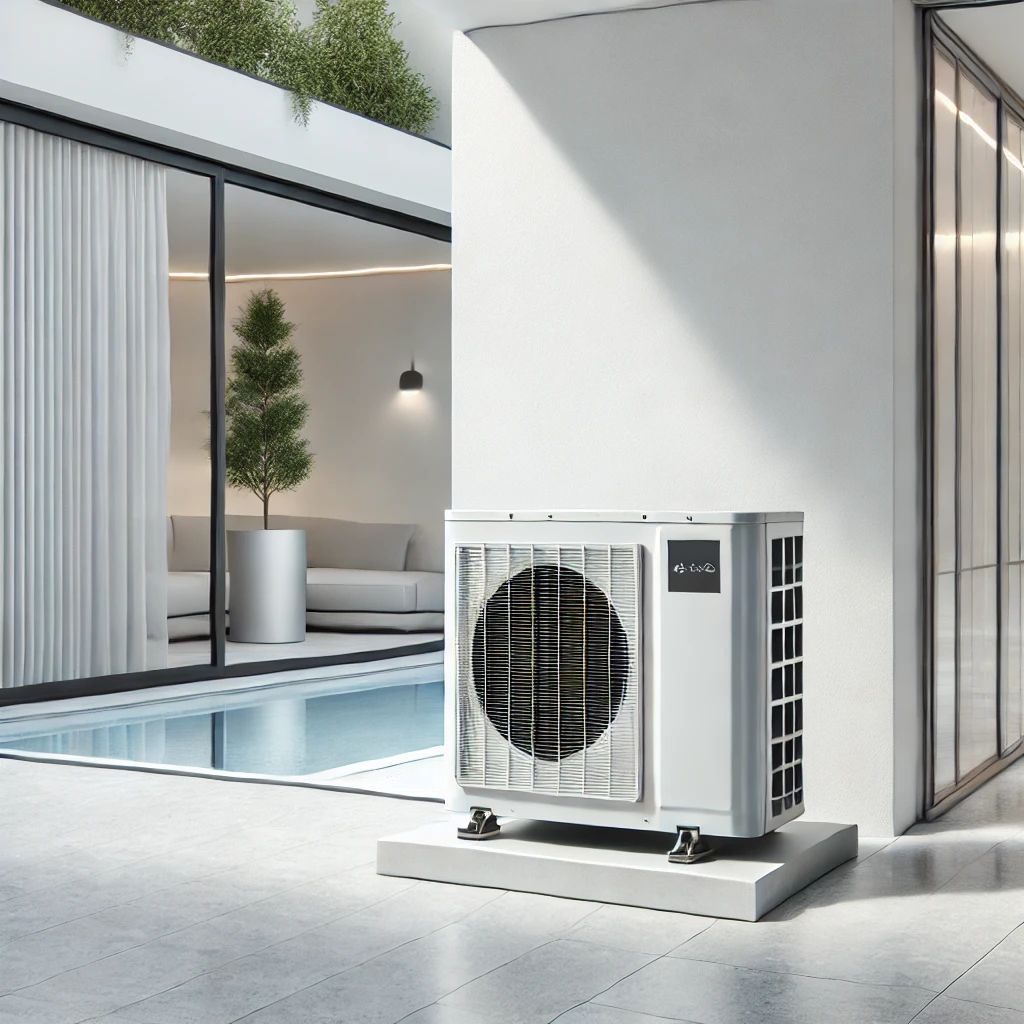
- Place the outdoor unit on a flat, stable surface such as a concrete pad.
- Maintain at least 12 inches of clearance on all sides to ensure proper airflow and maintenance access.
- Avoid locations exposed to extreme weather or direct sunlight to enhance efficiency and longevity.
3. Installing the Indoor Unit
- Mounting Bracket Installation:
- Use a level to position the mounting bracket on the chosen wall location.
- Secure the bracket to wall studs using appropriate screws to ensure stability.
- Creating the Access Hole:
- Mark the spot for the hole that will accommodate the refrigerant lines, drain hose, and electrical wiring.
- Drill a hole with a slight downward slope toward the exterior to facilitate proper drainage.
- Connecting Refrigerant Lines and Drain Hose:
- Attach the refrigerant lines to the indoor unit, ensuring secure connections to prevent leaks.
- Connect the drain hose, confirming it has a continuous downward slope to prevent water accumulation.
- Electrical Connections:
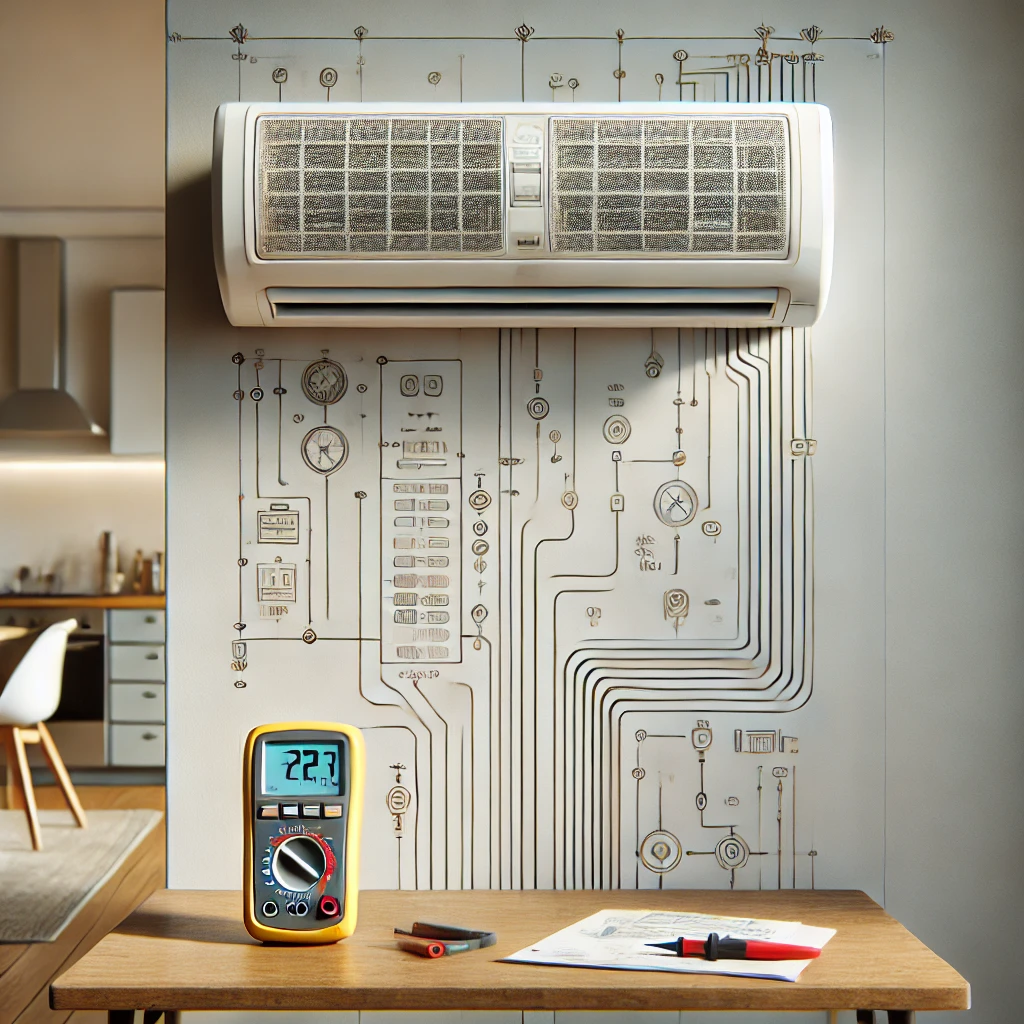
- Follow Mitsubishi Electric’s wiring diagram to connect the indoor unit to the power supply.
- Ensure all connections comply with local electrical codes and regulations.
4. Installing the Outdoor Unit
- Positioning:
- Set the outdoor unit on the prepared surface, ensuring it is level to prevent operational issues.
- Connecting Refrigerant Lines:
- Run the refrigerant lines from the indoor unit to the outdoor unit, minimizing bends to maintain efficiency.
- Use a torque wrench to tighten the flare nuts to the manufacturer’s specified torque settings.
- Electrical Connections:
- Connect the outdoor unit to the power supply, adhering to Mitsubishi Electric’s wiring specifications.
- Ensure a proper ground connection to prevent electrical hazards.
5. System Evacuation and Charging
- Evacuating the System:
- Connect a vacuum pump to the service ports to remove air and moisture from the refrigerant lines.
- Achieve a vacuum level as specified in the installation manual, typically around 500 microns.
- Charging the System:
- Open the service valves to release the pre-charged refrigerant into the system.
- Monitor the system’s pressure using a refrigerant gauge set to ensure it aligns with Mitsubishi Electric’s specifications.
6. Testing and Final Adjustments
- System Testing:
- Power on the system and set it to both cooling and heating modes to verify proper operation.
- Check for unusual noises, vibrations, or error codes that may indicate installation issues.
- Final Inspection:
- Ensure all connections are secure and that there are no refrigerant leaks.
- Confirm that the indoor unit is properly mounted and that the outdoor unit is stable.
7. Maintenance and User Guidance
- User Instruction:
- Educate the user on operating the system, including how to use the remote control and set desired temperatures.
- Maintenance Schedule:
- Advise on regular maintenance tasks such as cleaning filters and scheduling professional inspections to maintain system efficiency.
For comprehensive details, refer to the official Mitsubishi Electric installation manuals:
