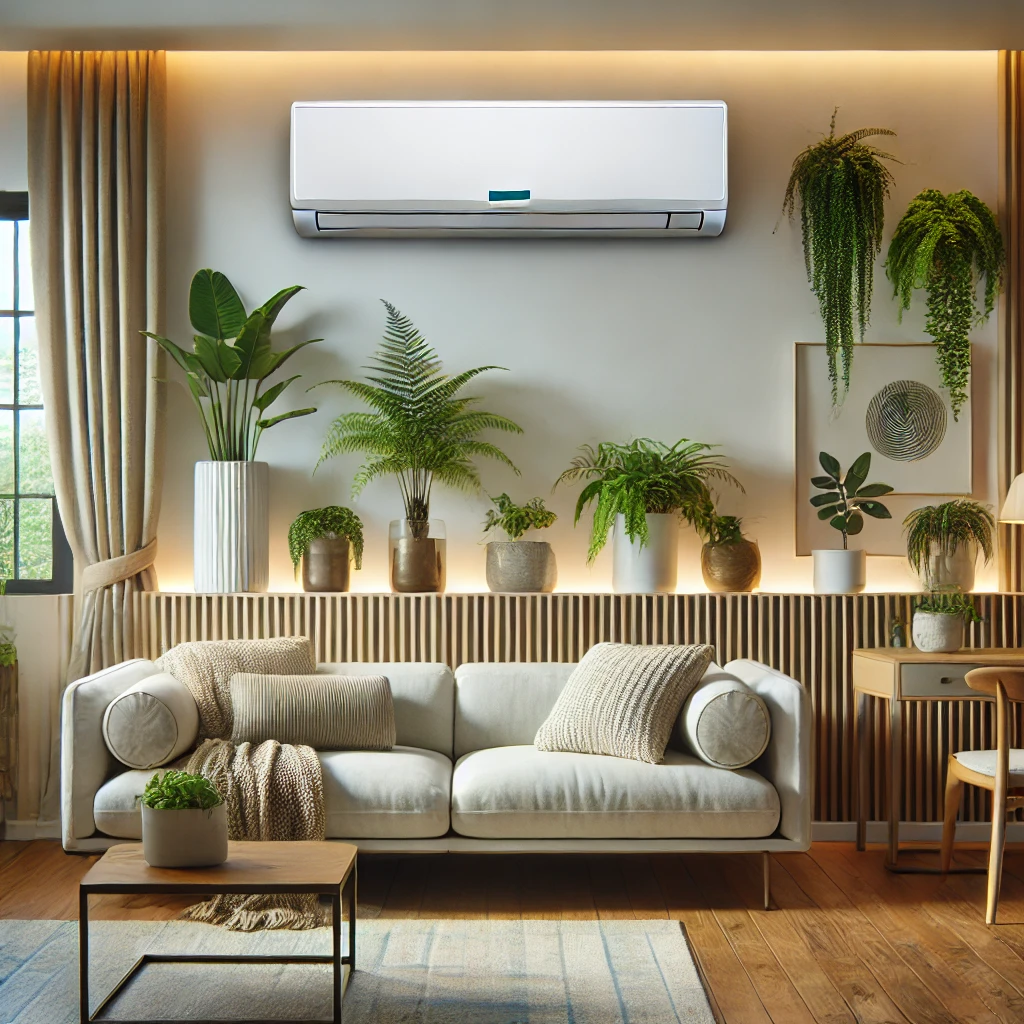
Comprehensive Guide: How to Install a Costway Mini Split System
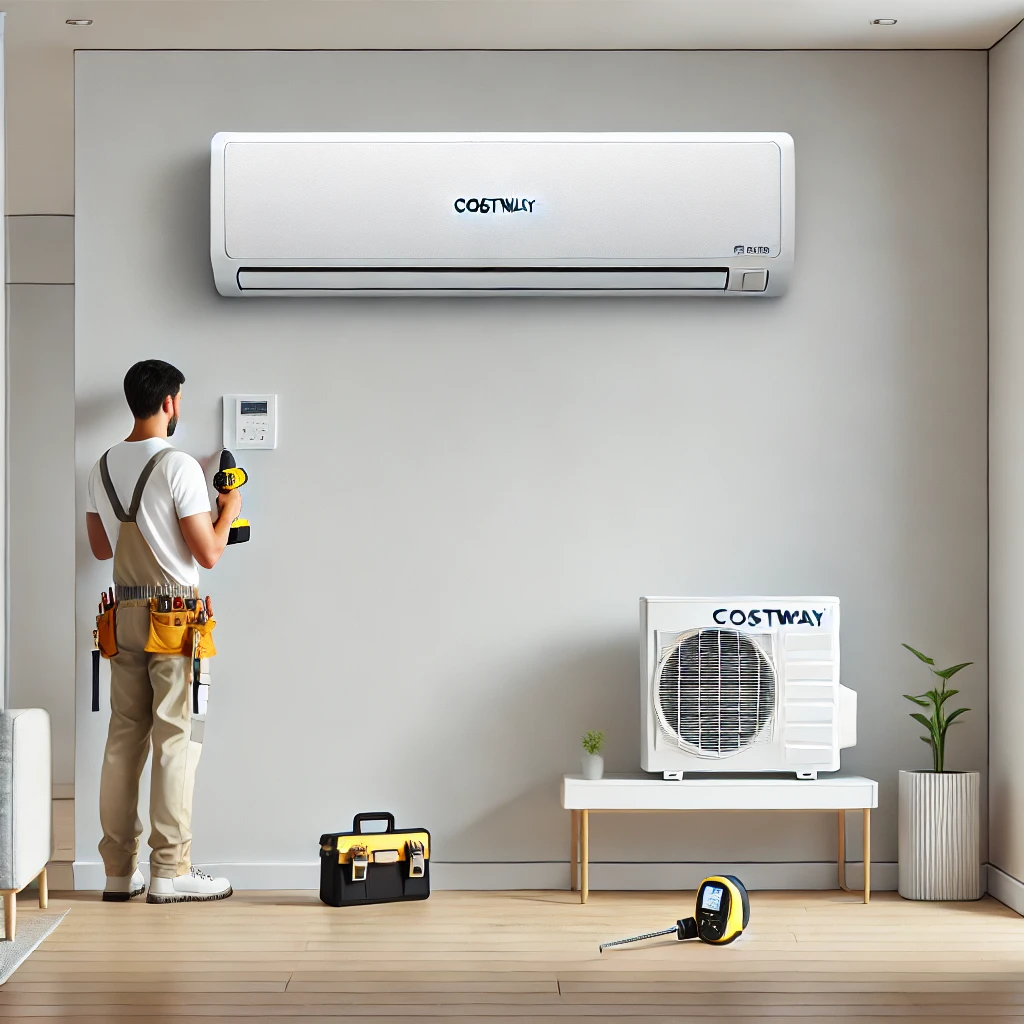
Installing a Costway mini split system can transform your home’s heating and cooling capabilities, offering energy-efficient comfort all year round. With careful planning and attention to detail, this process can be completed successfully. This detailed guide will walk you through every step, from preparation to testing.
How To Install A Costway Mini-Split Guide
1. Pre-Installation Planning
Preparation is key to a successful mini split installation. This stage involves assessing your space, gathering the necessary tools, and ensuring you have the correct Costway mini split model for your needs.
- Understand Your Needs:
- Measure the room size to determine the appropriate BTU rating of your mini split. Costway systems come in various sizes, typically ranging from 9,000 to 24,000 BTU.
- Consider room insulation, ceiling height, and windows to ensure adequate capacity.
- Gather Tools and Materials:
- Drill with masonry and standard bits
- Hole saw (3.5-inch diameter recommended)
- Level
- Measuring tape
- Screwdrivers
- Stud finder
- Torque wrench
- Vacuum pump
- Refrigerant gauge set
- Electrical wiring and conduit
- Mounting brackets and hardware
- Refrigerant line set
- Drain hose
- Insulation tape
2. Selecting Installation Locations
Choosing the right locations for the indoor and outdoor units is essential for optimal performance and long-term efficiency.
- Indoor Unit Placement:
- Mount the indoor unit on an exterior wall for easier access to the outdoor unit.
- Position the unit at least 6 feet off the ground to allow for even air distribution.
- Ensure there is at least 12 inches of clearance on each side and 6 inches above the unit.
- Outdoor Unit Placement:
- Place the outdoor unit on a level surface such as a concrete pad or wall brackets.
- Maintain at least 24 inches of clearance around the unit to allow proper airflow and easy access for maintenance.
- Avoid direct sunlight or locations prone to heavy debris or snow accumulation.
3. Installing the Indoor Unit
The indoor unit serves as the primary component for distributing conditioned air into your living space. Installing it securely is critical for functionality and safety.
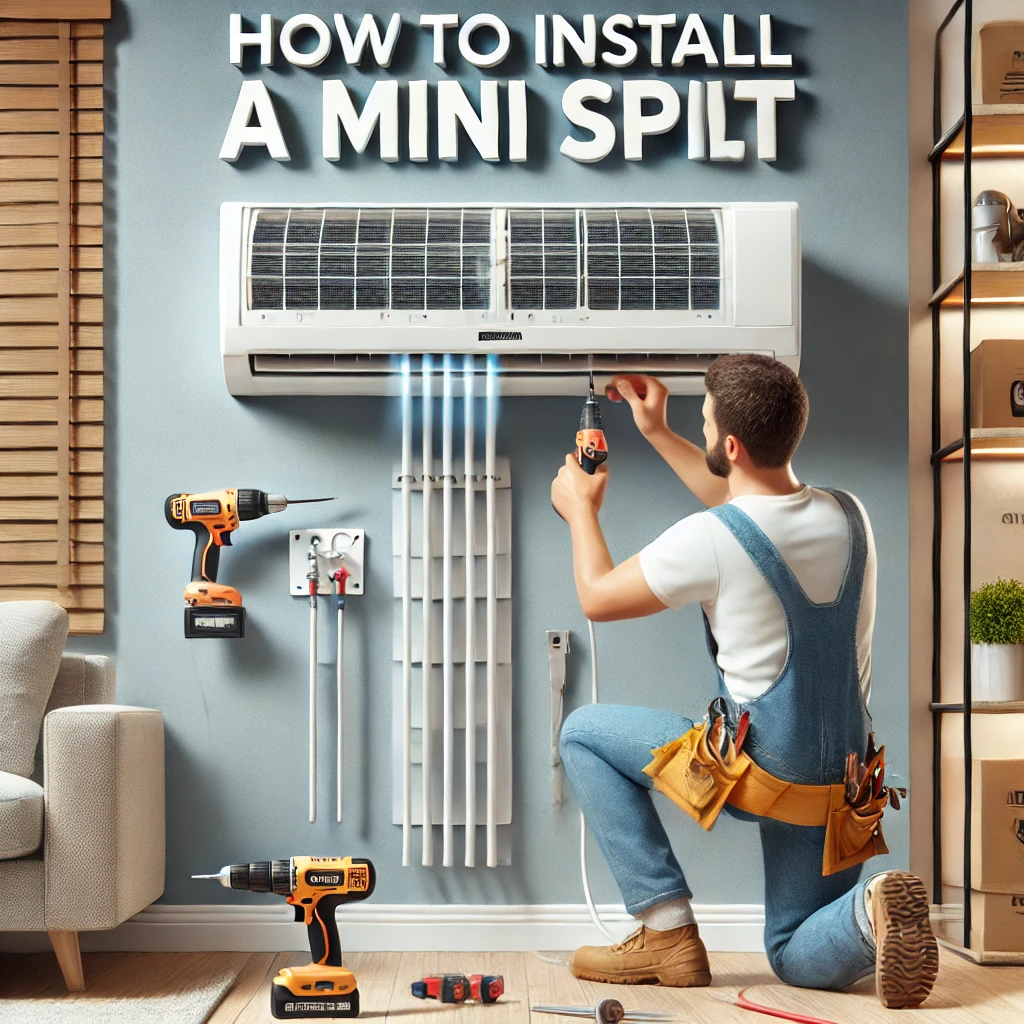
- Mounting Bracket Installation:
- Use a stud finder to locate wall studs and attach the mounting bracket securely.
- Check alignment with a level to ensure the indoor unit will sit evenly on the wall.
- Creating the Access Hole:
- Drill a 3.5-inch diameter hole in the wall for the refrigerant lines, drain hose, and electrical wiring.
- Ensure the hole is sloped slightly downward toward the outside to facilitate proper drainage.
- Connecting Lines and Wiring:
- Attach the refrigerant lines to the indoor unit using the provided flare fittings. Use a torque wrench to secure the connections and prevent leaks.
- Connect the drain hose, ensuring it slopes continuously downward to avoid water accumulation.
- Follow the wiring diagram in the Costway manual to connect the unit to the power supply.
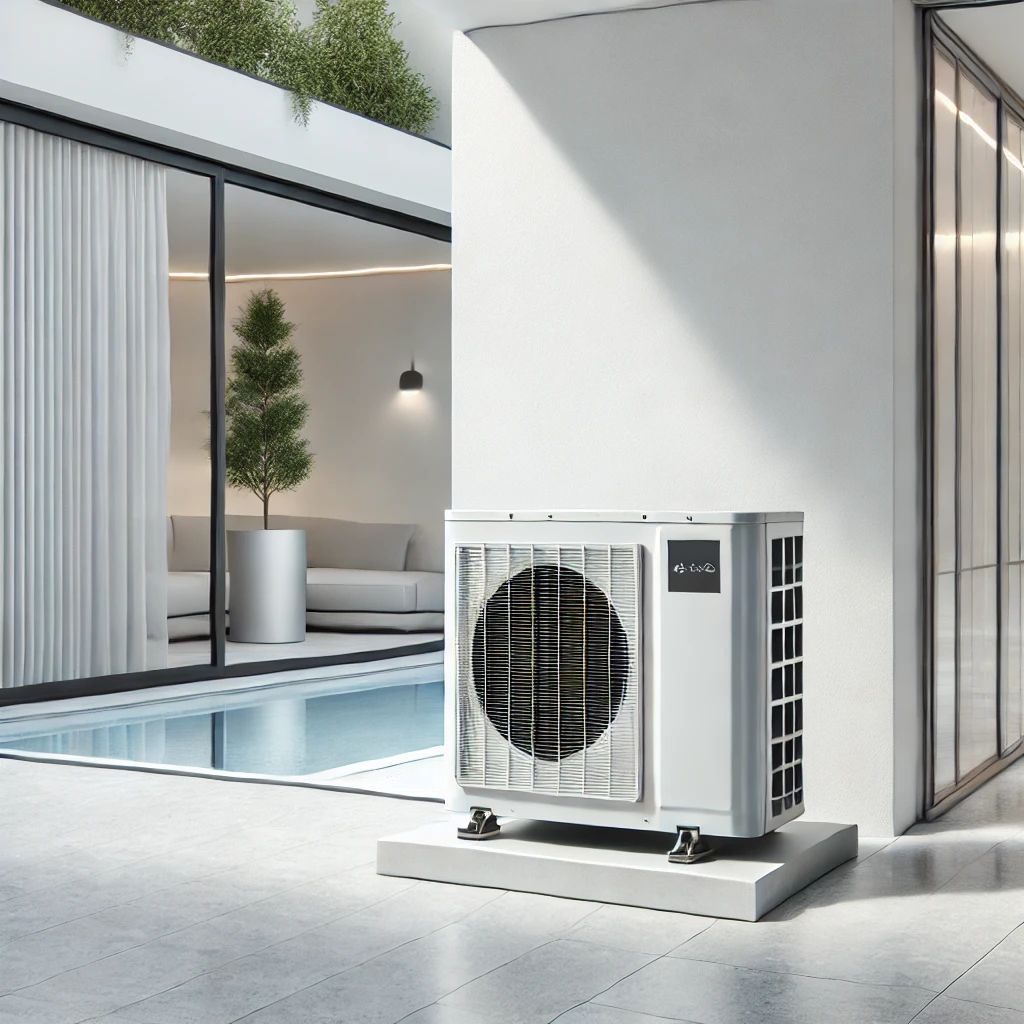
4. Installing the Outdoor Unit
The outdoor condenser unit houses the compressor and plays a vital role in the system’s operation. Proper installation ensures longevity and efficiency.
- Positioning:
- Place the outdoor unit on a stable surface, ensuring it is level to minimize vibration.
- Ensure the unit is positioned in a well-ventilated area, avoiding obstructions such as walls or fences.
- Connecting Refrigerant Lines:
- Route the refrigerant lines from the indoor unit to the outdoor unit, minimizing bends for efficiency.
- Attach the lines to the outdoor unit using the provided fittings, ensuring they are tightened securely.
- Electrical Wiring:
- Follow the Costway wiring diagram to connect the outdoor unit to the electrical supply.
- Ensure proper grounding to prevent electrical hazards.
5. System Evacuation and Refrigerant Charging
Proper evacuation and refrigerant charging are essential for system efficiency and functionality.
- Evacuating the System:
- Attach a vacuum pump to the service ports to evacuate air and moisture from the refrigerant lines.
- Ensure the system reaches a vacuum level of 500 microns, as specified in the installation manual.
- Charging the System:
- Open the service valves to release the pre-charged refrigerant from the outdoor unit into the system.
- Use a refrigerant gauge set to monitor pressure levels, ensuring they match the manufacturer’s specifications.
6. Testing and Final Adjustments
Testing ensures the system is functioning correctly and ready for use. It’s the final step to confirm a successful installation.
- System Testing:
- Turn on the system and test both cooling and heating modes.
- Check for unusual noises, vibrations, or error codes.
- Inspecting Connections:
- Verify that all refrigerant connections are secure and leak-free.
- Confirm the drain hose is positioned correctly to prevent water leaks.
- Final Adjustments:
- Adjust the airflow direction using the remote control to optimize comfort.
- Clean up the installation area, removing any tools or debris.
Official Documentation and Resources
For detailed instructions, refer to the official Costway installation manual and support resources:
These resources provide additional illustrations, troubleshooting tips, and installation guidelines. Let me know if you’d like any further clarification!
