Answer:
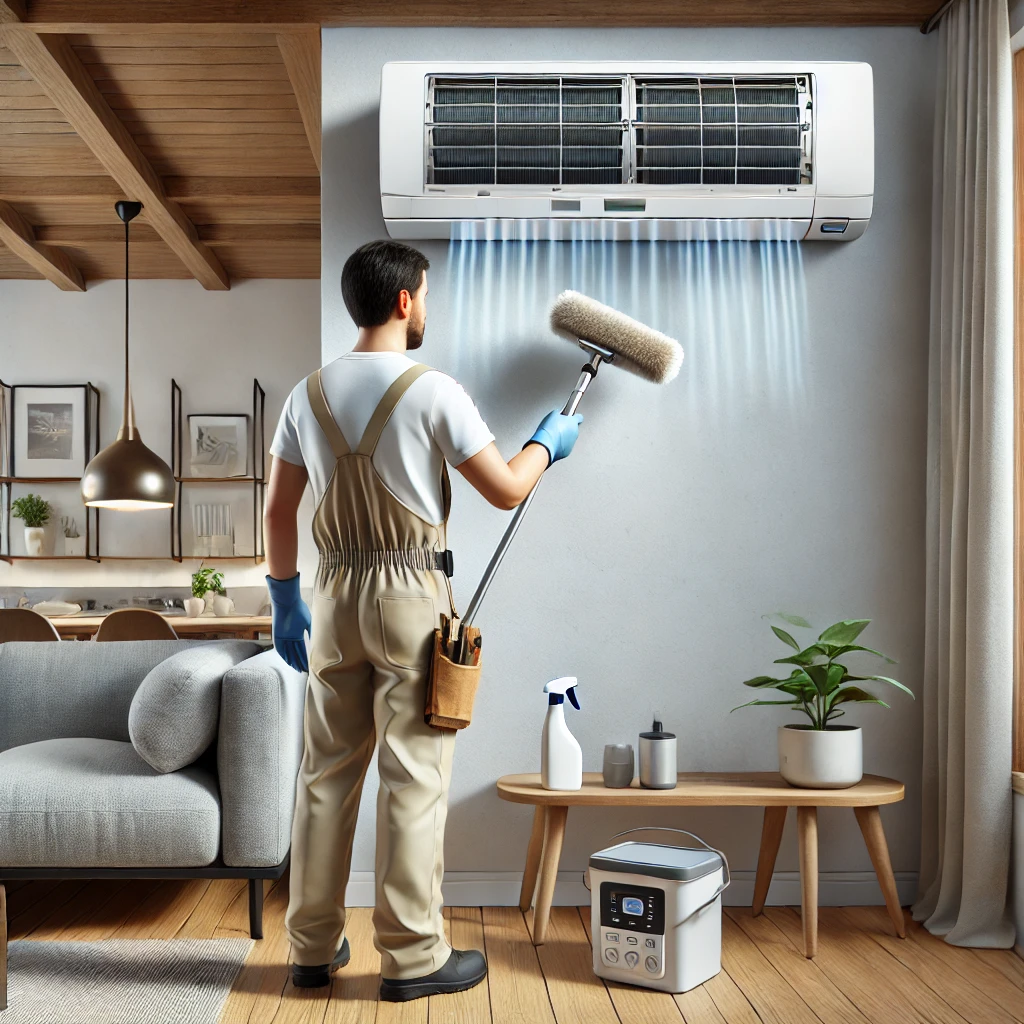
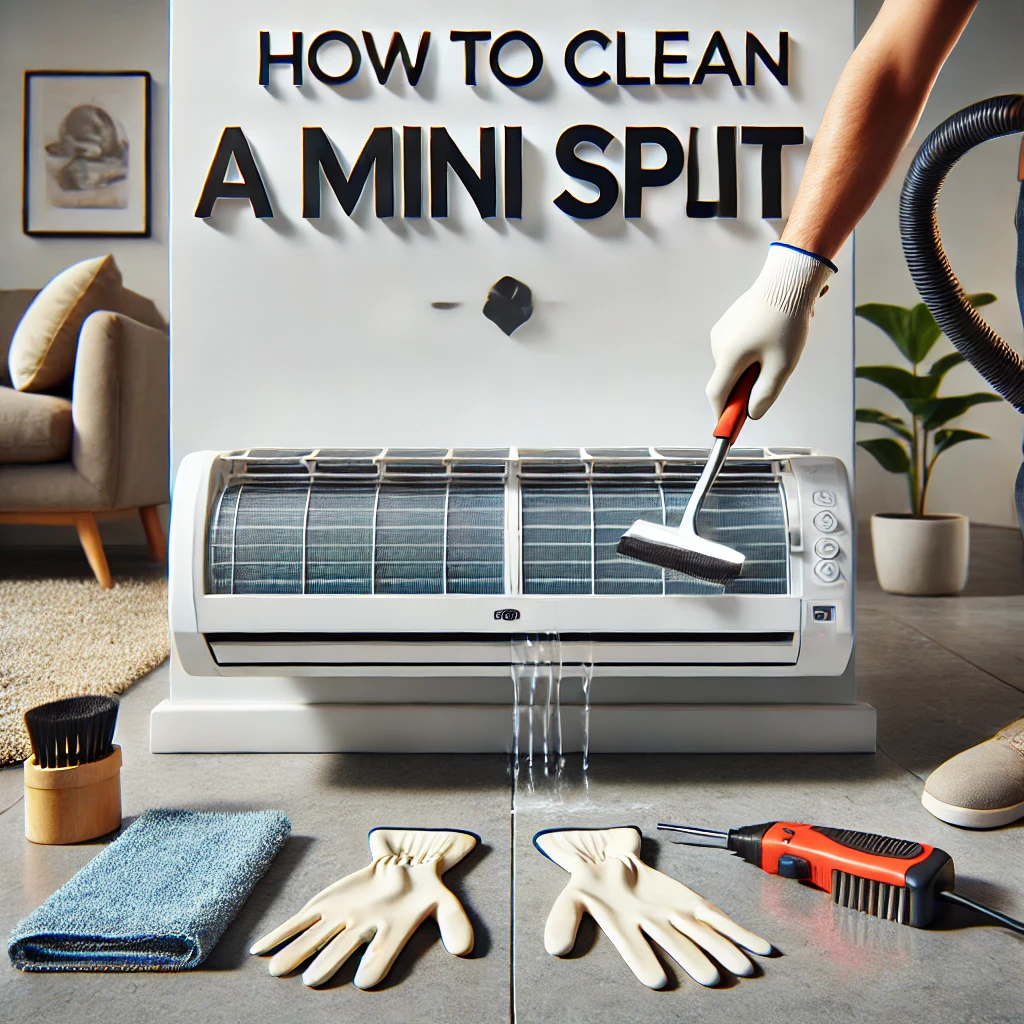
Cleaning the coils on a mini-split is essential for maintaining its efficiency and ensuring clean airflow. Based on our experience, we recommend starting by turning off the power to the unit for safety. Next, access the coils by opening the front panel of the indoor head unit. Use a soft brush or vacuum with a gentle attachment to remove surface dust and debris. Then, apply a coil cleaner spray, letting it sit for the recommended time to dissolve any buildup. In our view, this process should be done carefully to avoid damaging the fins. Rinse or wipe down the coils as needed, ensuring they are clean and free from residue.
More on How To Clean Mini-Split Coils:
Dirty coils can drastically reduce the performance of your mini-split by restricting airflow and forcing the system to work harder, which leads to higher energy bills. From what we’ve seen, cleaning the coils every few months, especially in areas with high dust or pollen, can prevent costly repairs and maintain the unit’s longevity.
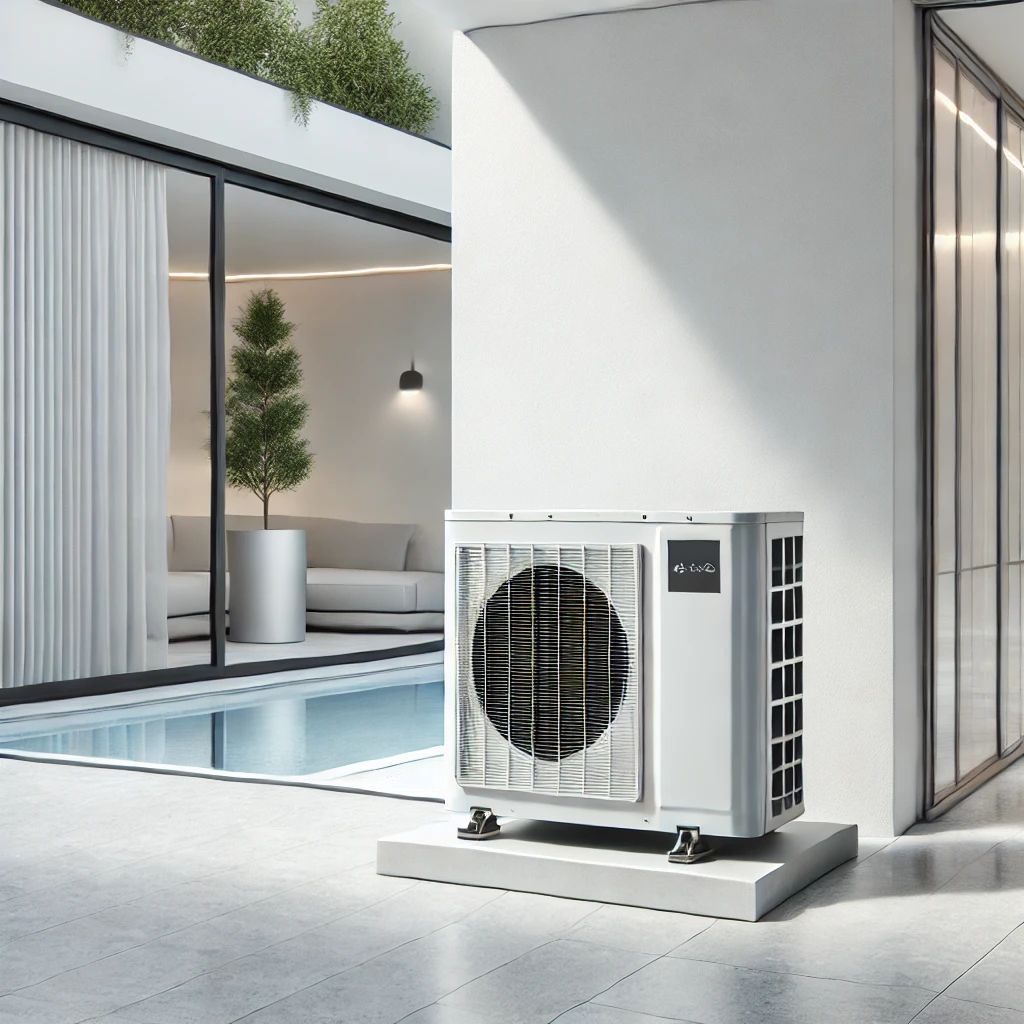
Additionally, while cleaning the indoor unit’s coils, it’s a good idea to check the outdoor unit as well. Clearing debris such as leaves or dirt around the condenser ensures efficient operation. In our opinion, keeping both indoor and outdoor components clean creates a balanced system and avoids unnecessary strain on the equipment.
If you notice persistent grime or mold on the coils, a professional cleaning service might be required. From our perspective, ensuring regular coil maintenance not only improves your mini-split’s efficiency but also enhances the overall air quality in your space.
