Answer:
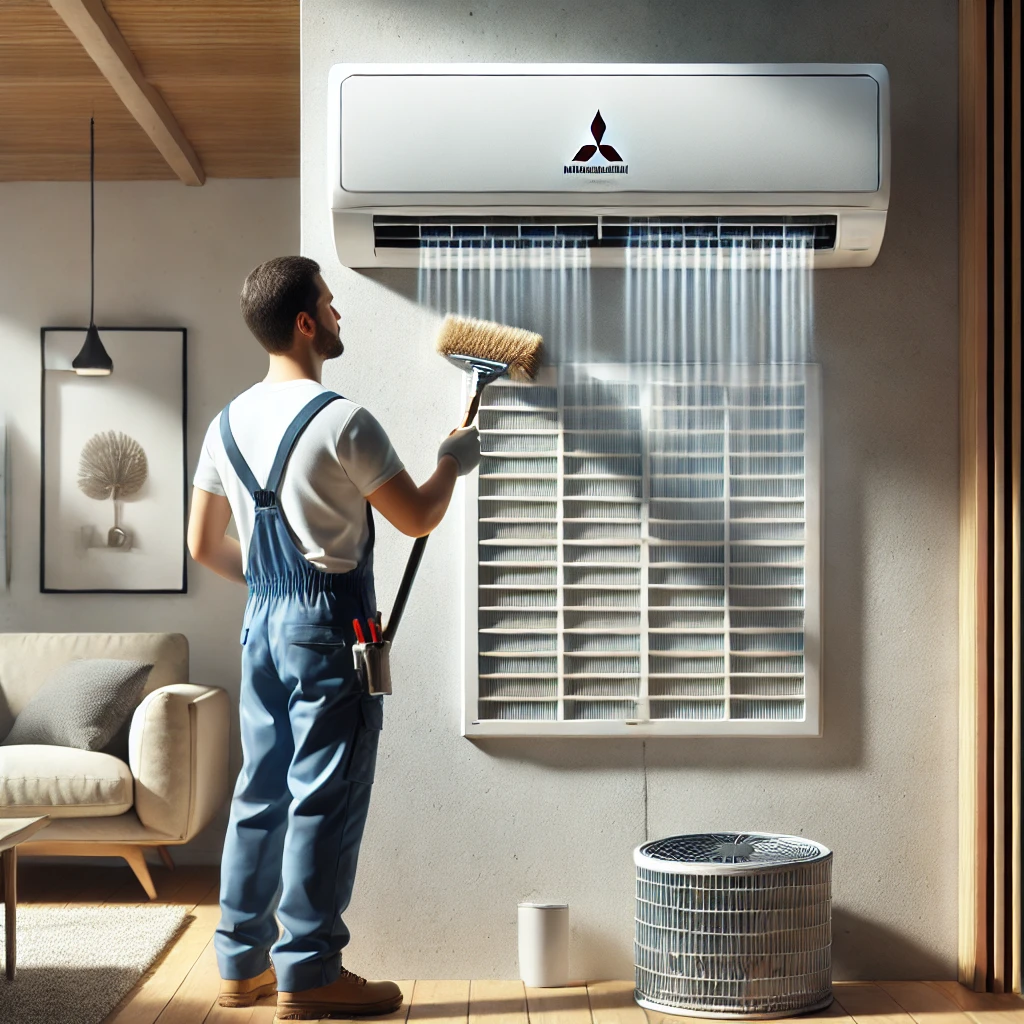
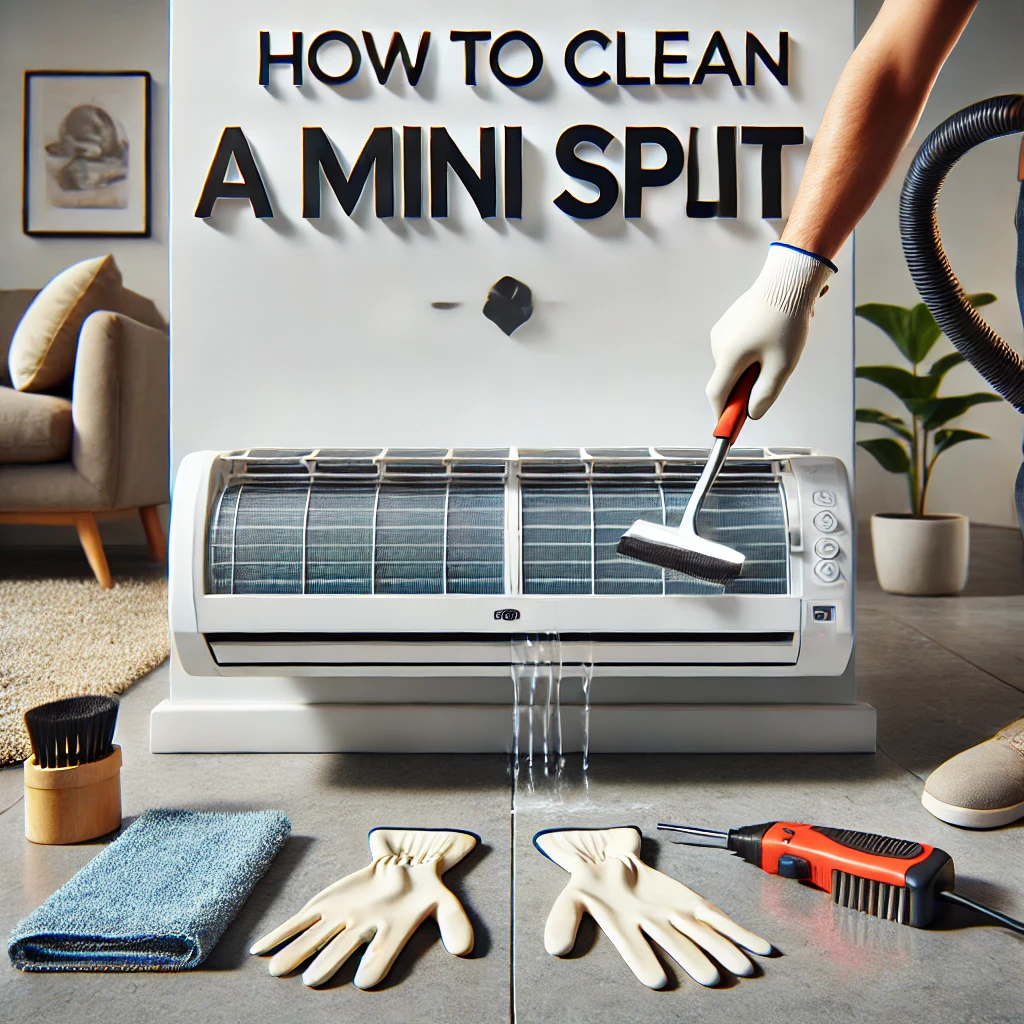
Cleaning a Mitsubishi mini-split is an essential task that helps maintain its efficiency and performance. We’ve found that the process begins with turning off the power to the unit for safety. Open the cover of the indoor head unit, where the filters and coils are located. Carefully remove the filters and wash them with warm water and a mild detergent, letting them dry completely before reinserting. Use a soft brush or vacuum to gently clean the coils and remove dust or debris. In our view, following these steps ensures your Mitsubishi mini-split stays in great condition and improves indoor air quality.
More on How to Clean a Mitsubishi Mini-Split:
In our experience, cleaning the filters every month or two, especially during heavy use, is key to keeping your system efficient. Filters trap dust, pollen, and other particles, and regular cleaning prevents airflow blockages. For homes with pets or smokers, you might need to clean the filters more often to handle the extra debris.
We also suggest inspecting the blower wheel and drain pan while cleaning the head unit. From what we’ve seen, these areas can accumulate dirt and moisture, potentially leading to mold or odors. Cleaning these parts with a mild detergent or specialized cleaner can help maintain a fresh-smelling and hygienic system.
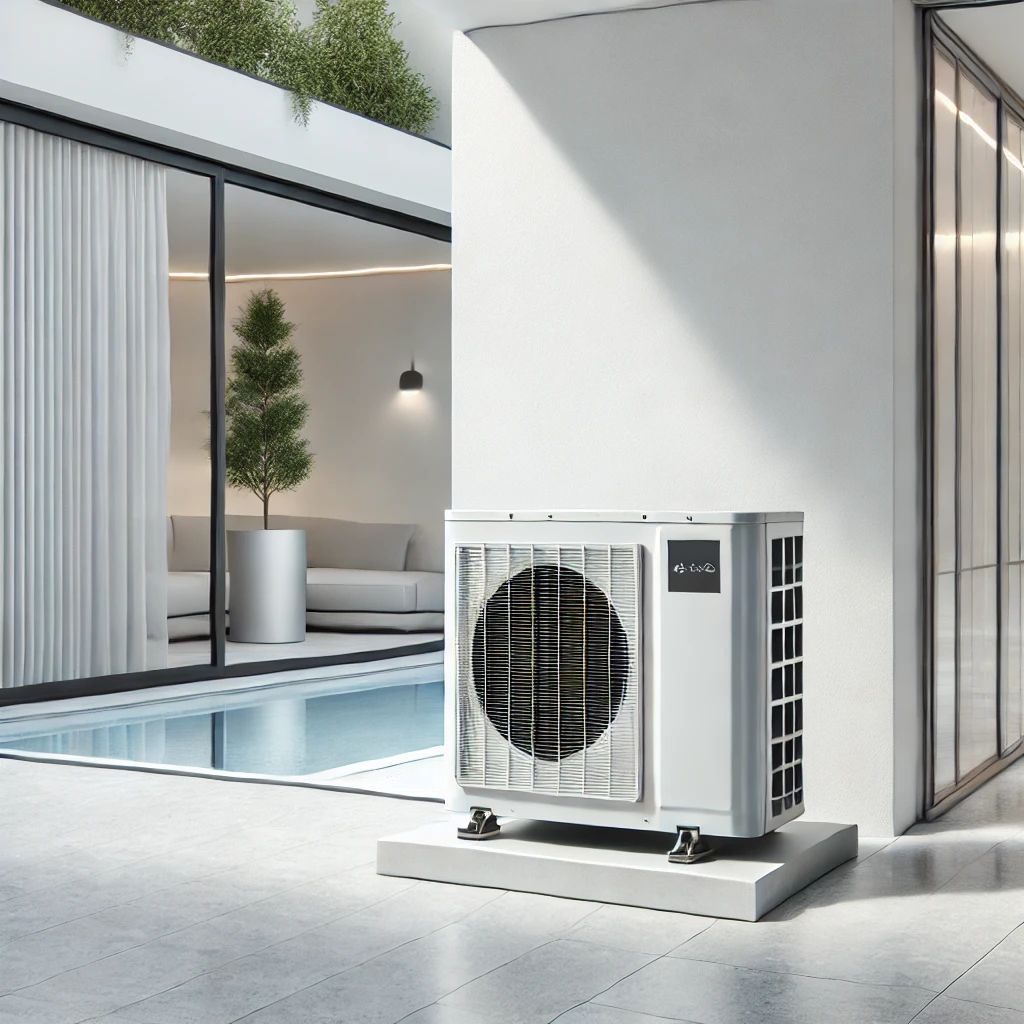
Finally, while routine cleaning is something you can handle, scheduling professional maintenance at least once a year is something we always recommend. Professionals can perform a deep clean and inspect components like the refrigerant lines and outdoor condenser, ensuring the entire system operates at peak efficiency. Combining regular DIY care with professional servicing keeps your Mitsubishi mini-split running smoothly for years to come.
