Answer:
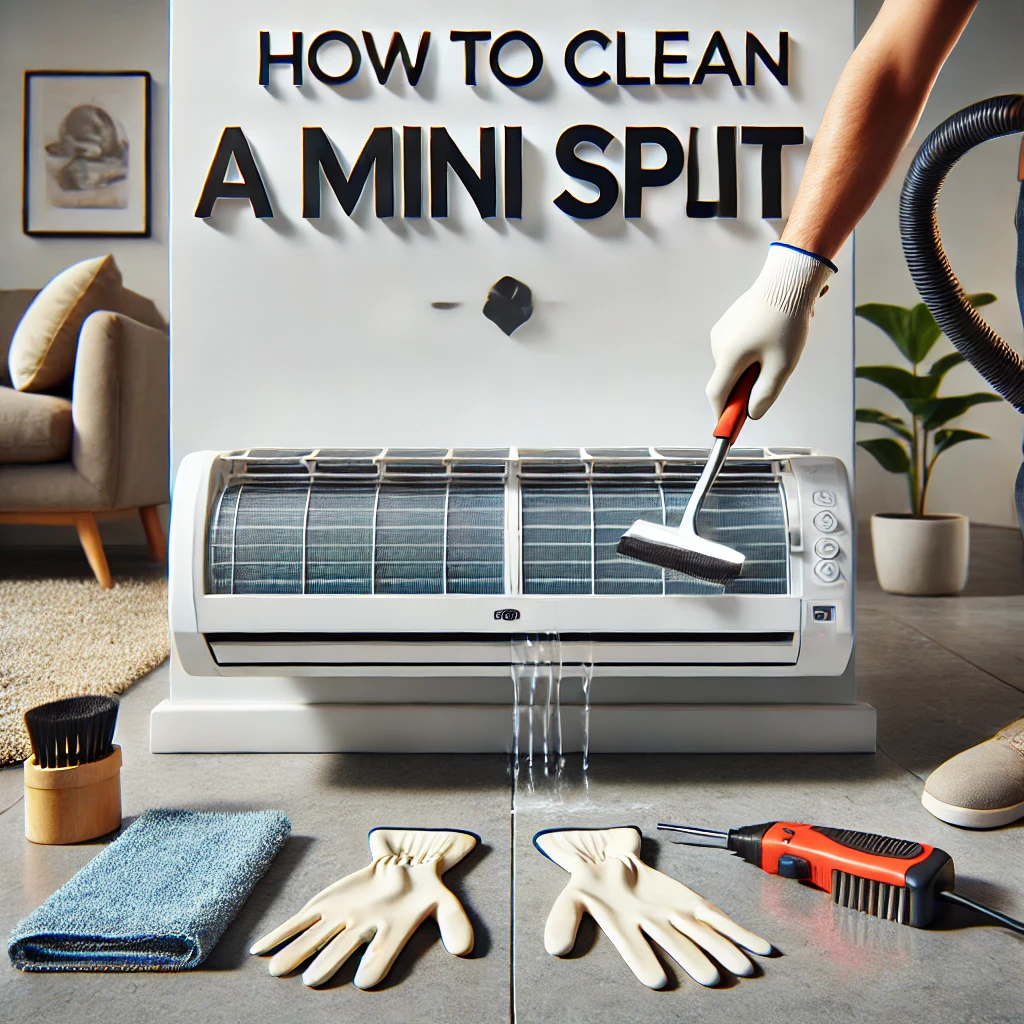
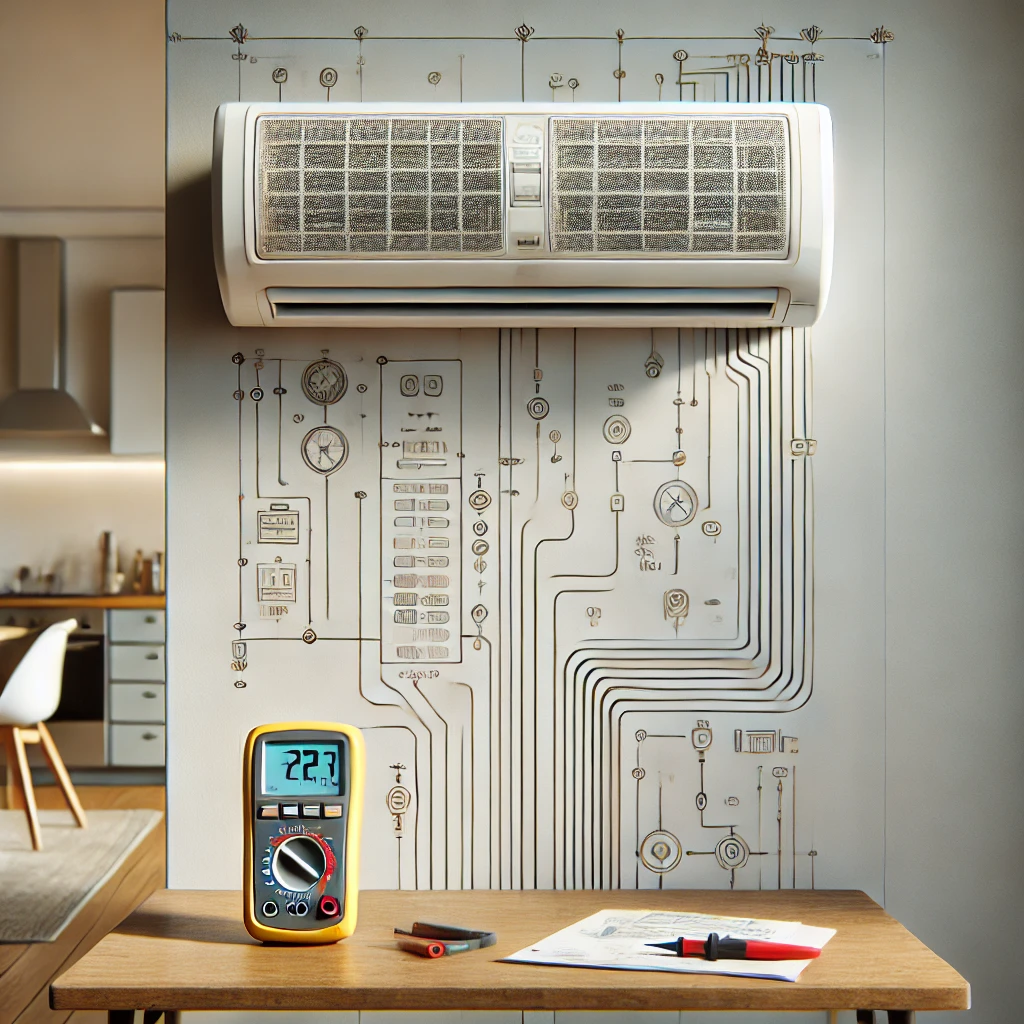
Cleaning a mini-split head is a critical part of maintaining your system’s performance and air quality. From what we’ve seen, the process begins with turning off the power for safety. Open the front panel of the indoor head unit to expose the coils and blower. Using a soft brush or vacuum, gently remove dust and debris from these components. For a deeper clean, we recommend using a specialized coil cleaner to tackle grime buildup. In our experience, regular cleaning like this ensures efficient airflow and helps prevent unpleasant odors.
More on How to Clean a Mini-Split Head:
The coils and blower inside the mini-split head are the heart of the system, and keeping them clean is crucial. Over time, dirt can accumulate on these components, reducing efficiency and potentially leading to issues like ice buildup or mold growth. We’ve found that using a foam coil cleaner specifically designed for HVAC systems is effective at loosening stubborn dirt without damaging delicate parts.
While cleaning, pay attention to the drain pan and line. In our view, this is a step many overlook, but it’s essential for preventing water overflow and mold growth. A simple rinse with warm water or a light cleaning with a mild detergent can help keep the drainage system clear.
Finally, we often suggest scheduling a professional deep cleaning once a year, especially if you notice reduced performance or persistent odors. Professionals can access and clean hard-to-reach areas, ensuring your mini-split head operates efficiently. By combining regular DIY maintenance with periodic professional care, you can extend the life of your system and enjoy consistent comfort.
