Answer:
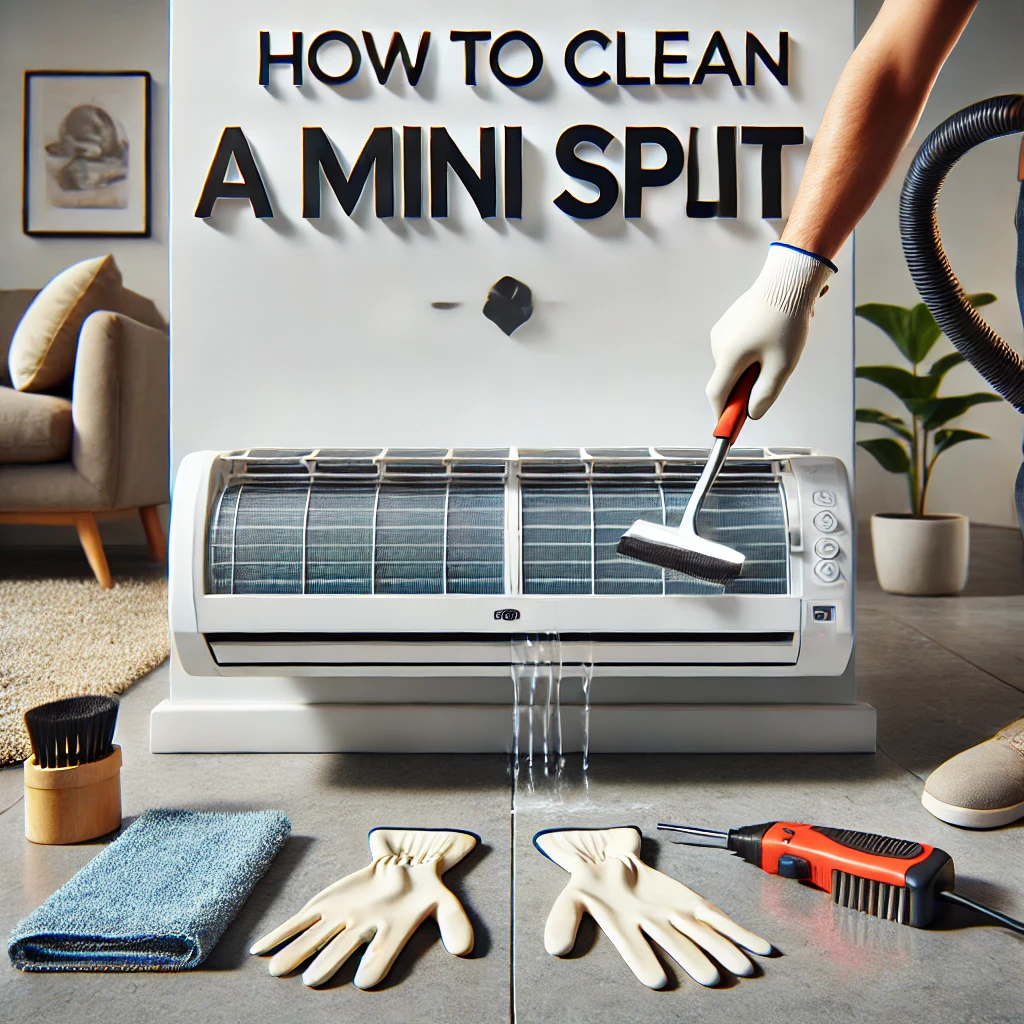
Cleaning a mini-split filter is a quick and essential task to maintain optimal performance. In our view, it’s best to start by turning off the system to ensure safety. Open the cover of the indoor head unit, and you’ll see the filters. Carefully remove them and check for dust and debris. Wash the filters with warm water and a mild detergent, then rinse thoroughly. Let them dry completely before reinserting them and closing the cover. Based on what we’ve observed, this simple maintenance step keeps your mini-split running efficiently and improves indoor air quality.
More on How to Clean a Mini-Split Filter:
We believe cleaning your filters every one to two months is a smart habit, especially during peak usage seasons. Filters trap dust, allergens, and other particles, so regular cleaning ensures consistent airflow and prevents the system from working harder than necessary. For homes with pets or smokers, we’ve found that cleaning may need to be done more frequently to handle the additional debris.
Reusable filters, common in most mini-splits, are easy to maintain. In our experience, a gentle vacuuming can work for light dust buildup, but washing them ensures a deeper clean. Be sure to avoid using harsh chemicals, as they can damage the filter material. Once washed, place the filters in a well-ventilated area to dry thoroughly—reinstalling damp filters can lead to mold growth.
If the filters are damaged or heavily worn, replacing them is the better option. Always use filters recommended by the manufacturer to ensure proper fit and function. Finally, while cleaning the filters, it’s a good time to inspect the system for other maintenance needs, such as coil cleaning or checking for obstructions in the drain line. Regular care like this extends the life of your mini-split and keeps your home comfortable year-round.

