Answer:
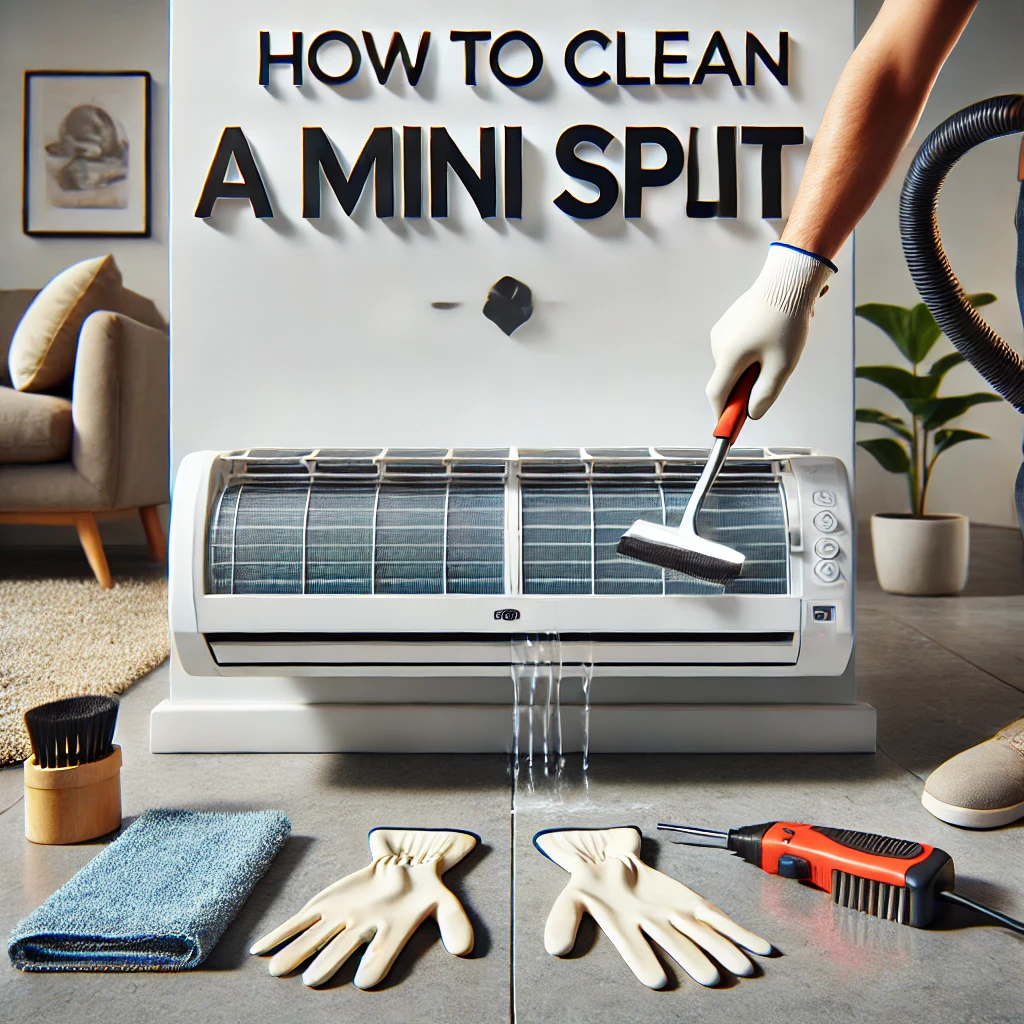
Cleaning a mini-split is essential to keep it running efficiently, and it’s easier than you might think. From our decades of experience, we recommend starting by turning off the power to the unit, removing the filters from the indoor air handler, and giving them a thorough rinse with warm water. For the coils, use a coil cleaner or a soft brush to gently remove dust and debris. We’ve always found that maintaining a clean mini-split not only improves air quality but also helps the system last longer.
More On “How to Clean a Mini Split”
Cleaning your mini-split is about more than just improving airflow—it’s a key part of keeping the system energy-efficient and extending its lifespan. Over time, dust and dirt accumulate on the filters and coils, reducing the unit’s ability to cool or heat effectively. In our experience, we’ve seen that even a lightly clogged filter can force the unit to work harder, leading to higher energy bills. By cleaning it regularly, you’ll notice improved performance and better indoor air quality.
The process typically involves three main steps:
- Clean the Filters: Remove the filters from the indoor air handler, wash them with warm water, and let them dry completely before reinserting them. We always advise homeowners to do this monthly during peak usage.
- Clean the Coils: Use a coil cleaner spray or a soft brush to remove dust and debris from the evaporator coils inside the indoor unit. This step can be done every three to six months or as needed.
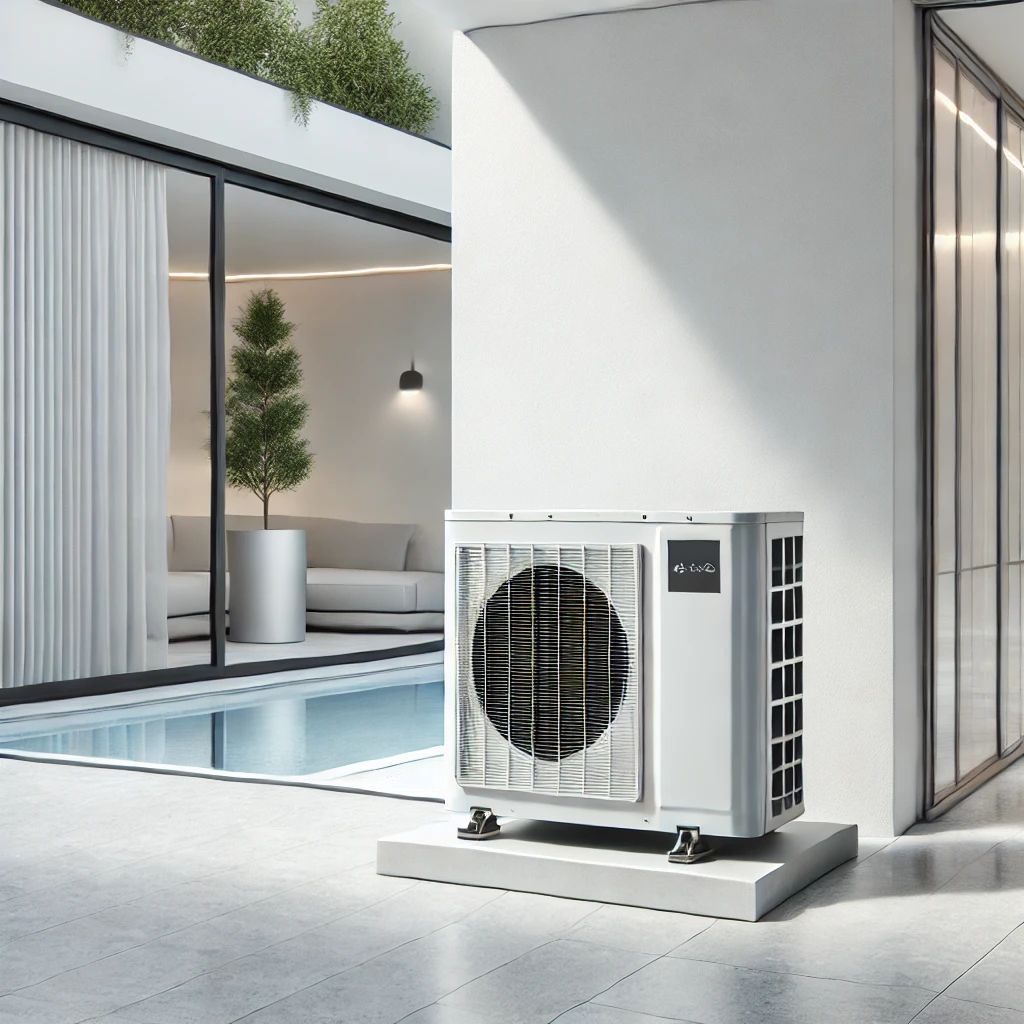
- Check the Outdoor Unit: Don’t forget the outdoor compressor! Clear any leaves, dirt, or debris from around it to ensure optimal airflow.
From our perspective, cleaning a mini-split is a relatively simple task that can save you a lot of money in the long run. For deeper maintenance, such as cleaning the blower wheel or addressing persistent issues, consider hiring a professional. We’ve seen firsthand how regular professional servicing can catch problems early and keep your system running smoothly for years.
