Answer:
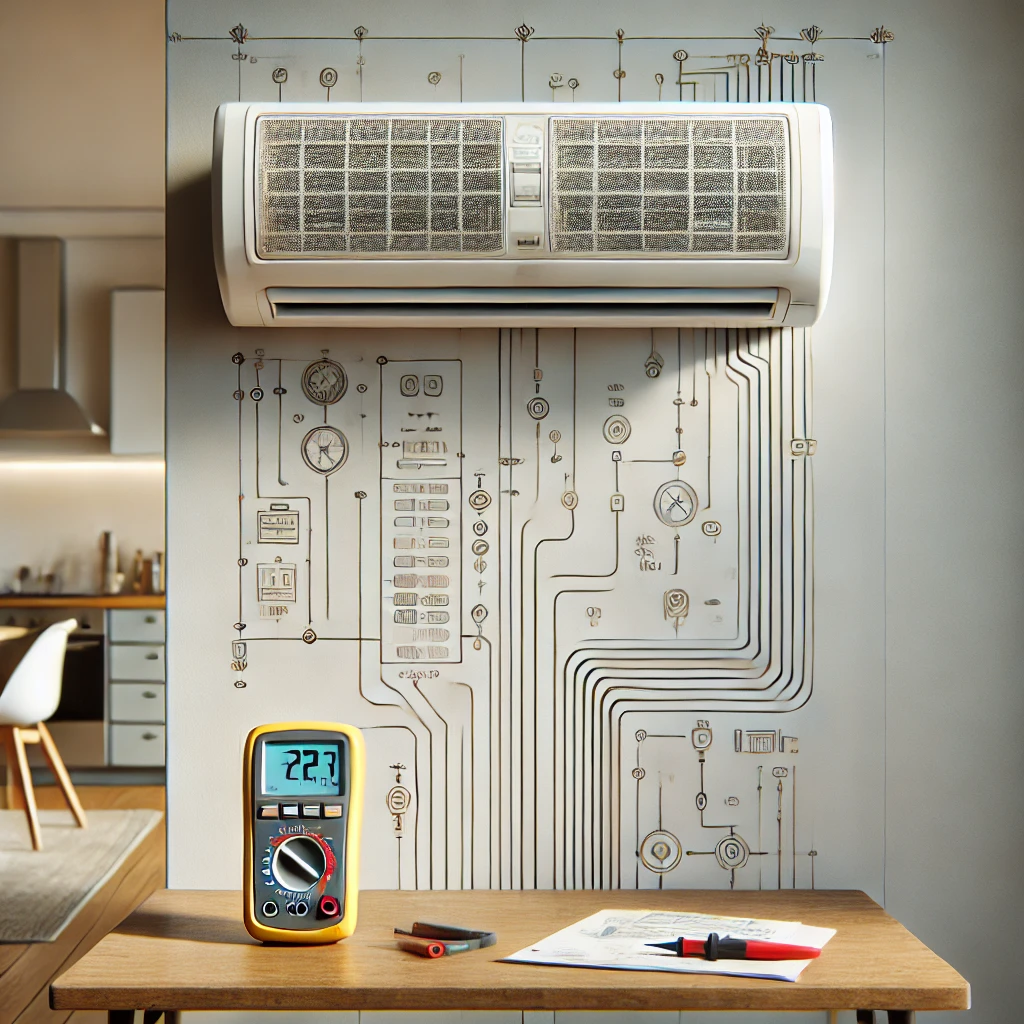
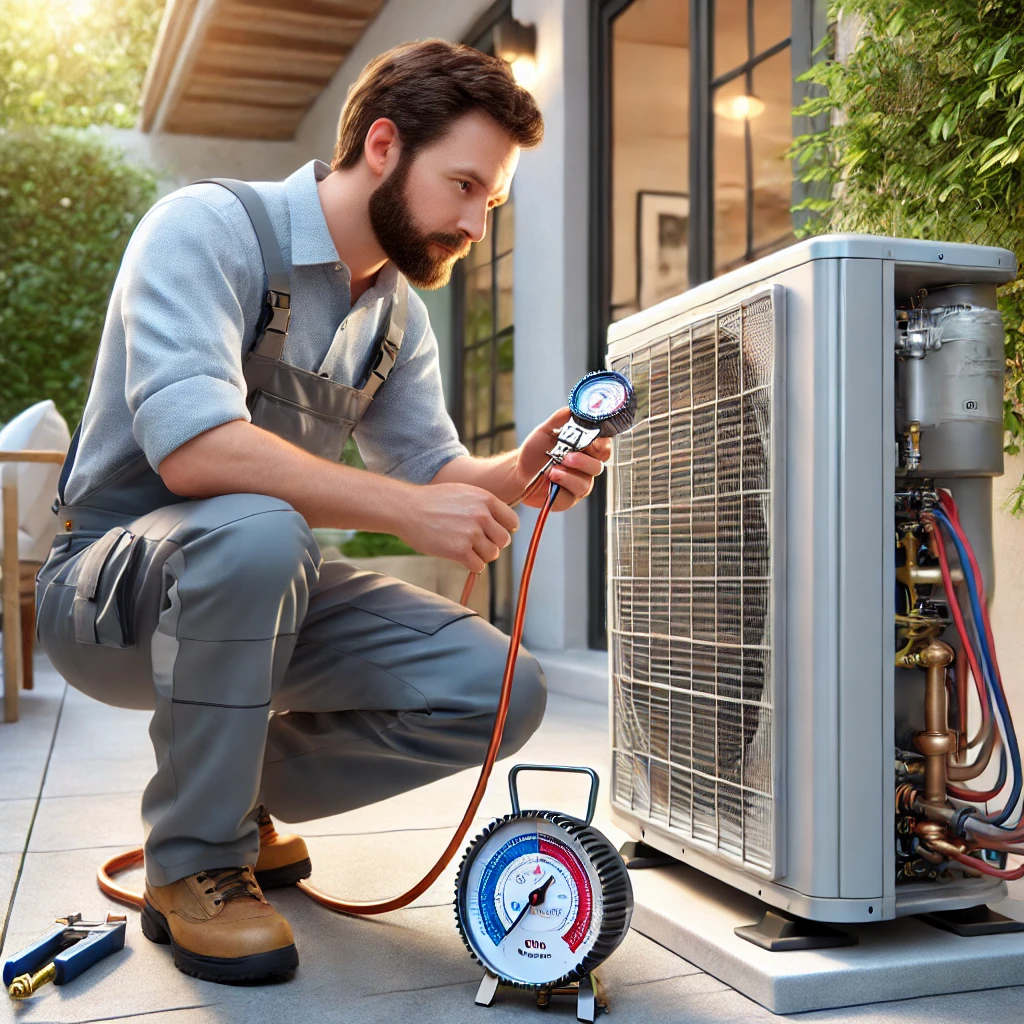
Checking the refrigerant level in a mini-split system requires careful handling and the right tools. Based on what we’ve seen, the process starts with connecting a refrigerant manifold gauge set to the service ports on the outdoor condenser. Ensure the system is running, as this allows you to measure the pressure levels accurately. In our experience, comparing these readings to the manufacturer’s recommended operating pressure for your specific refrigerant type (e.g., R410A or R32) is key to determining if the refrigerant level is correct.
More on How to Check Refrigerant Level in a Mini-Split:
We’ve found that refrigerant levels are typically assessed indirectly through pressure readings. These readings vary based on factors like ambient temperature and system load. Using a digital gauge or a pressure-temperature chart can help ensure your measurements are precise. If the levels seem off, it could indicate a leak or improper installation, which we believe should be addressed before recharging the system.
From what we’ve observed, signs of low refrigerant levels include poor cooling or heating performance, ice buildup on the indoor coils, and longer-than-usual run times. Monitoring these symptoms alongside pressure readings can give you a clearer picture of the system’s condition.
Finally, while it’s possible to check refrigerant levels yourself with the right tools, we often recommend hiring a licensed HVAC technician for this task. Professionals have the expertise to safely handle refrigerants, identify underlying issues, and ensure your mini-split operates efficiently and in compliance with environmental regulations. It’s an investment in your system’s longevity and performance.