Answer:
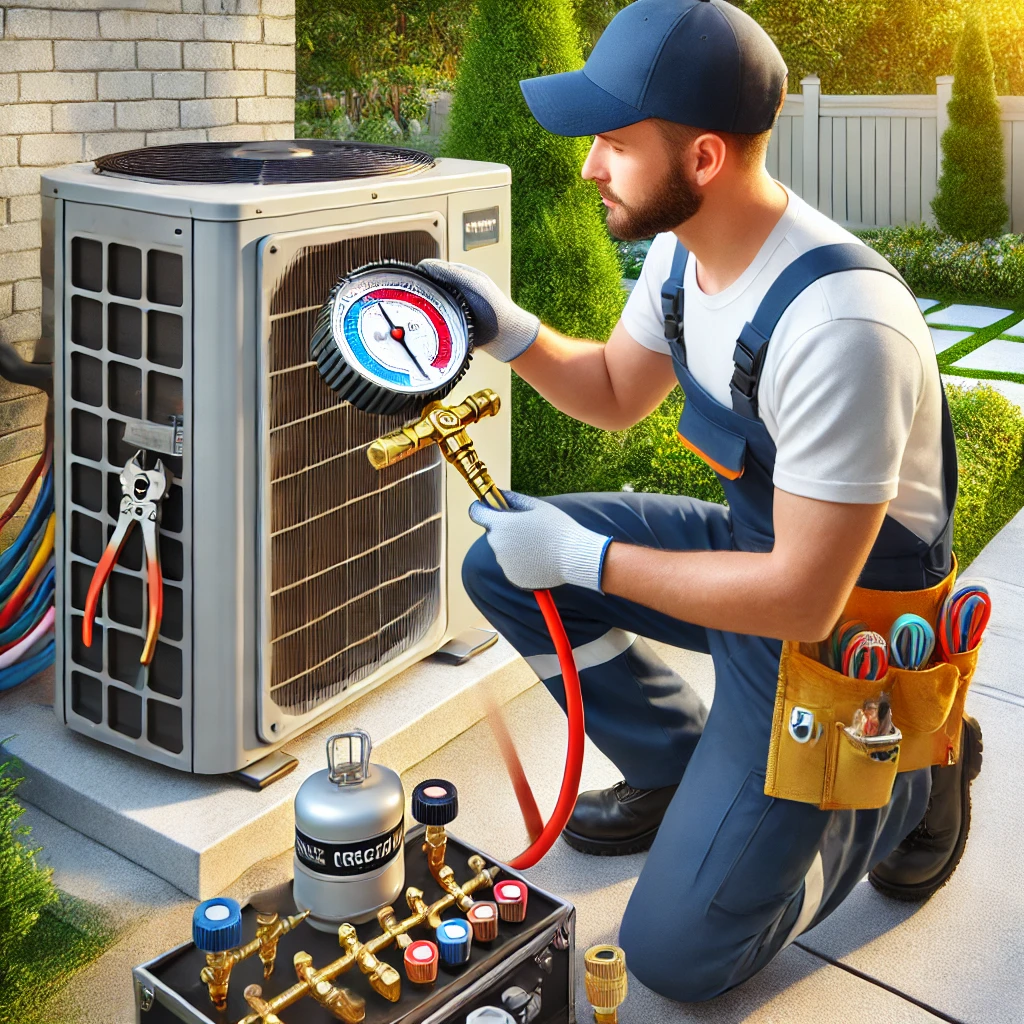
To check the refrigerant charge on a mini-split system, precision and the right tools are essential. From what we’ve observed, the first step involves connecting a refrigerant manifold gauge set to the service ports on the outdoor condenser unit. After confirming the connections are secure, ensure the system is running to measure the operating pressures accurately. Cross-referencing the pressure readings with the manufacturer’s specifications for your specific refrigerant type is, in our opinion, a crucial step in determining if the charge is correct.
More on How to Check Refrigerant Charge on a Mini-Split:
We’ve often found that understanding the ideal operating pressures for your mini-split depends on factors like the type of refrigerant (e.g., R410A or R32) and ambient temperature. Pressure charts provided by manufacturers or professional tools like digital gauges are invaluable in this process. If the readings are too high or too low, it can indicate overcharging, undercharging, or system issues such as leaks or blockages.
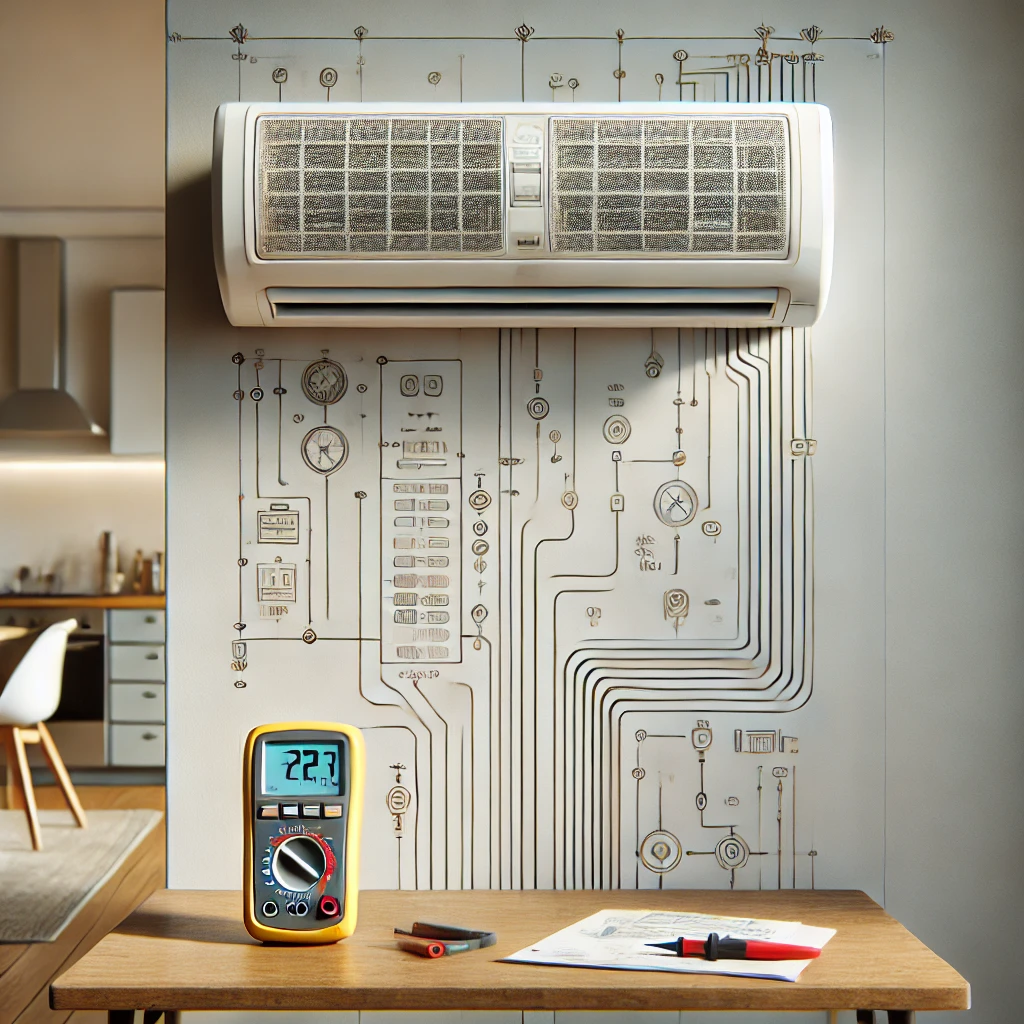
Another detail we emphasize is observing the system’s performance while checking the charge. For instance, insufficient cooling or heating despite normal pressure levels might suggest problems beyond refrigerant levels, like dirty filters or a failing compressor. From our perspective, combining pressure readings with an assessment of system behavior gives a more comprehensive understanding.
Finally, we believe this task is best left to certified HVAC technicians if you’re unfamiliar with handling refrigerants. Improper handling can damage the system or release refrigerant into the environment, violating regulations. Trusting a professional ensures the job is done safely and your system remains efficient and reliable.
