Answer:
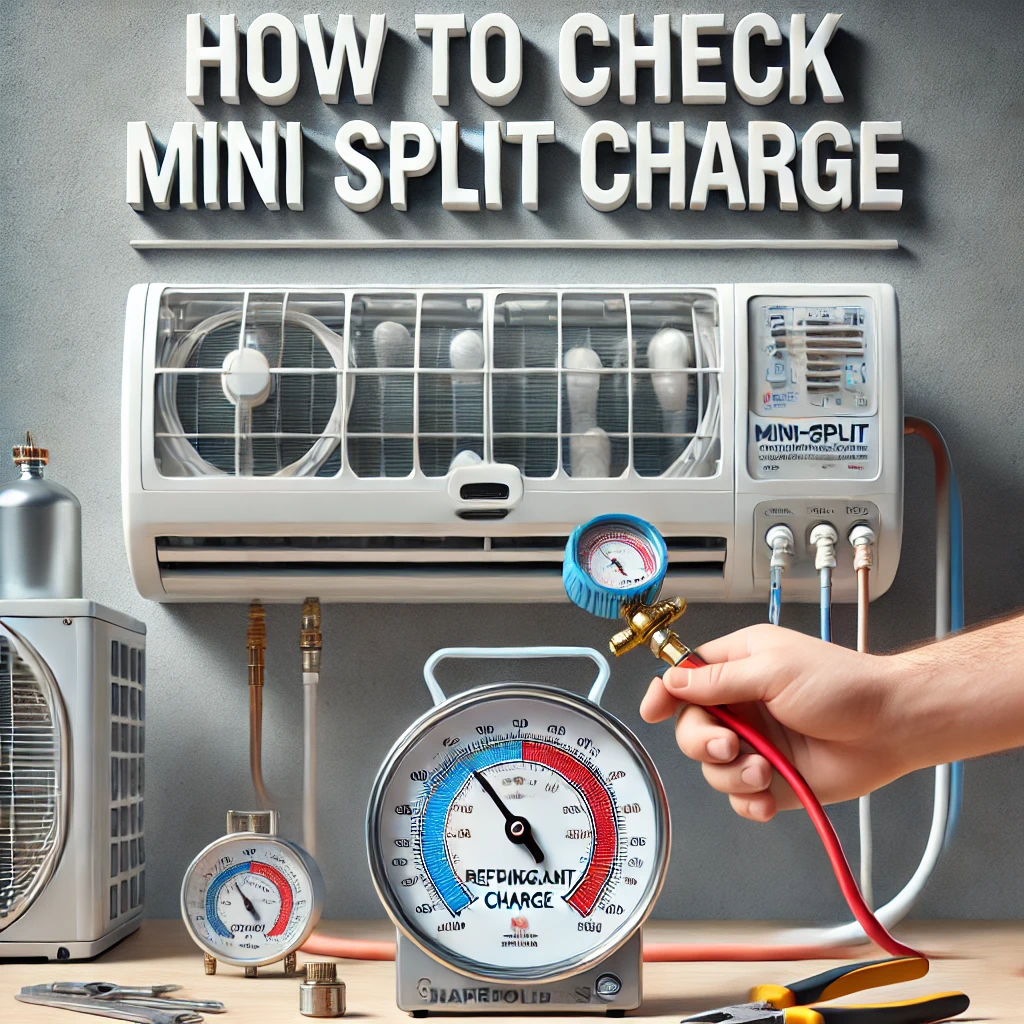
To check the refrigerant charge of a mini split, you’ll need a manifold gauge set and knowledge of the system’s pressure requirements. From our decades of experience, we’ve always emphasized the importance of turning off the system, connecting the gauges properly to the service ports, and comparing the readings to the manufacturer’s specifications. It’s a technical task best done by a licensed professional to avoid overcharging or undercharging, which can lead to inefficiency or damage.
More On “How To Check Mini Split Charge”
Checking the charge of a mini split involves measuring the refrigerant levels to ensure the system operates efficiently. A properly charged system maintains optimal cooling or heating performance and prevents unnecessary wear and tear on the compressor. Over the years, we’ve helped countless homeowners troubleshoot their mini splits, and refrigerant levels are often the first place to check when performance dips.
First, it’s critical to understand your system’s specifications. Every mini split is designed to operate within a specific pressure range, and these details can be found in the manufacturer’s documentation. Using a manifold gauge set, you can measure the system’s low-side and high-side pressures. We’ve seen many cases where improper readings were due to gauge misconnection, so always double-check your setup before proceeding.
Another key point is understanding refrigerant types. Most modern mini splits use R-410A refrigerant, which operates at higher pressures than older refrigerants like R-22. If you suspect a refrigerant issue, checking for leaks should be a priority, as even a small leak can cause imbalances. In our professional opinion, while homeowners can monitor system performance, refrigerant recharging and leak repairs should always be handled by certified HVAC technicians to ensure safety and compliance with environmental regulations.
