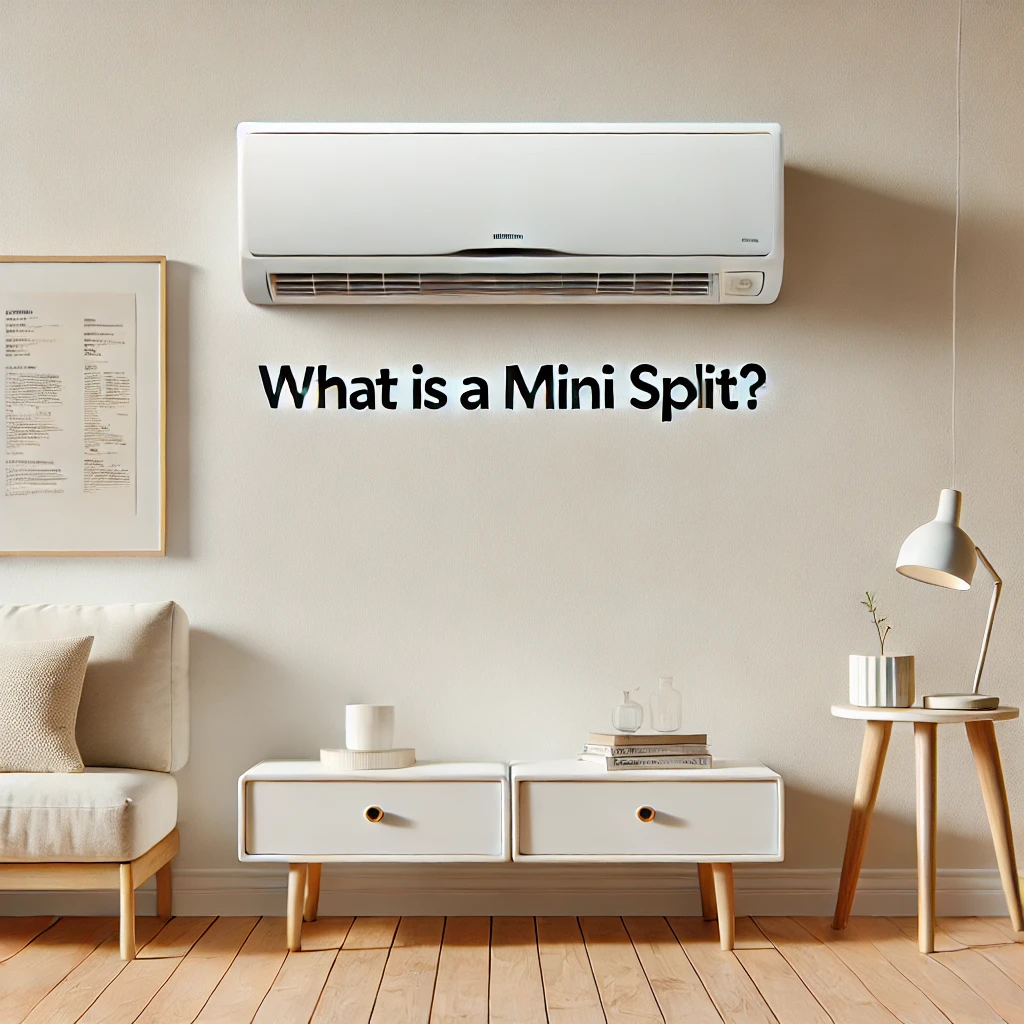
Answer:
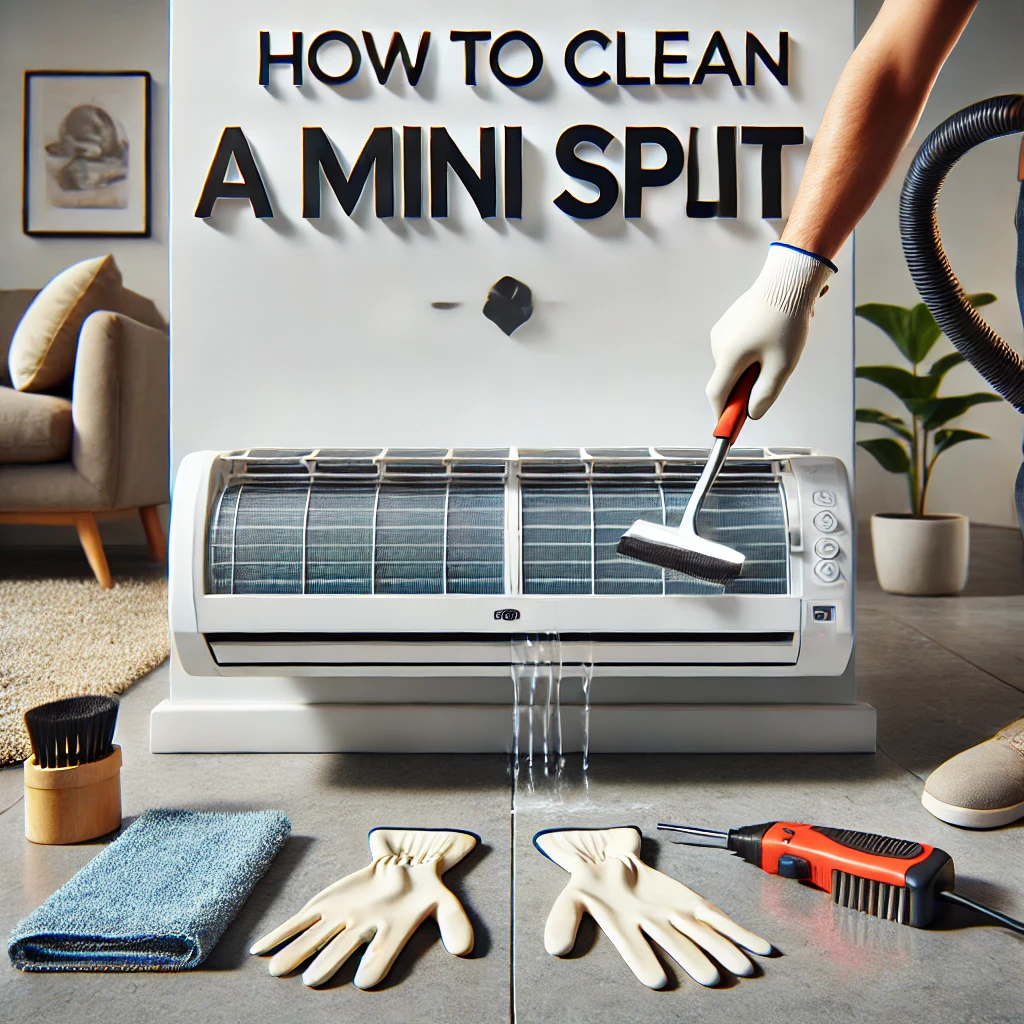
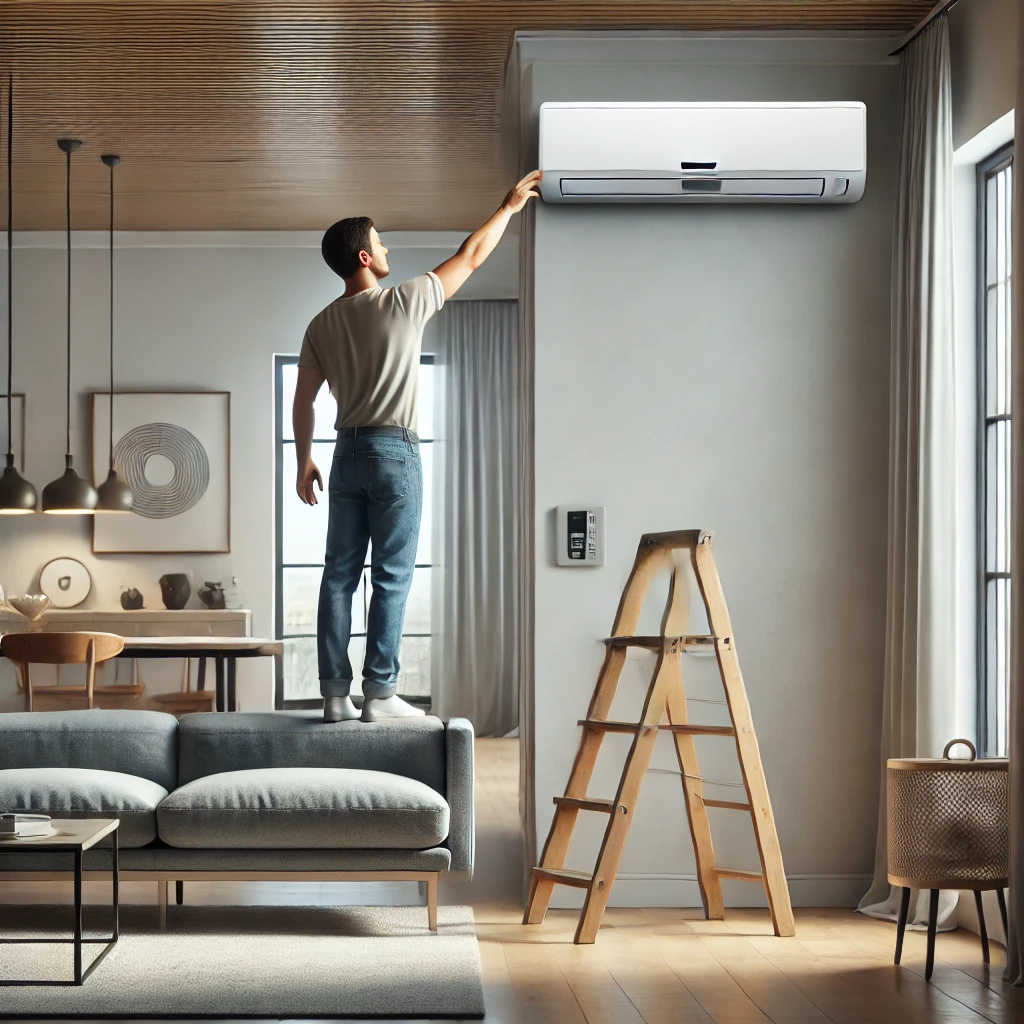
Removing the cover of your Daikin mini split system is a straightforward process that allows for routine maintenance and cleaning. First, ensure the unit is powered off and unplugged for safety. Open the front panel by gently lifting it until it stays in place. Next, remove the air filters by sliding them out carefully. With the filters removed, locate and unscrew the screws securing the front grille. After removing the screws, gently unfasten the hooks holding the front grille in place and carefully detach it from the unit. This process provides access to the interior components for cleaning or inspection. In our experience, our customers find that regular maintenance, including cleaning the interior components, helps maintain optimal performance of their mini split systems. For a visual guide on this process, you might find this video helpful:
More On Removing a Daikin Mini Split Cover:
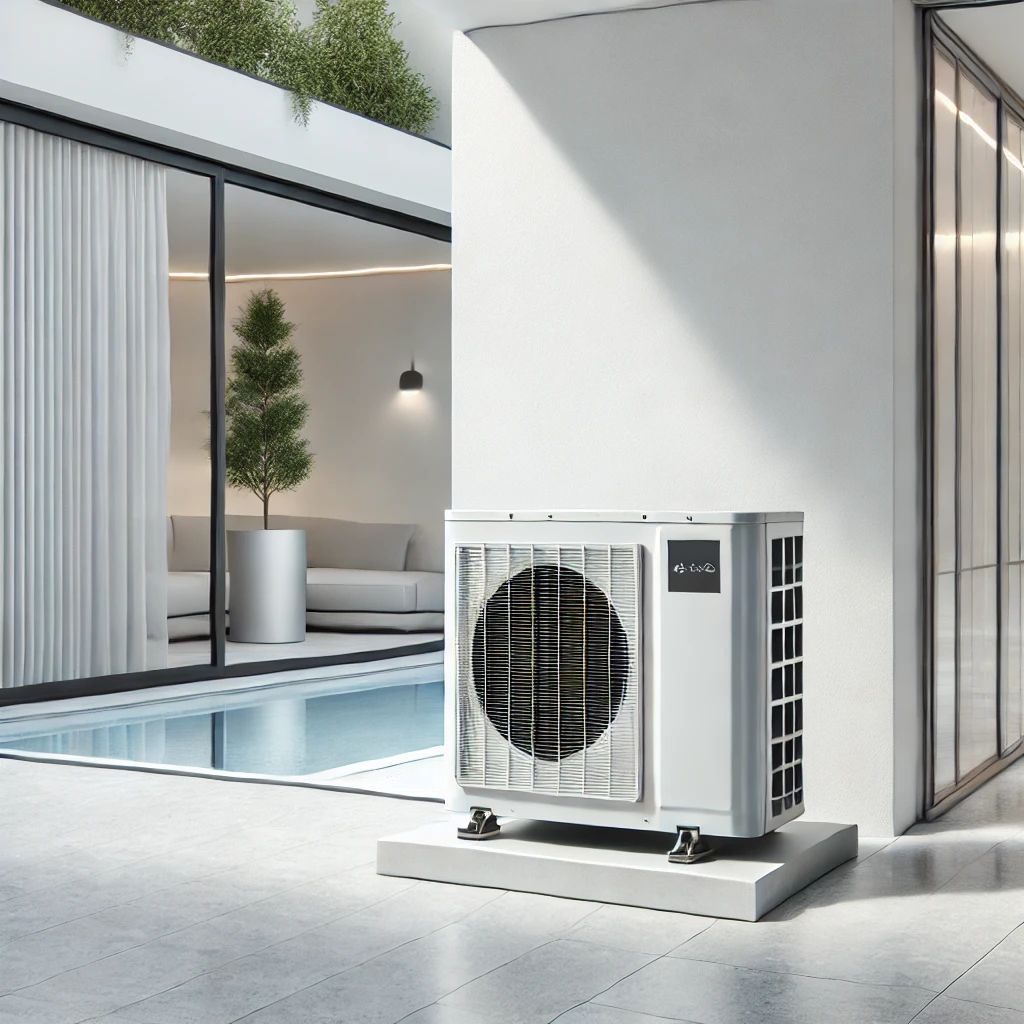
Regular maintenance of your Daikin mini split system is essential, especially considering Canada’s diverse climate. We often advise homeowners to clean the air filters monthly, as clean filters improve air quality and system efficiency. Additionally, inspecting the interior components for dust or debris buildup can prevent potential issues. If you’re unsure about any step in the process or encounter difficulties, it’s best to consult with a professional HVAC technician to ensure your system remains in top condition.