Answer:
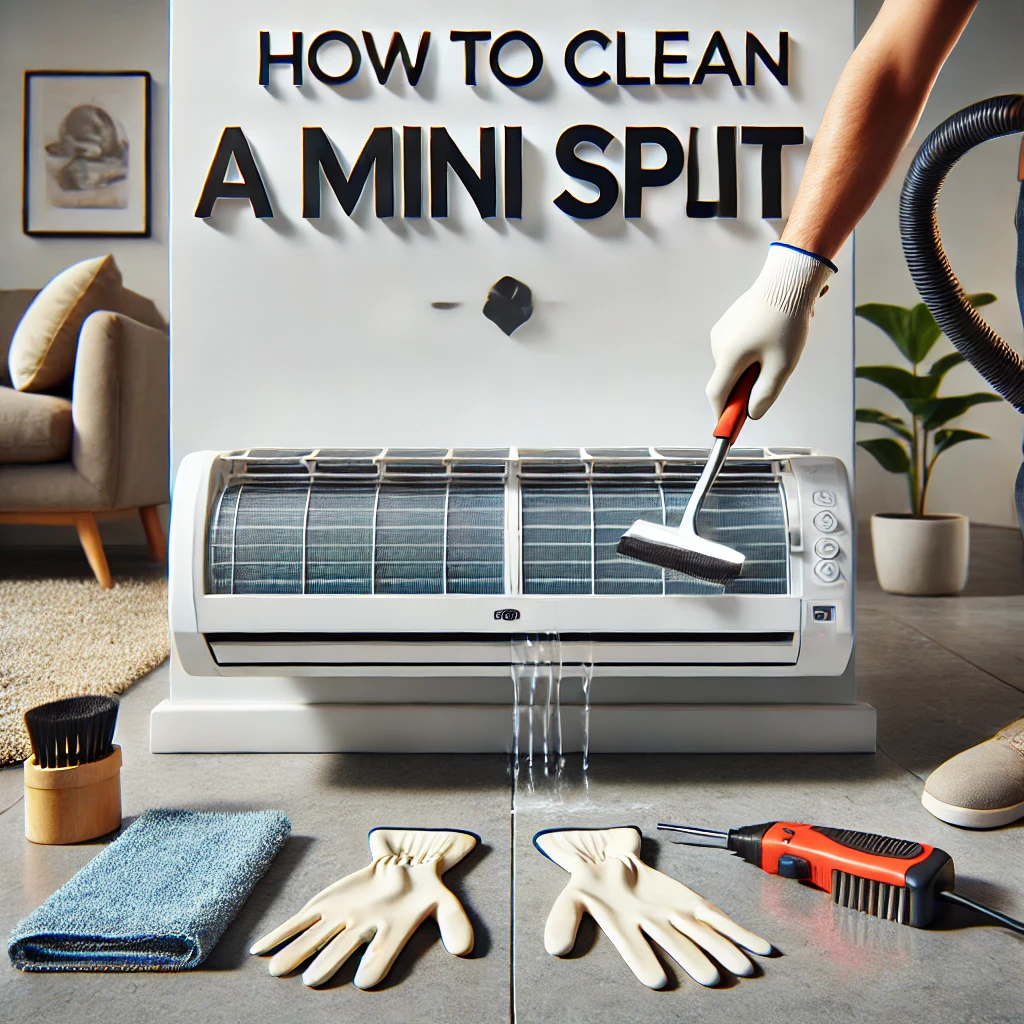
In our experience, cleaning the blower wheel of a mini-split without removing it requires patience and the right tools. Start by turning off the power to the unit for safety. Open the front panel and locate the blower wheel. Using a soft brush, gently loosen any visible dirt or debris. For deeper cleaning, we recommend a specialized coil cleaner or compressed air to dislodge buildup. From what we’ve seen, placing a towel or tray beneath the unit to catch debris is essential to keep the surrounding area clean. Regular maintenance like this helps ensure optimal airflow and prevents performance issues.
More on Cleaning a Mini-Split Blower Wheel
Over time, dirt and grime can accumulate on the blower wheel, reducing the efficiency of your mini-split and even causing unpleasant odors. While deep cleaning may require professional assistance, periodic light cleaning without removing the wheel is an effective way to maintain performance. We’ve found that using a long-handled brush or cleaning wand designed for HVAC systems can make the job easier.
In addition, spraying a non-corrosive cleaning solution on the blower wheel and letting it sit for a few minutes before brushing can help loosen stubborn dirt. In our opinion, this step, combined with a thorough rinse, ensures a cleaner and more effective blower wheel.
Lastly, while cleaning, take a moment to inspect other components, such as the evaporator coils and filters, for signs of buildup. Regular upkeep not only extends the lifespan of the unit but also helps maintain healthy indoor air quality. As always, if the blower wheel is heavily soiled or difficult to access, consulting a professional is the best course of action.

