Answer:
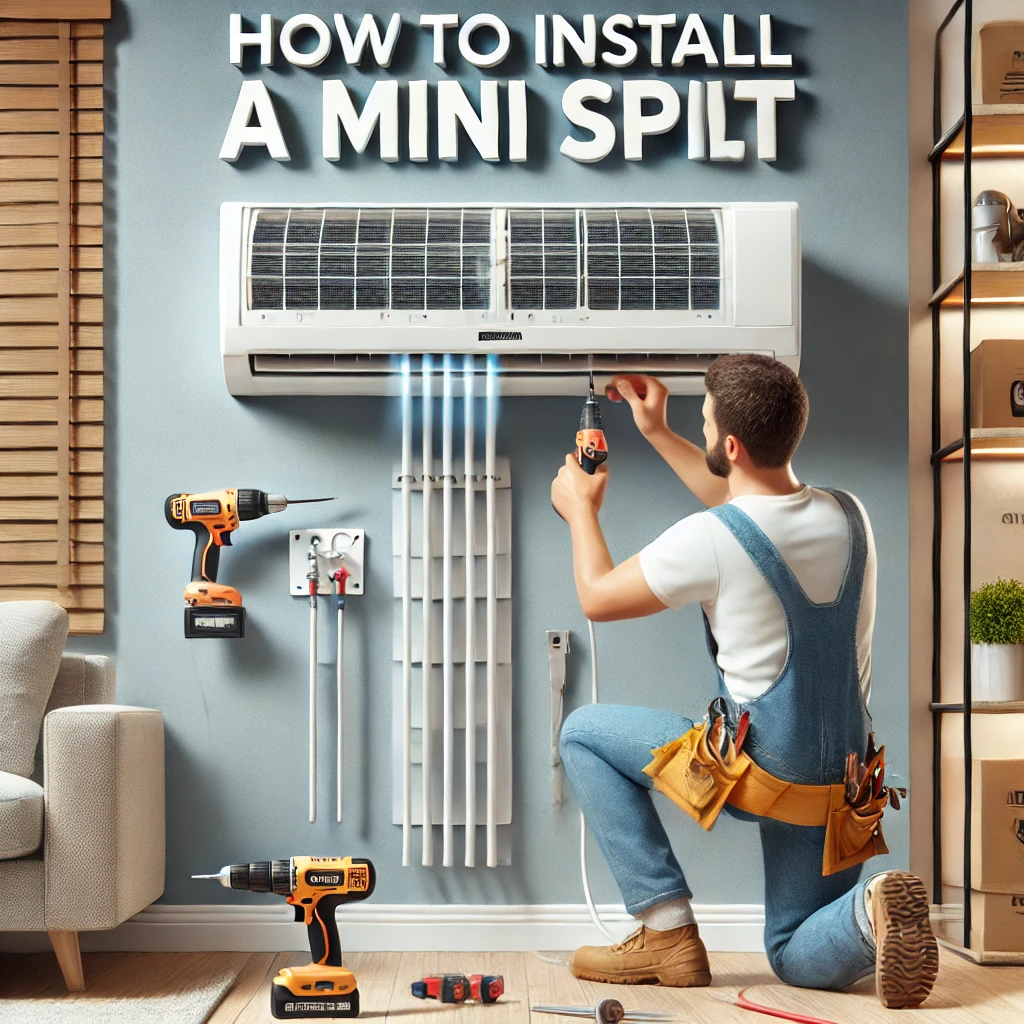
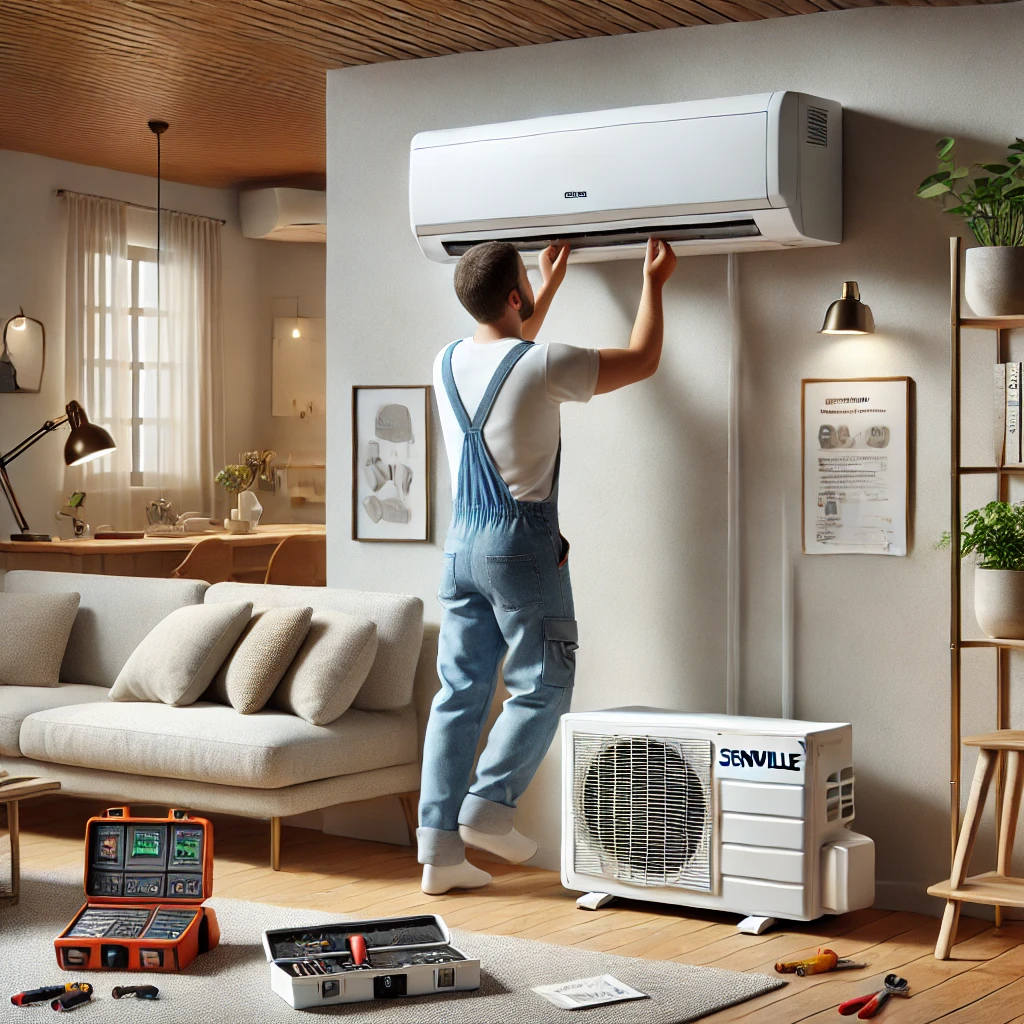
Installing a Senville mini split yourself is possible if you have the right tools, some technical knowledge, and follow the manufacturer’s instructions carefully. Over the years, we’ve seen many DIY enthusiasts successfully install these systems, thanks to Senville’s user-friendly design and pre-charged refrigerant lines. In our experience, the key steps include choosing the ideal location for the indoor and outdoor units, securely mounting them, connecting the refrigerant lines and electrical wiring, and vacuuming the lines to remove moisture and air. However, we always recommend consulting a professional HVAC technician if you’re unsure about any part of the process to ensure safety and system efficiency.
More On How You Can Install a Senville Mini Split Yourself:
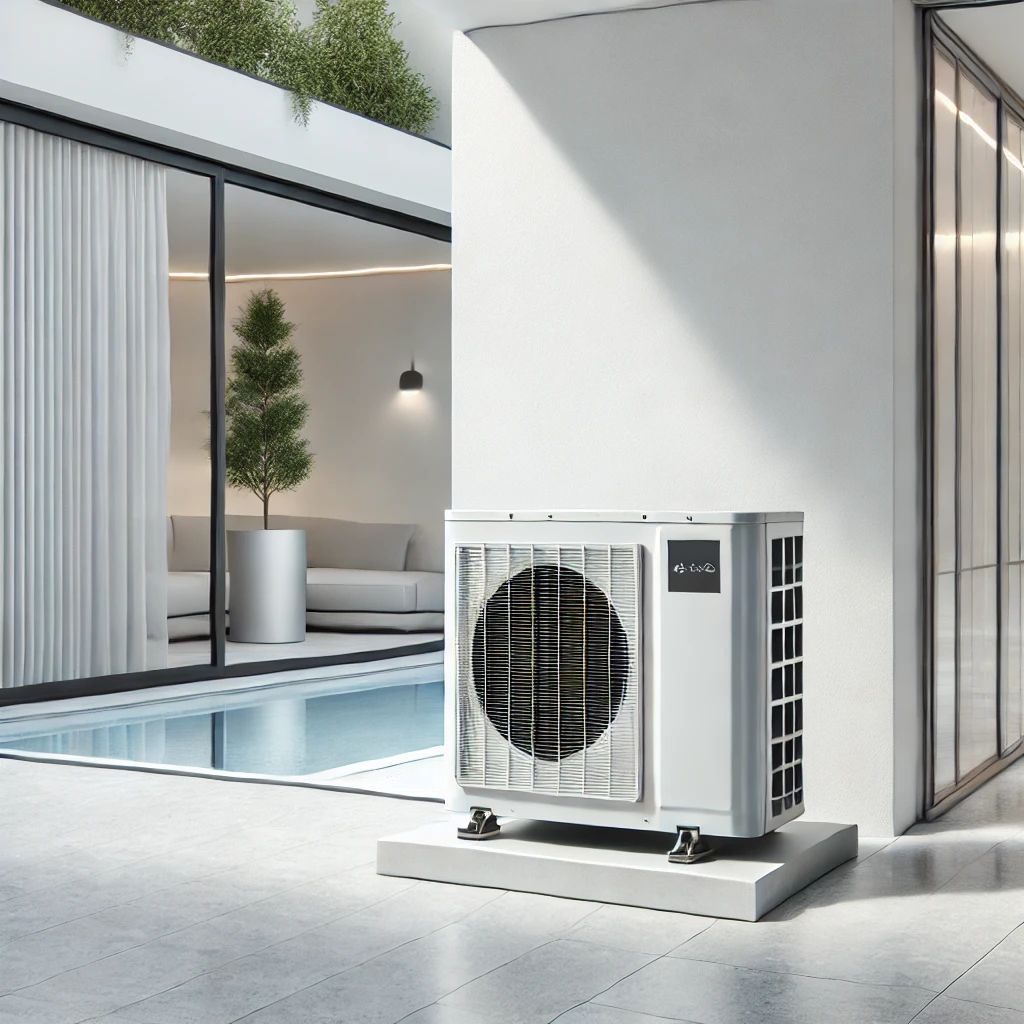
Before starting your installation, it’s essential to read through the user manual and gather all the necessary tools. Senville systems typically include a complete installation kit with mounting brackets, refrigerant lines, and instructions. Ensure the indoor unit is mounted high on the wall in a location with unobstructed airflow, while the outdoor unit should be placed on a stable surface with adequate clearance for ventilation. Proper placement not only ensures efficient operation but also prolongs the system’s lifespan.
One of the most critical steps in the installation is vacuuming the refrigerant lines. Even though Senville mini splits come pre-charged, it’s essential to create a vacuum in the lines to eliminate any air or moisture that could compromise the system’s performance. This step requires a vacuum pump and manifold gauge set, so if you don’t have access to these tools, we recommend hiring a professional. Additionally, improper handling of refrigerant lines or electrical connections can void the warranty or cause potential hazards, so proceed with caution or call in a certified technician for peace of mind.