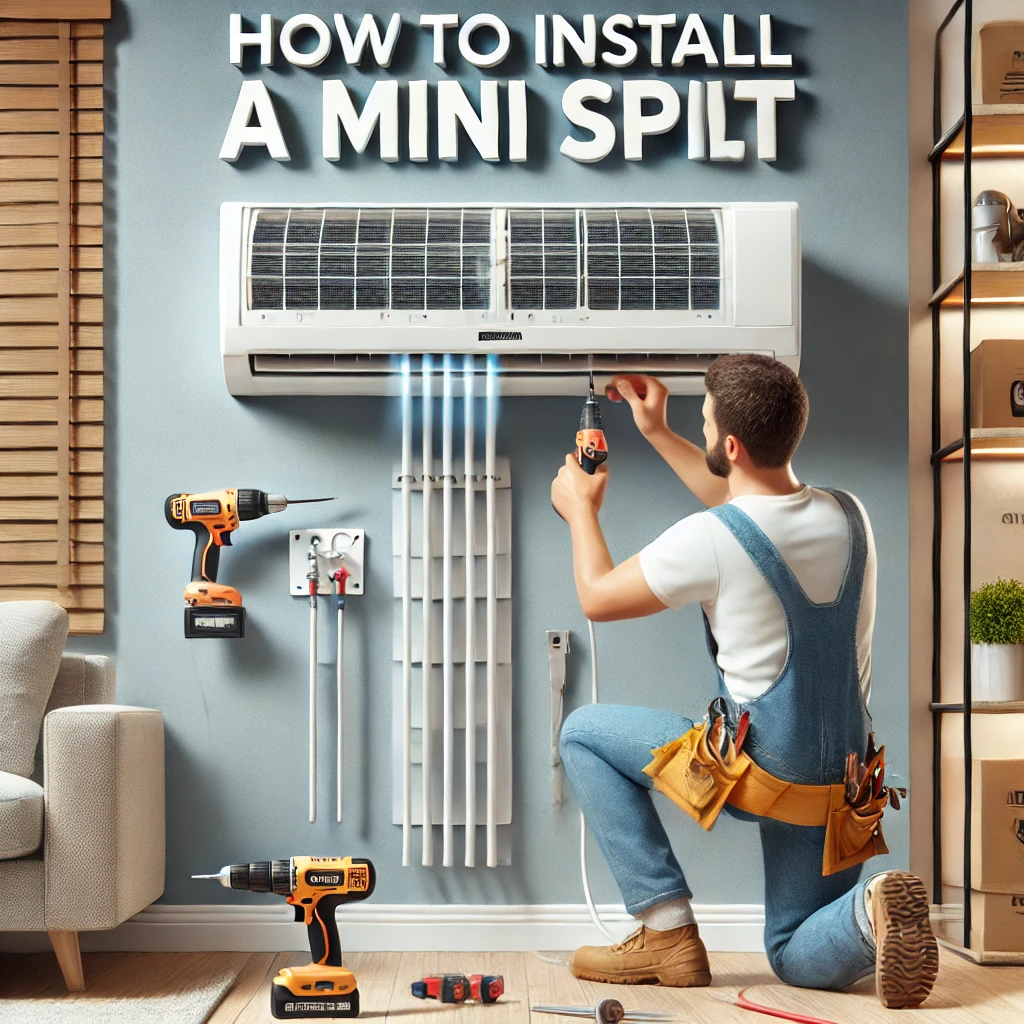
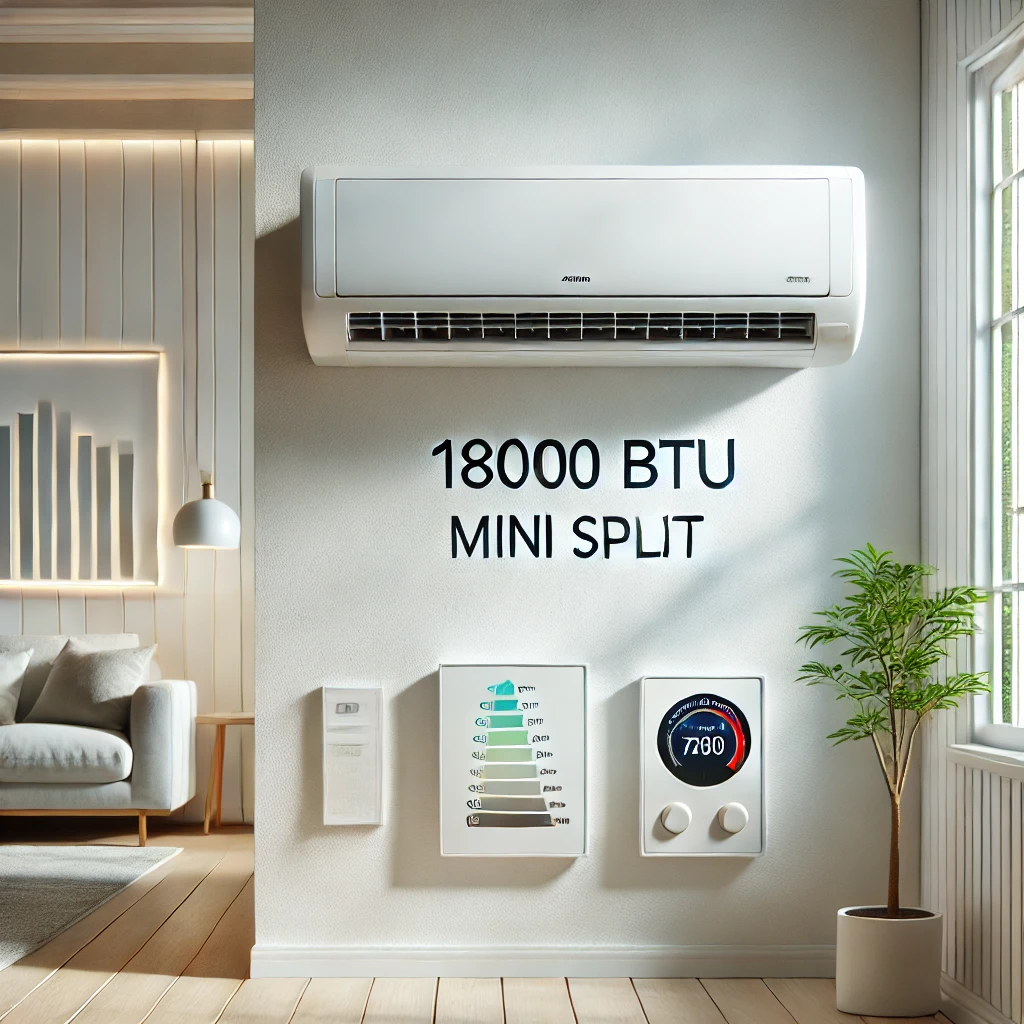
Installing a mini split yourself is a task that can be done with the right tools, preparation, and a good understanding of HVAC systems, but it’s not without challenges. From what we’ve observed, DIY installation works best for those who are confident in drilling, wiring, and handling refrigerants, as these systems require precise placement and connections to function properly. Many of our customers who’ve tried it say the process involves mounting the indoor and outdoor units, running the refrigerant lines, and ensuring the system is vacuumed and sealed correctly. However, in our experience, most homeowners find it easier and more cost-effective in the long run to hire a certified installer, as they can avoid potential mistakes that might void the warranty or reduce the system’s efficiency.
More On How to Install a Mini Split Yourself:
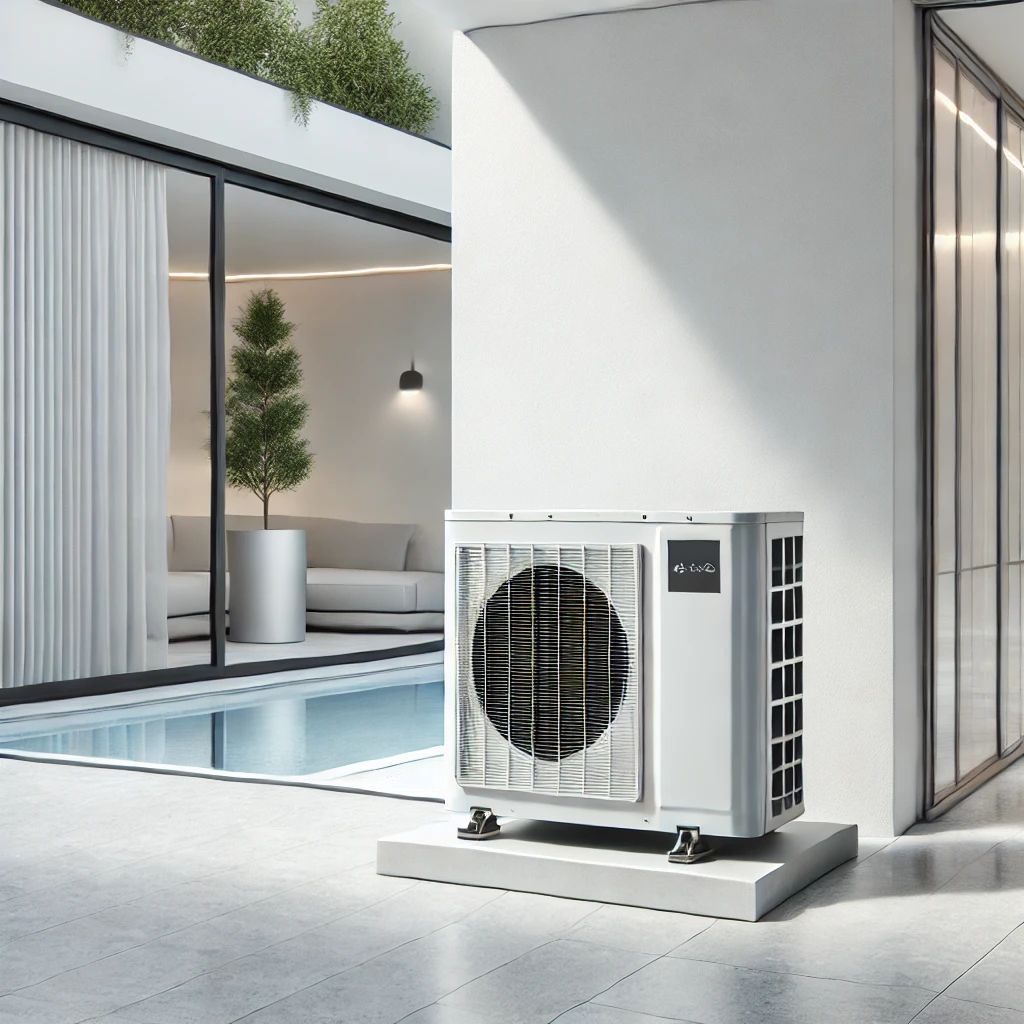
Installing a mini split system yourself begins with careful planning. You need to choose the best location for both the indoor and outdoor units, considering airflow, accessibility, and proper clearance. We’ve seen many DIY enthusiasts overlook the importance of accurate placement, which can lead to uneven cooling or heating and even operational noise. For the indoor unit, it’s crucial to mount it on a sturdy wall and ensure that the drain line has a downward slope to prevent water buildup. The outdoor unit should be placed on a stable surface away from direct sunlight and heavy snow accumulation.
Another critical step is managing the refrigerant lines and electrical connections. In our line of work, we often stress that these connections must be precise to ensure the mini split operates efficiently and safely. You’ll need a hole drilled through your wall for the lines to pass through, and this must be sealed properly to prevent air leaks. Electrical connections also require careful handling to meet local building codes. If these aspects sound daunting, we suggest consulting a professional for at least part of the installation to ensure everything is up to code and functioning correctly.
Finally, system testing and vacuuming are key steps that are often overlooked in DIY setups. After installation, you’ll need to evacuate the air from the refrigerant lines using a vacuum pump to prevent contamination, a step many of our customers didn’t realize was necessary. Skipping this can lead to inefficient operation and potentially damage your unit. With all this in mind, it’s clear why many people prefer to work with professionals to get their mini split installed right the first time.
