Answer:
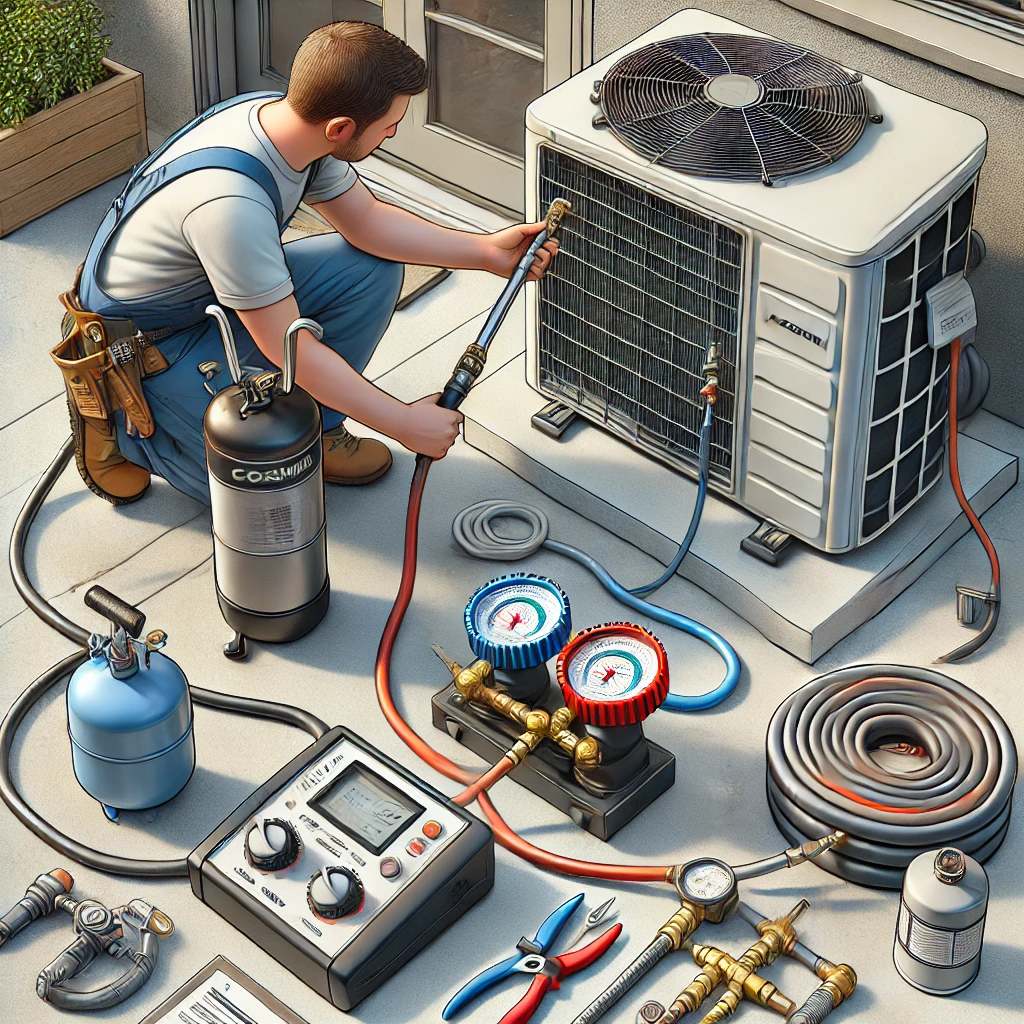
Pulling a vacuum on a mini split system is a crucial step to ensure the system operates efficiently and without contamination. From our experience, this process removes air, moisture, and any non-condensable gases from the refrigerant lines and components. Begin by connecting a vacuum pump to the service ports using a manifold gauge set. We’ve found it’s important to achieve a vacuum level of 500 microns or less, which can be measured with a digital vacuum gauge. Once the desired vacuum level is reached, close the valves on the gauge set and monitor for any pressure changes to confirm the system is sealed.
More On How to Pull a Vacuum on a Mini Split:
Why Pulling a Vacuum is Essential
In our view, removing air and moisture is critical to prevent ice formation and ensure the refrigerant circulates effectively. Air in the system can lead to reduced efficiency and increased wear on the compressor.
Step-by-Step Guide:
- Prepare the Equipment:
- Gather a vacuum pump, manifold gauge set, and digital vacuum gauge.
- Connect the Gauges:
- Attach the hoses from the manifold gauge set to the service ports on the outdoor unit and the vacuum pump.
- Start the Vacuum Process:
- Turn on the vacuum pump and open the valves on the manifold gauge set. Allow the pump to run until the system reaches a vacuum level of 500 microns or lower.
- Monitor for Leaks:
- Close the manifold gauge valves and observe the system for any pressure changes. A steady vacuum reading indicates the system is sealed.
- Release the Refrigerant:
- Once the vacuum is confirmed, open the service valves on the outdoor unit to release the refrigerant into the system.
Tips for Success:
- Use high-quality hoses and ensure all connections are tight to prevent leaks.
- Always follow the manufacturer’s specifications for vacuum levels.
By pulling a vacuum correctly, you ensure your mini split system operates at peak efficiency, free from contaminants that could compromise performance.