Answer:
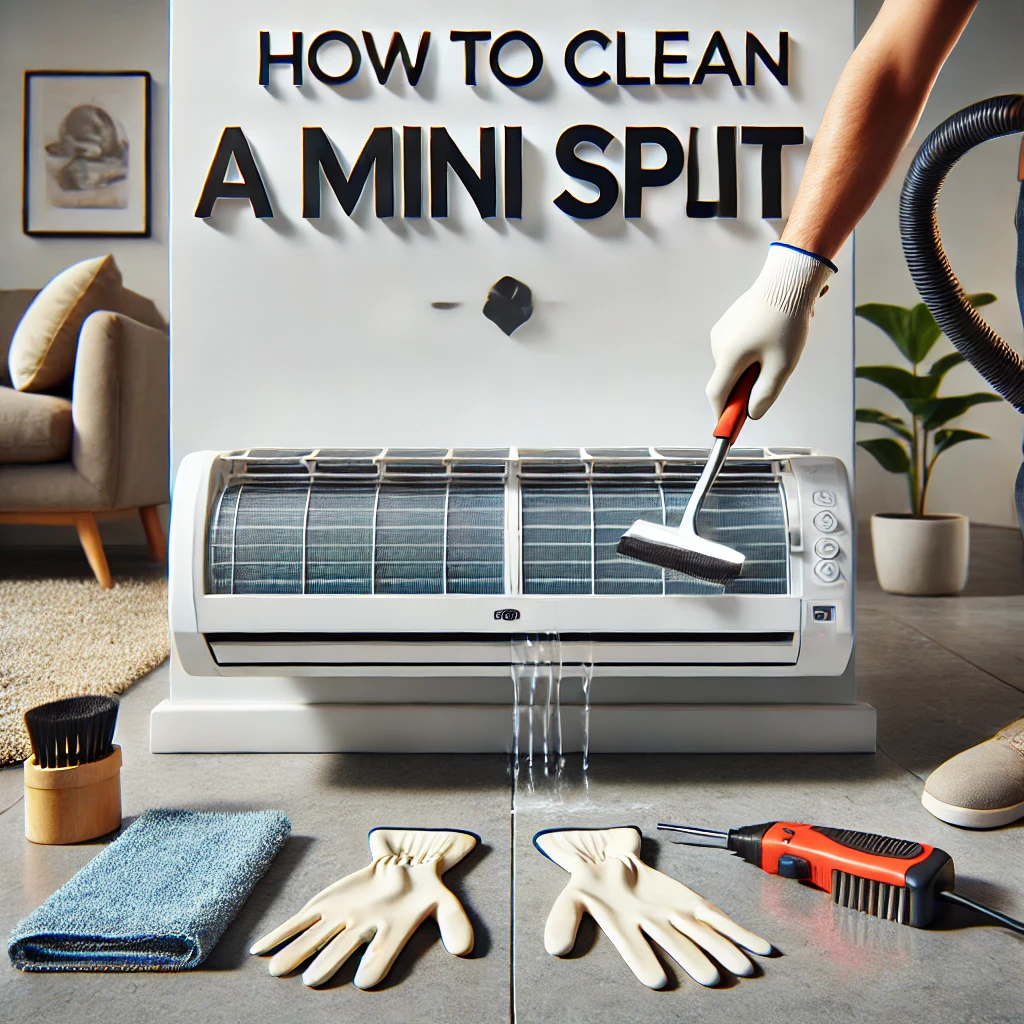
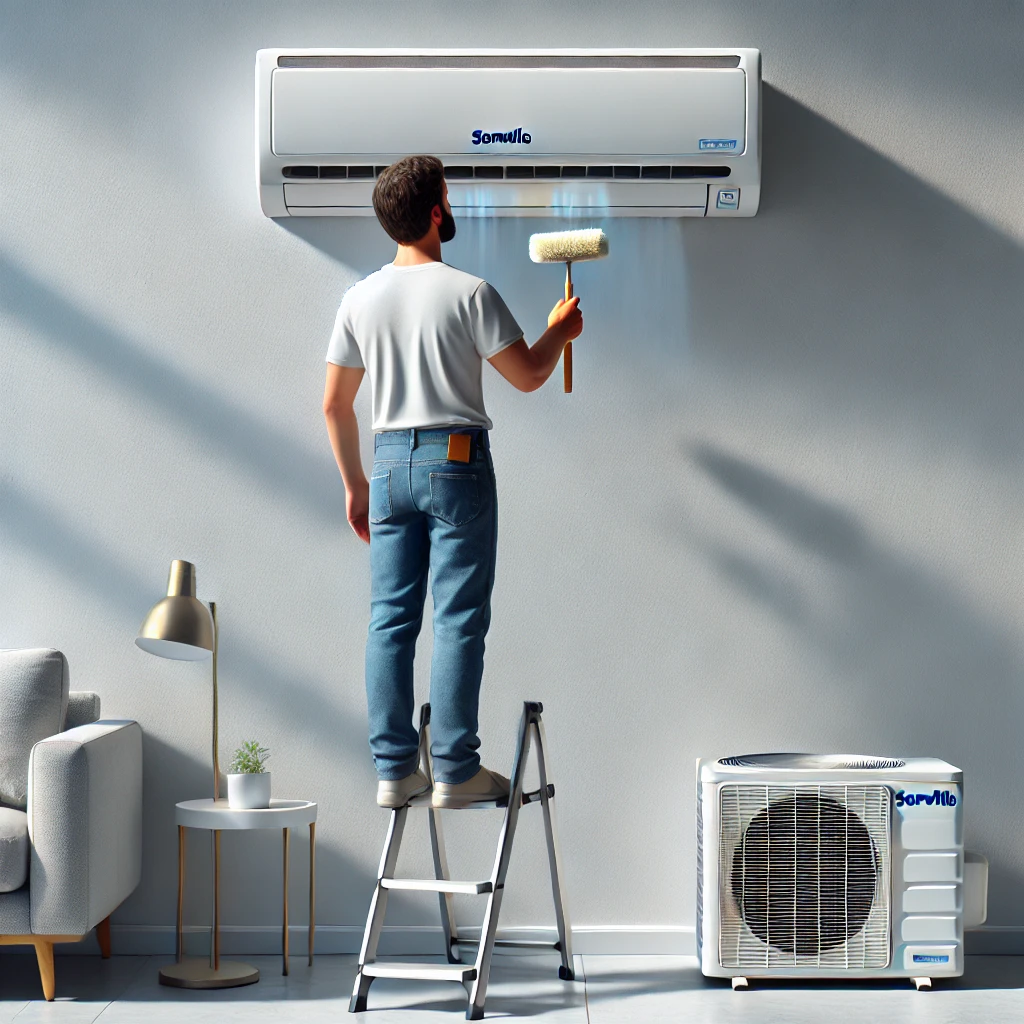
Cleaning a Senville mini-split is a straightforward process that ensures your system runs efficiently. Start by turning off the power to the unit for safety. Open the front cover of the indoor head unit, exposing the filters and coils. Carefully remove the filters and wash them with warm water and mild detergent, letting them dry completely before reinserting. Use a soft brush or a vacuum to gently clean the coils, ensuring no debris is left behind. In our experience, performing this maintenance regularly improves airflow, extends the life of your system, and enhances indoor air quality.
More on How to Clean a Senville Mini-Split:
From what we’ve seen, cleaning the filters every one to two months is crucial, especially during seasons of heavy use. Filters trap dust, pollen, and other particles, and neglecting them can lead to clogs that strain the system and reduce its efficiency. For homes with pets or smokers, cleaning the filters more frequently is even more important.
The coils inside the mini-split head are another area that benefits from regular attention. Over time, they can accumulate grime, which affects the unit’s cooling or heating performance. We recommend using a foam coil cleaner specifically designed for HVAC systems to remove stubborn dirt safely.
Finally, while regular DIY cleaning is essential, scheduling a professional deep clean once a year is something we often recommend. Professionals can access and clean areas like the blower wheel and drain line that are harder to reach. Combining these efforts ensures your Senville mini-split remains efficient and reliable year-round.