Answer:
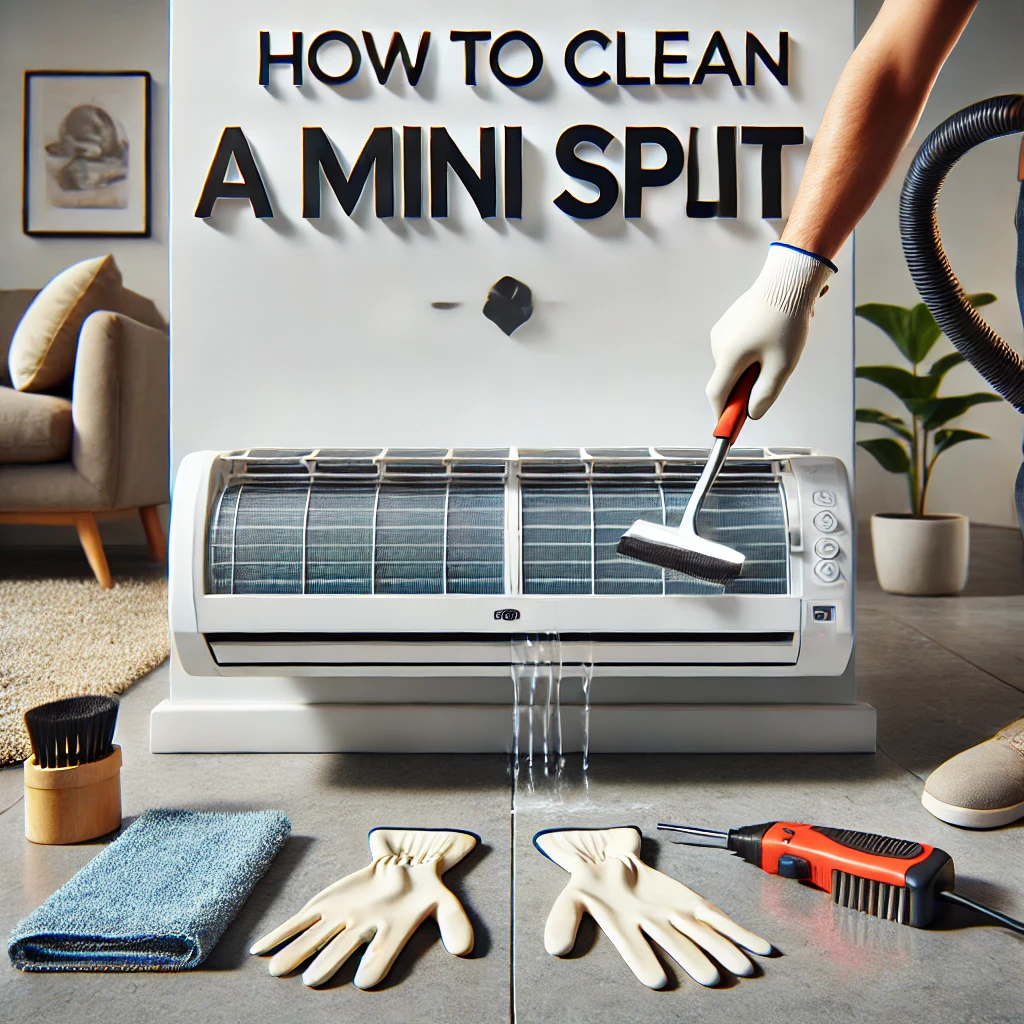
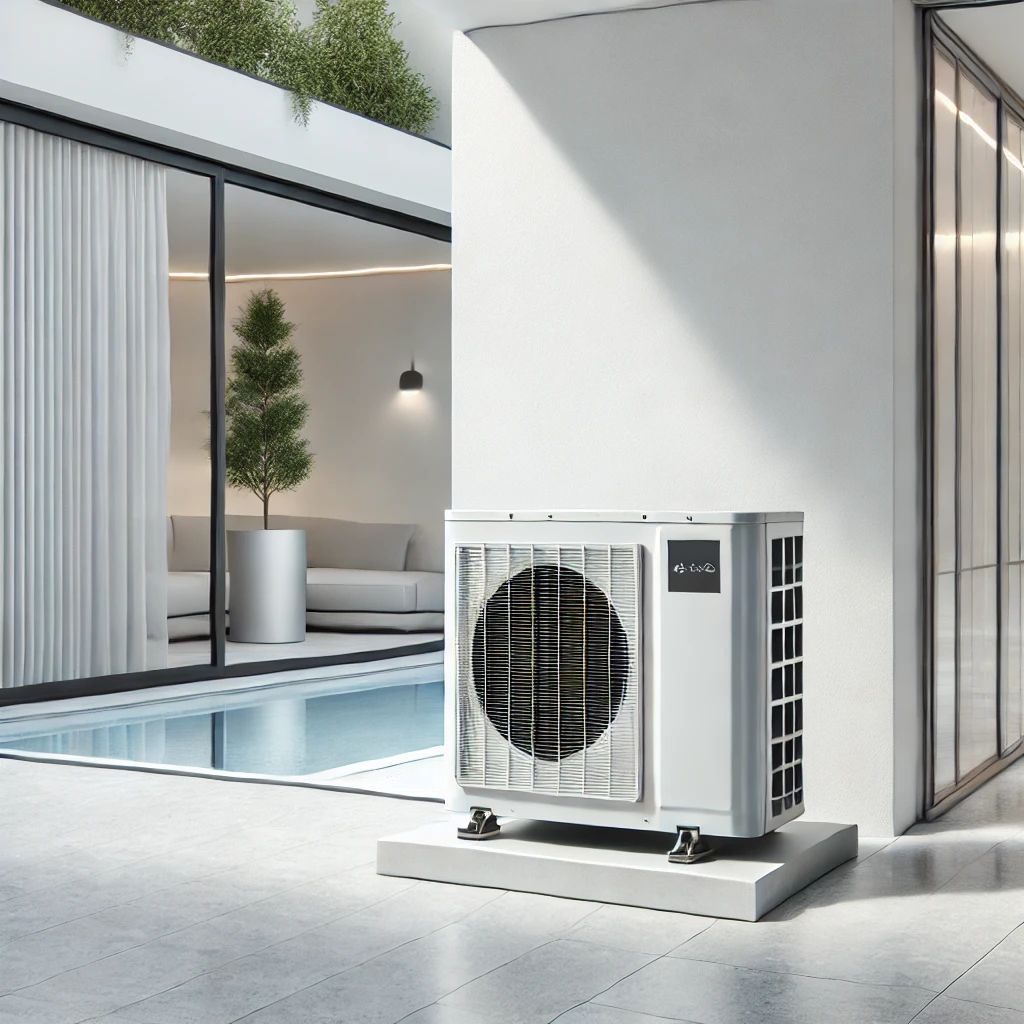
Cleaning a mini-split condenser is an essential task that ensures your system runs efficiently and lasts longer. From what we’ve seen, the process starts with turning off the power to the unit for safety. Next, clear away any debris, such as leaves, grass, or dirt, from around the condenser. Using a garden hose with low pressure, gently rinse the condenser coils to remove accumulated dust and grime. In our experience, using a coil cleaner can help with stubborn dirt, but make sure it’s safe for use on your system. After the coils are clean, let everything dry before restoring power. Trust us—this simple maintenance step makes a big difference in system performance.
More on How to Clean a Mini-Split Condenser:
We’ve noticed that keeping the area around the condenser clear is just as important as cleaning the coils themselves. Ensure there’s at least two feet of clearance around the unit to allow for proper airflow. Trim any bushes or plants that are too close, as these can block airflow and cause dirt to build up more quickly.
For particularly dirty coils, we suggest using a soft brush or a coil fin comb to remove debris stuck between the fins. In our experience, this helps maintain optimal airflow and heat transfer. Be careful not to bend the fins, as they are delicate and crucial for the condenser’s efficiency.
Finally, while DIY cleaning works well for regular maintenance, we often recommend having a professional clean the condenser at least once a year. They can inspect the unit for any issues, such as refrigerant leaks or damage, and perform a deep clean that reaches areas you might miss. Based on what we’ve seen, combining routine DIY cleaning with annual professional maintenance is the best way to keep your mini-split condenser in top shape.
