Answer:
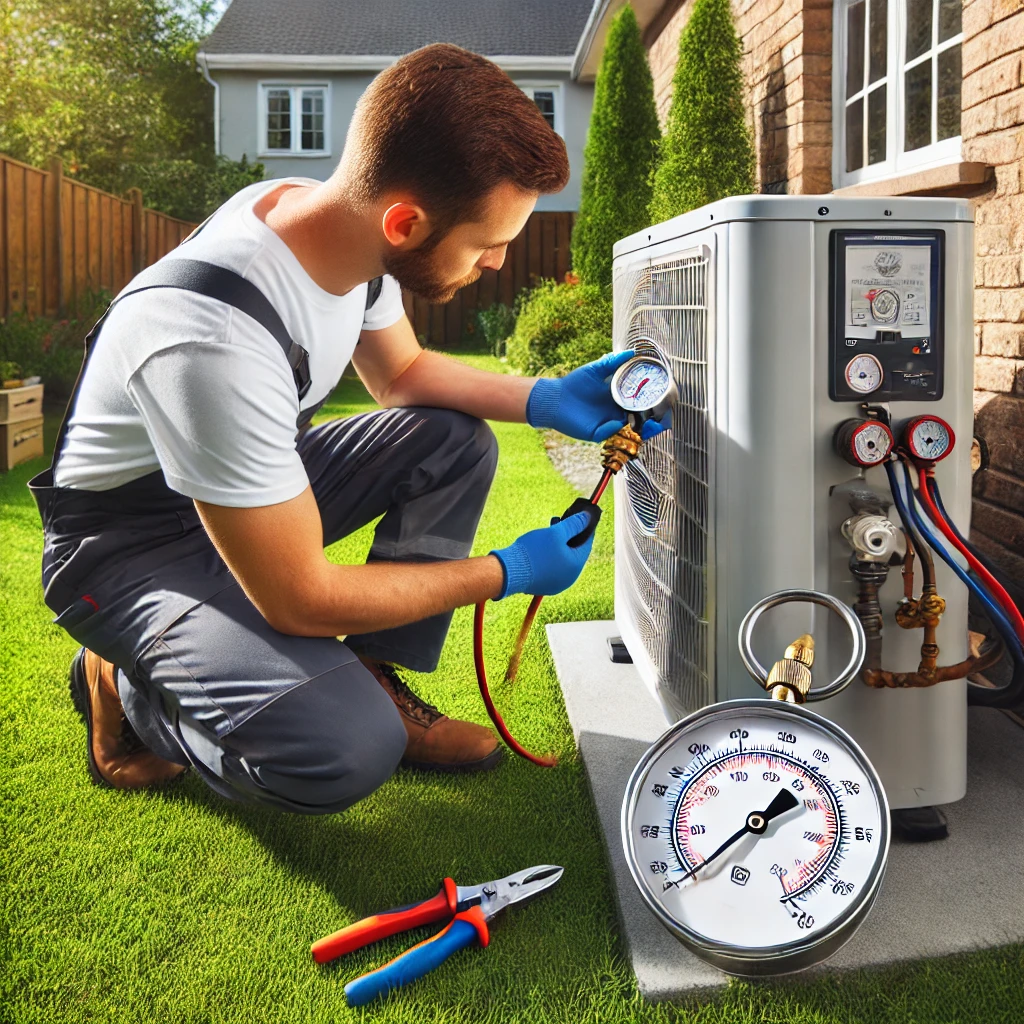
Checking the pressure on a mini-split system requires the right tools and a careful approach. Based on our experience, the first step is to connect a refrigerant manifold gauge set to the service ports on the outdoor condenser unit. Make sure the system is running, as this allows you to measure the operating pressures accurately. In our view, cross-referencing the pressure readings with the manufacturer’s specifications is crucial to ensure the system is functioning properly. If the pressures are outside the recommended range, it may indicate issues like a refrigerant leak or a clogged line.
More on How to Check Pressure on a Mini-Split:
From what we’ve observed, safety is key when working with refrigerant pressures. Always wear protective gear, and ensure the system is off when initially attaching the gauge set to avoid sudden pressure surges. Once the gauges are securely connected and the system is running, you’ll typically see readings for the low-pressure and high-pressure sides. These readings should match the specifications for the ambient temperature, which can often be found in the user manual or on a label attached to the unit.
We’ve also found it helpful to monitor the system for fluctuations. Inconsistent pressures can be a sign of problems like low refrigerant levels, compressor issues, or blockages in the system. Regular checks, especially during peak usage seasons, can help catch these issues early.
Finally, if you’re unsure about your readings or notice unusual pressure levels, consulting a certified HVAC technician is something we always recommend. Professionals can diagnose and resolve issues more efficiently, ensuring your mini-split continues to operate smoothly and reliably. In our view, regular maintenance and monitoring are essential for maximizing the lifespan and efficiency of your system.
