Answer:
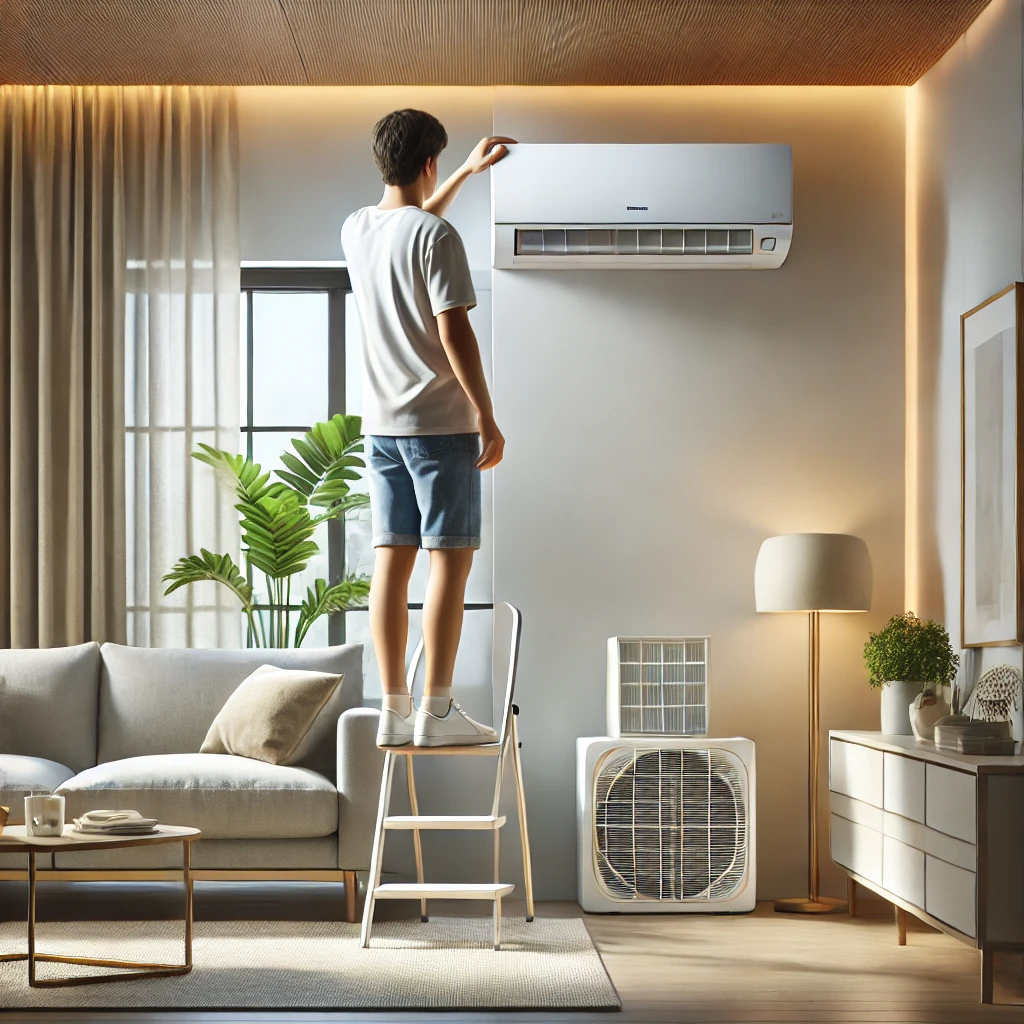
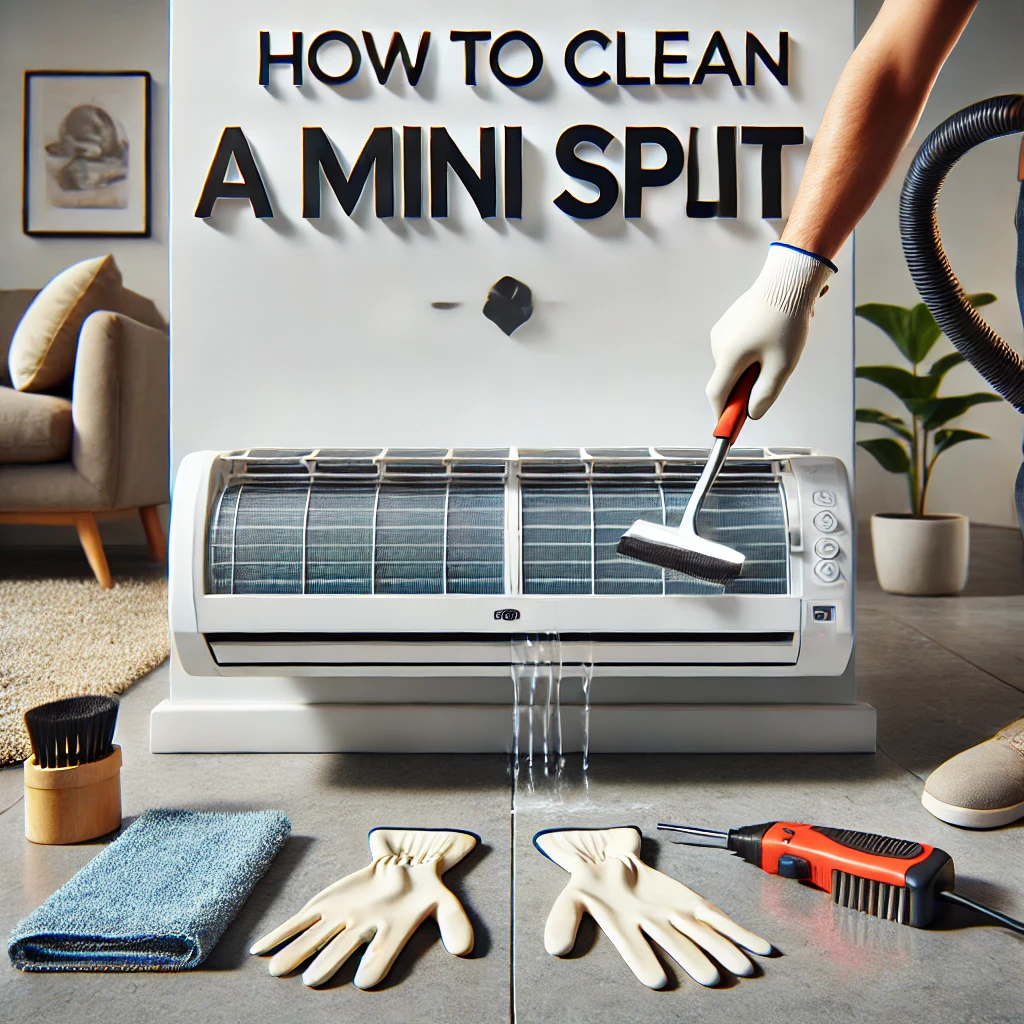
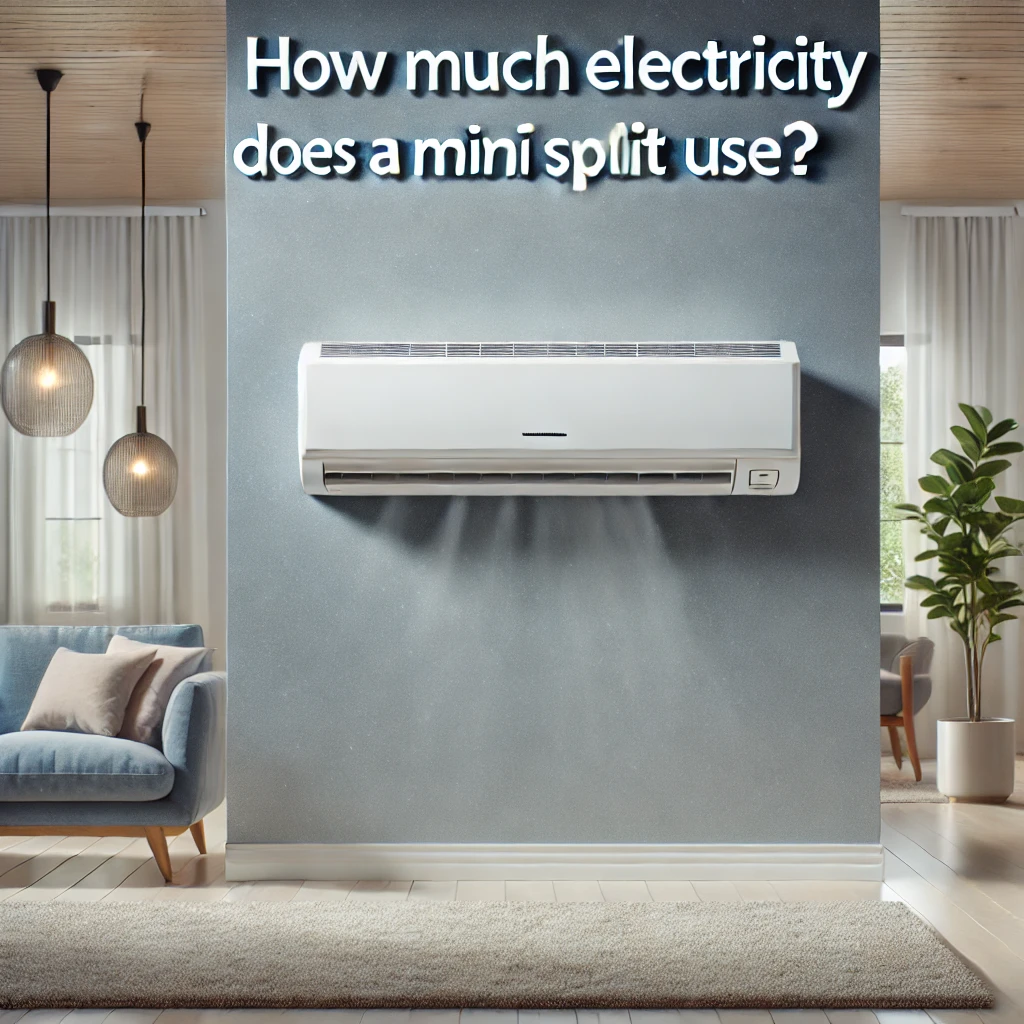
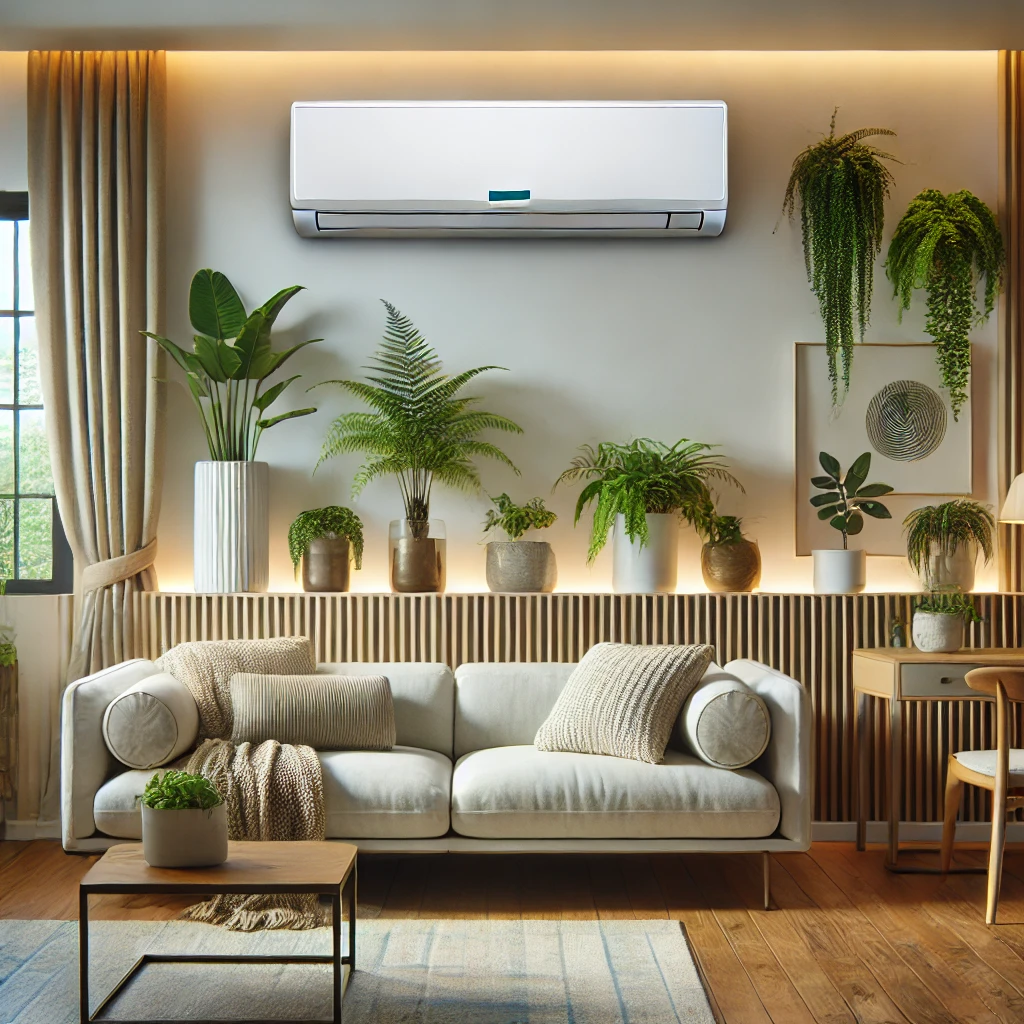
From what we’ve seen, changing a mini-split filter is a quick and essential task to keep your system running efficiently. Start by turning off the unit for safety, then open the cover of the indoor head unit. In most models we’ve worked with, the filters slide or pop out easily. After removing the filters, clean them if they’re reusable, or replace them with new ones if required. Reinsert the filters carefully, ensuring they’re seated correctly, and close the cover. We always recommend checking the user manual for specific instructions tailored to your model.
More on How to Change a Mini-Split Filter:
In our opinion, this simple maintenance task should be done regularly—ideally every month or two during heavy usage periods. Clean filters improve airflow and maintain indoor air quality, which is especially important for homes with pets, smokers, or allergy sufferers. We’ve noticed that neglecting this step often leads to reduced system efficiency and even costly repairs over time.
Reusable filters, which are common in mini-splits, can typically be washed with warm water and a mild detergent. We’ve found that letting the filters dry completely before reinstalling them prevents moisture from building up in the system. For those with disposable filters, replacing them with the correct size and type ensures optimal performance.
Finally, if you’re unsure about accessing or changing the filters, consulting your system’s user manual or reaching out to a professional can save you time and hassle. In our experience, this small effort goes a long way in keeping your mini-split functioning at its best and maintaining a comfortable indoor environment.
