he installation process for mini splits involves several key steps, and while it’s manageable for experienced DIYers with the right tools and knowledge, professional installation is highly recommended for optimal performance and efficiency.
Here’s a breakdown of the process:
1. Site Assessment
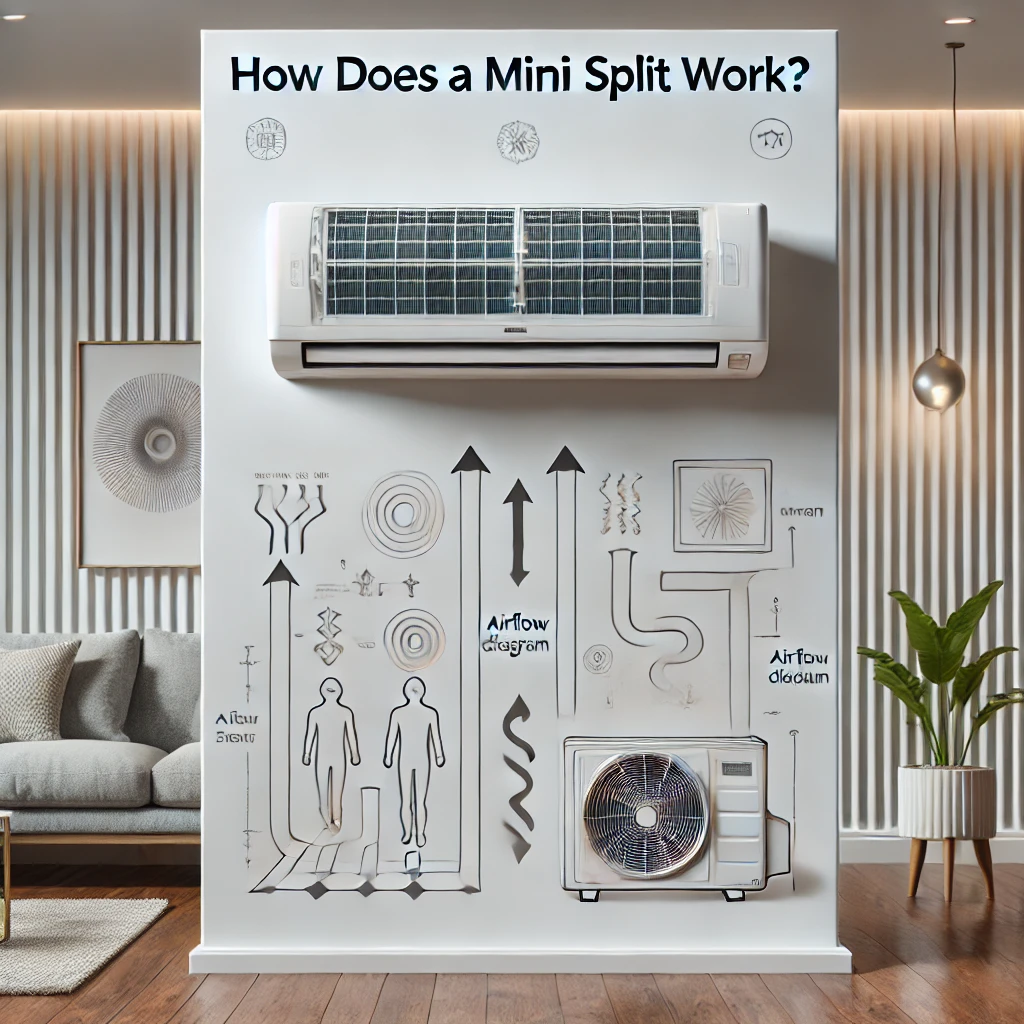
- Evaluate the space: Determine where the indoor and outdoor units will be installed. The indoor unit should be placed high on a wall for optimal air distribution, and the outdoor unit needs sufficient clearance for ventilation.
- Calculate the load: Proper sizing is essential to ensure the system can adequately heat or cool the space.
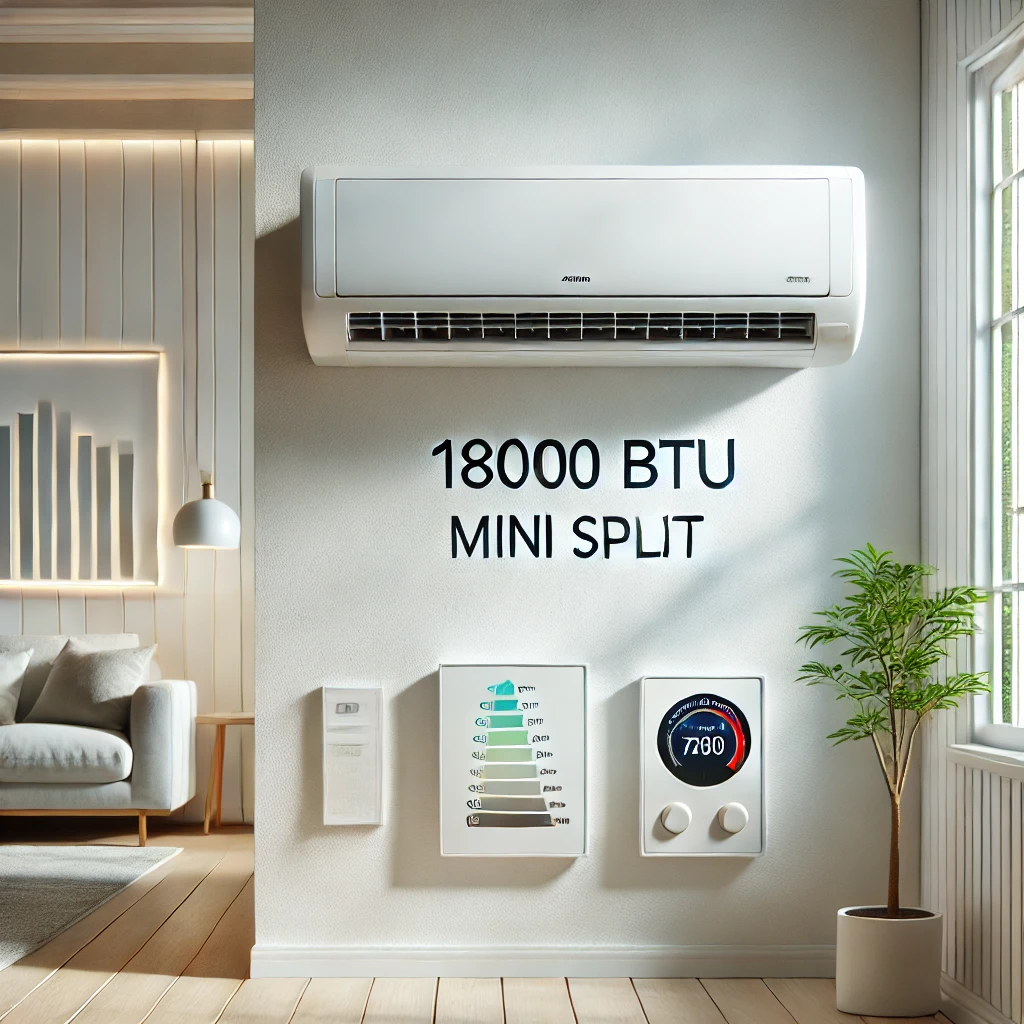
2. Installing the Indoor Unit
- Mount the bracket: Secure the mounting plate on the wall where the indoor unit will be installed.
- Drill a hole for the line set: Create a small hole (typically 3 inches in diameter) through the wall for the refrigerant lines, power cable, and condensate drain pipe.
- Attach the unit: Connect the lines to the indoor unit and hang it securely on the mounting bracket.
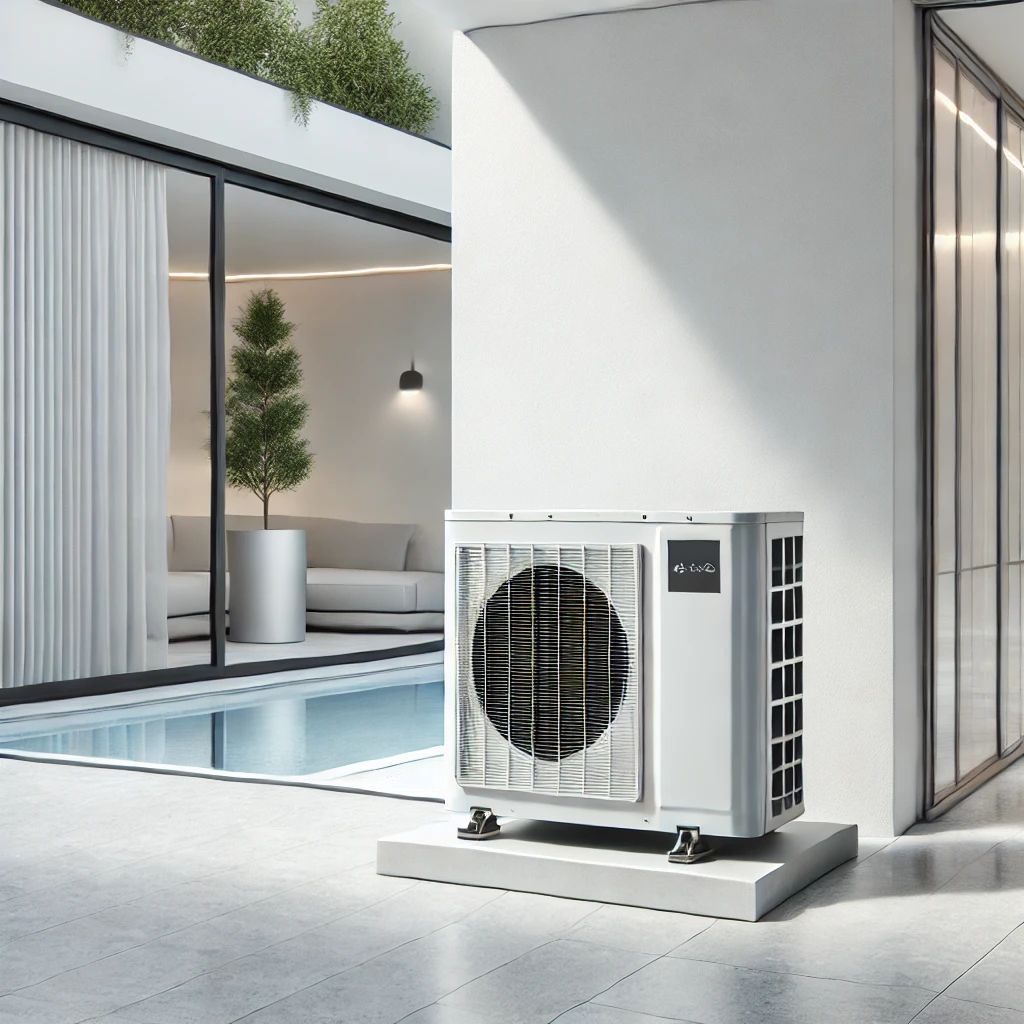
3. Installing the Outdoor Unit
- Choose a location: Place the outdoor unit on a stable base, like a concrete pad, or secure it to a wall bracket.
- Connect the lines: Attach the refrigerant lines and electrical wiring between the indoor and outdoor units.
4. Connecting the Line Set
- Run the lines: The refrigerant lines, drain pipe, and power cable are routed through the drilled hole to connect the indoor and outdoor units.
- Seal the hole: Use caulking or foam to seal the hole to prevent air leaks and pests.
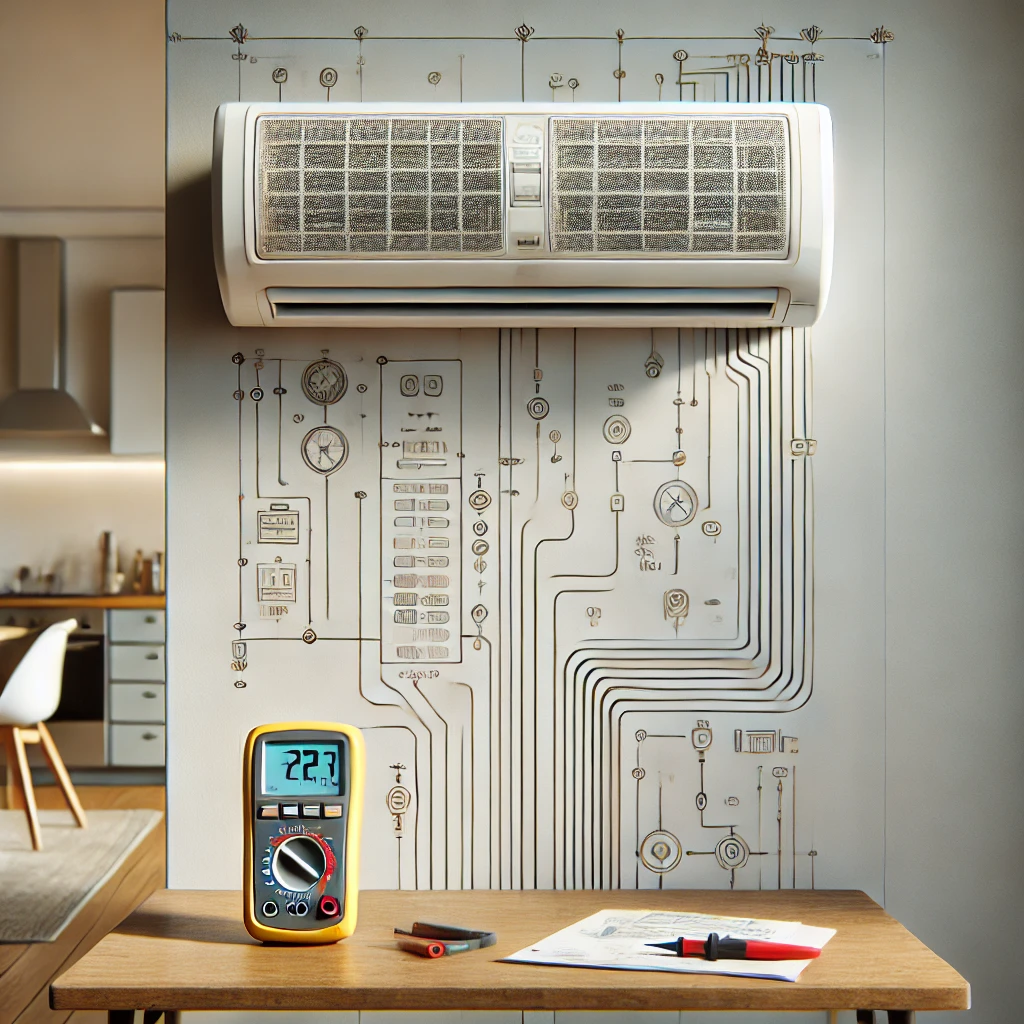
5. Electrical Connections
- Power source: A dedicated circuit is often required for mini splits. An electrician will run the necessary wiring from the circuit breaker to the system.
- Install a disconnect box: This safety feature allows for easy system shutdown during maintenance.
6. Vacuuming and Charging
- Evacuate air and moisture: Use a vacuum pump to remove air and moisture from the refrigerant lines.
- Charge the system: Pre-charged systems may not require additional refrigerant, but systems without pre-charge will need proper refrigerant charging by a certified technician.
7. Testing and Final Setup
- Power on the system: Test the unit to ensure proper operation and adjust the settings as needed.
- Fine-tune settings: Configure temperature controls, airflow direction, and other features.
Why Professional Installation Is Recommended
- Precision: Professionals have the expertise to ensure the unit is correctly sized, placed, and connected.
- Warranty: Many manufacturers require professional installation to maintain the warranty.
- Safety: Electrical connections and refrigerant handling involve risks that require trained technicians.
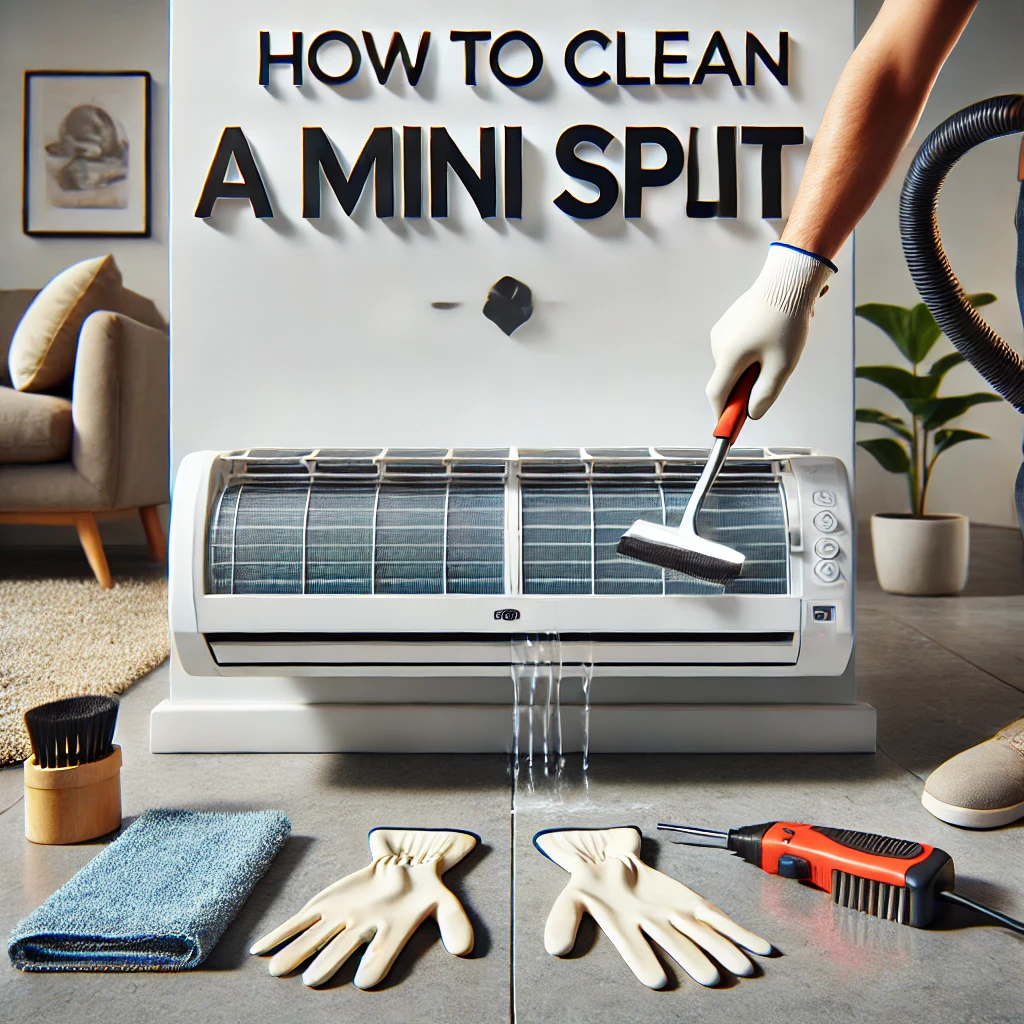
A well-installed mini split system can provide years of efficient heating and cooling with minimal maintenance.
