Answer: How to Install a Mini Split
Installing a mini split involves several steps, starting with selecting a proper location for the indoor and outdoor units, mounting them securely, and connecting the refrigerant lines and electrical wiring. From our decades of experience, we’ve found that each brand and model has unique installation requirements, making it important to follow the specific manufacturer’s guidelines. While it may seem straightforward, proper installation ensures the system operates efficiently and safely, which is why we always recommend consulting a professional.
More On “How to Install a Mini Split”
Mini split installation isn’t a one-size-fits-all process because different brands and models come with their own sets of instructions and components. For example, a Mitsubishi unit may have specific requirements for its Hyper-Heating (H2i) system, while a Daikin mini split might emphasize unique inverter technology setup steps. This is why it’s crucial to review the user manual and, if possible, work with a certified technician who is familiar with your particular brand. In our experience, skipping this step often leads to avoidable mistakes, like improperly sealed connections or misaligned components, which can compromise the unit’s efficiency.
The process generally includes the following steps:
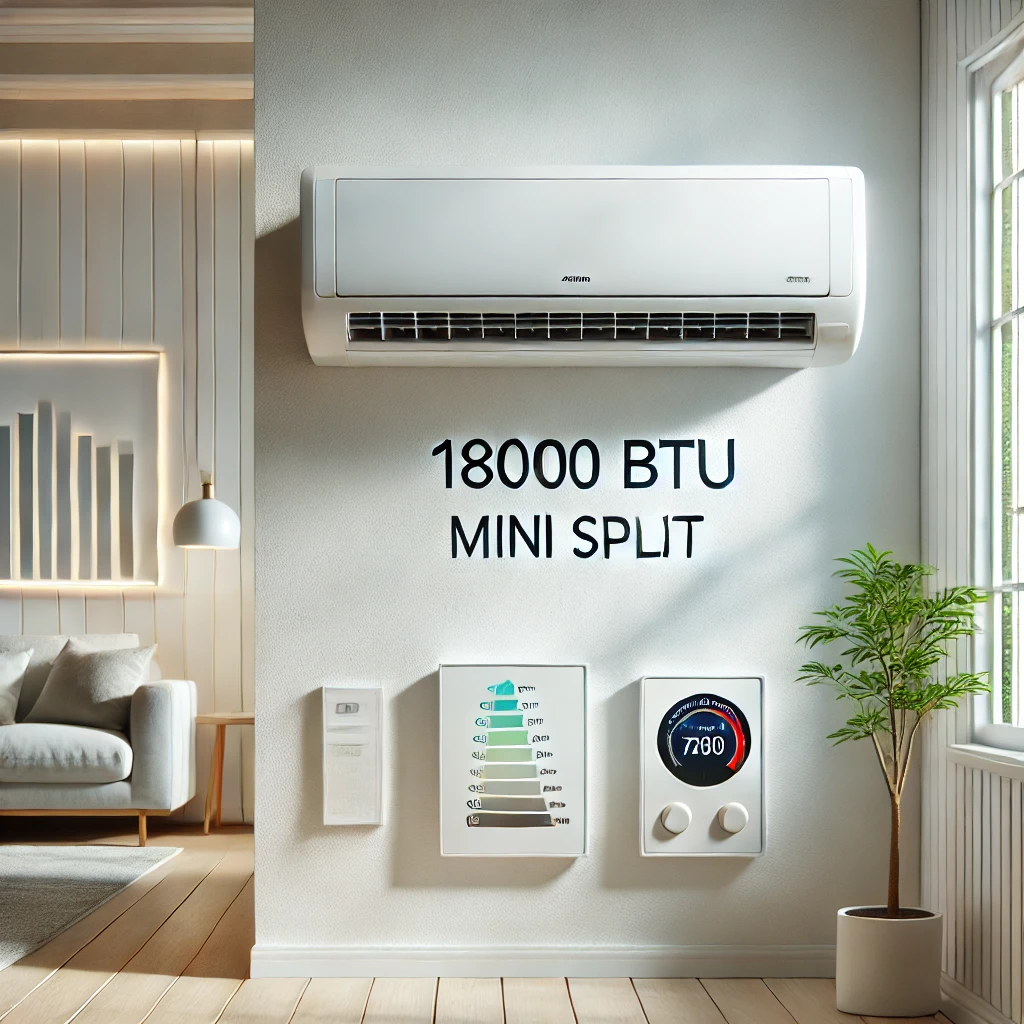
- Installing the Indoor Unit: Mount the unit securely on a wall bracket, ensuring proper airflow clearance. Some models, like those from LG or Gree, may have additional setup features, such as advanced airflow configurations or smart controls, that need to be initialized during this phase.
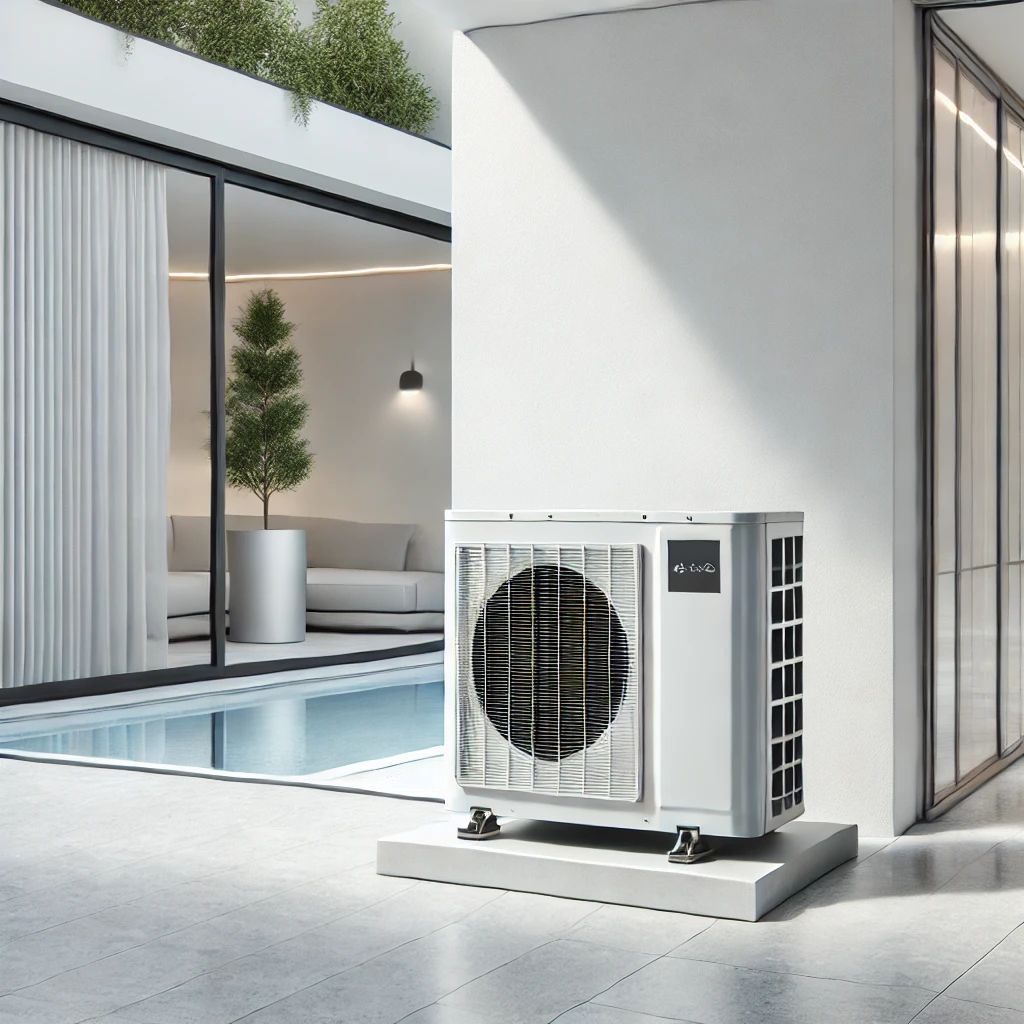
- Positioning the Outdoor Unit: Place the outdoor compressor on a stable surface or mounting pad, making sure it is level and unobstructed for optimal airflow.
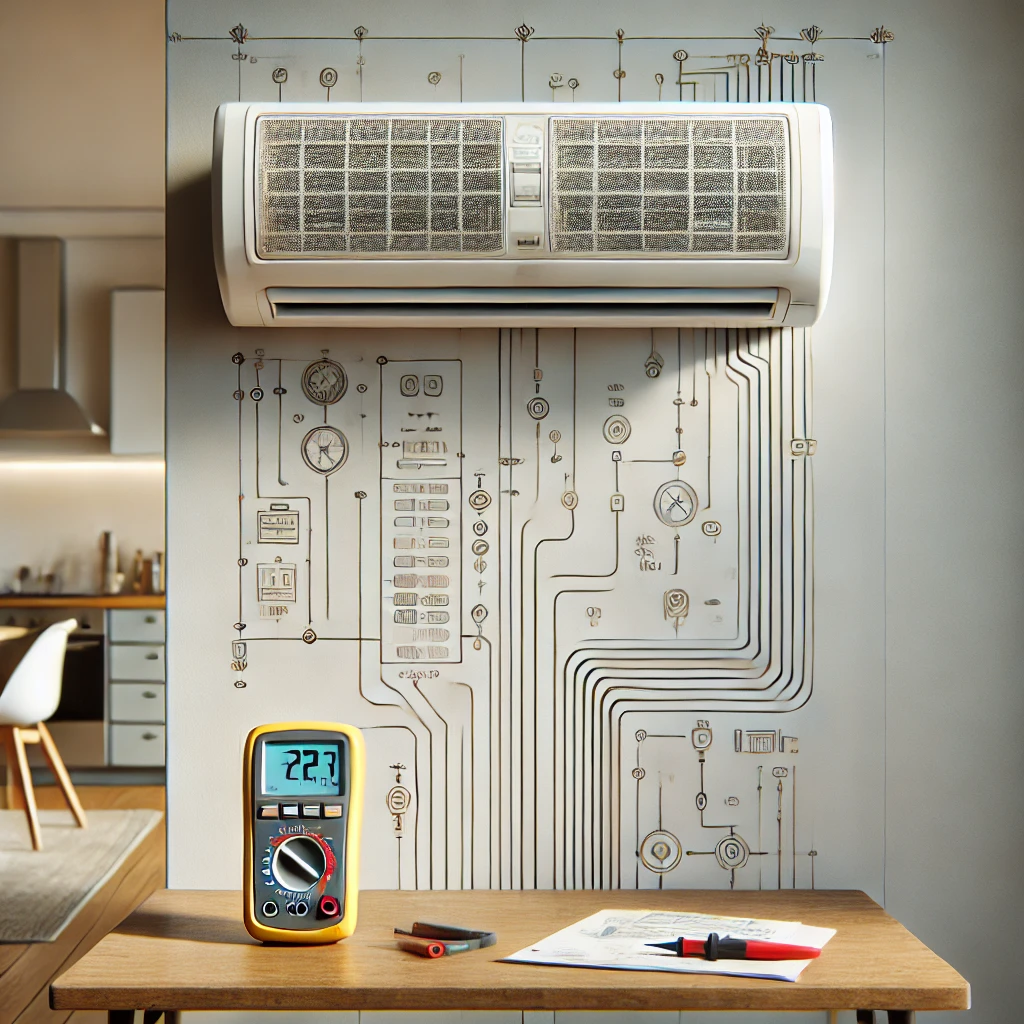
- Connecting Refrigerant Lines and Wiring: Run the refrigerant lines, electrical wiring, and drain hose through a small hole in the wall to connect the indoor and outdoor units. Brands like Fujitsu or Samsung may require specific tools or fittings, so always check the manual for compatibility.
- Vacuum and Test: Once all components are connected, the system needs to be vacuumed to remove air and moisture from the lines before charging it with refrigerant. This step is critical and often requires professional-grade equipment.
The diversity of mini split brands and models available today means there’s likely a perfect unit for every space and climate, but it also underscores the importance of customized installation. From our perspective, even the most efficient system can’t perform optimally if it’s not installed correctly. That’s why, for more complex setups or when dealing with high-end systems like those from Bosch or Lennox, we always recommend seeking professional assistance.

